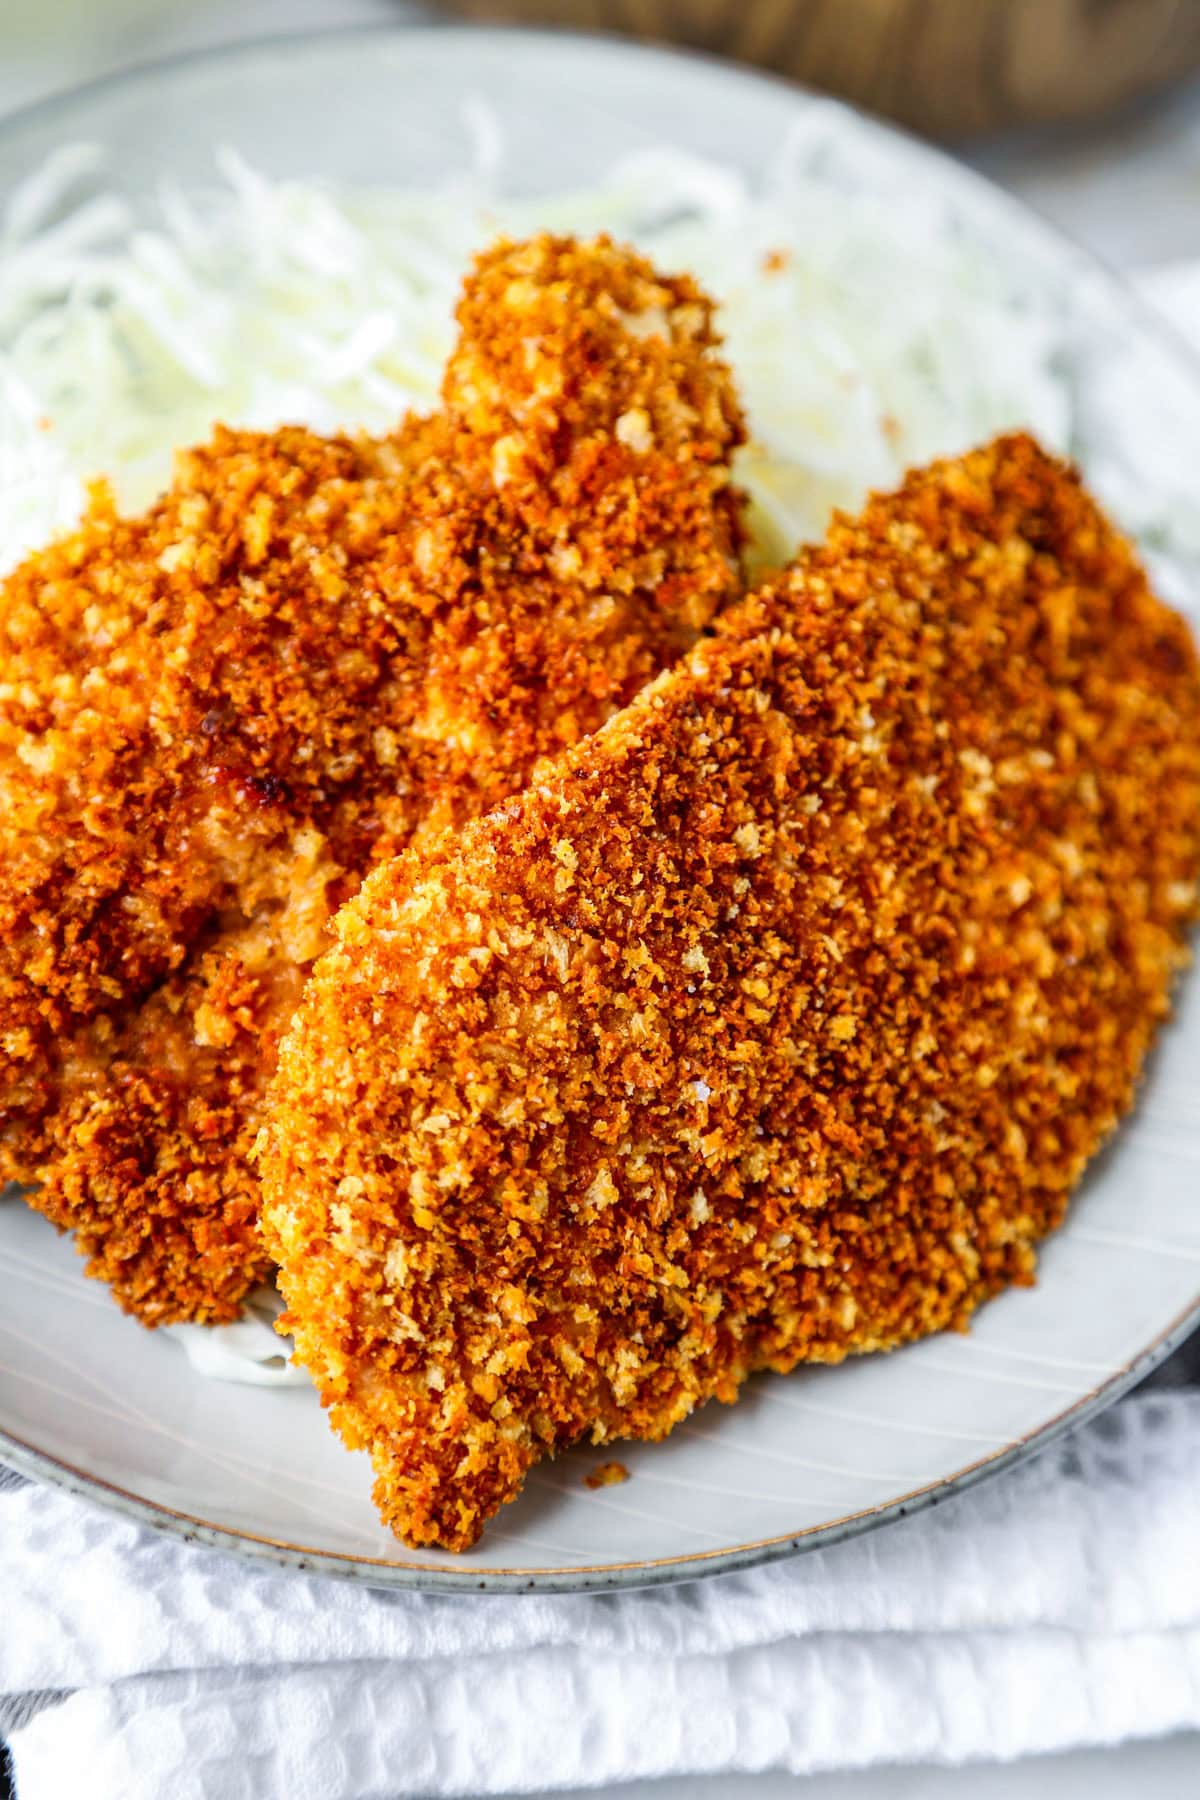
Not only is my baked chicken katsu recipe just as crispy as the deep fried Japanese original, it stays crispy even longer! These juicy chicken cutlets are so delicious that they will become part of your weekly meal rotation.
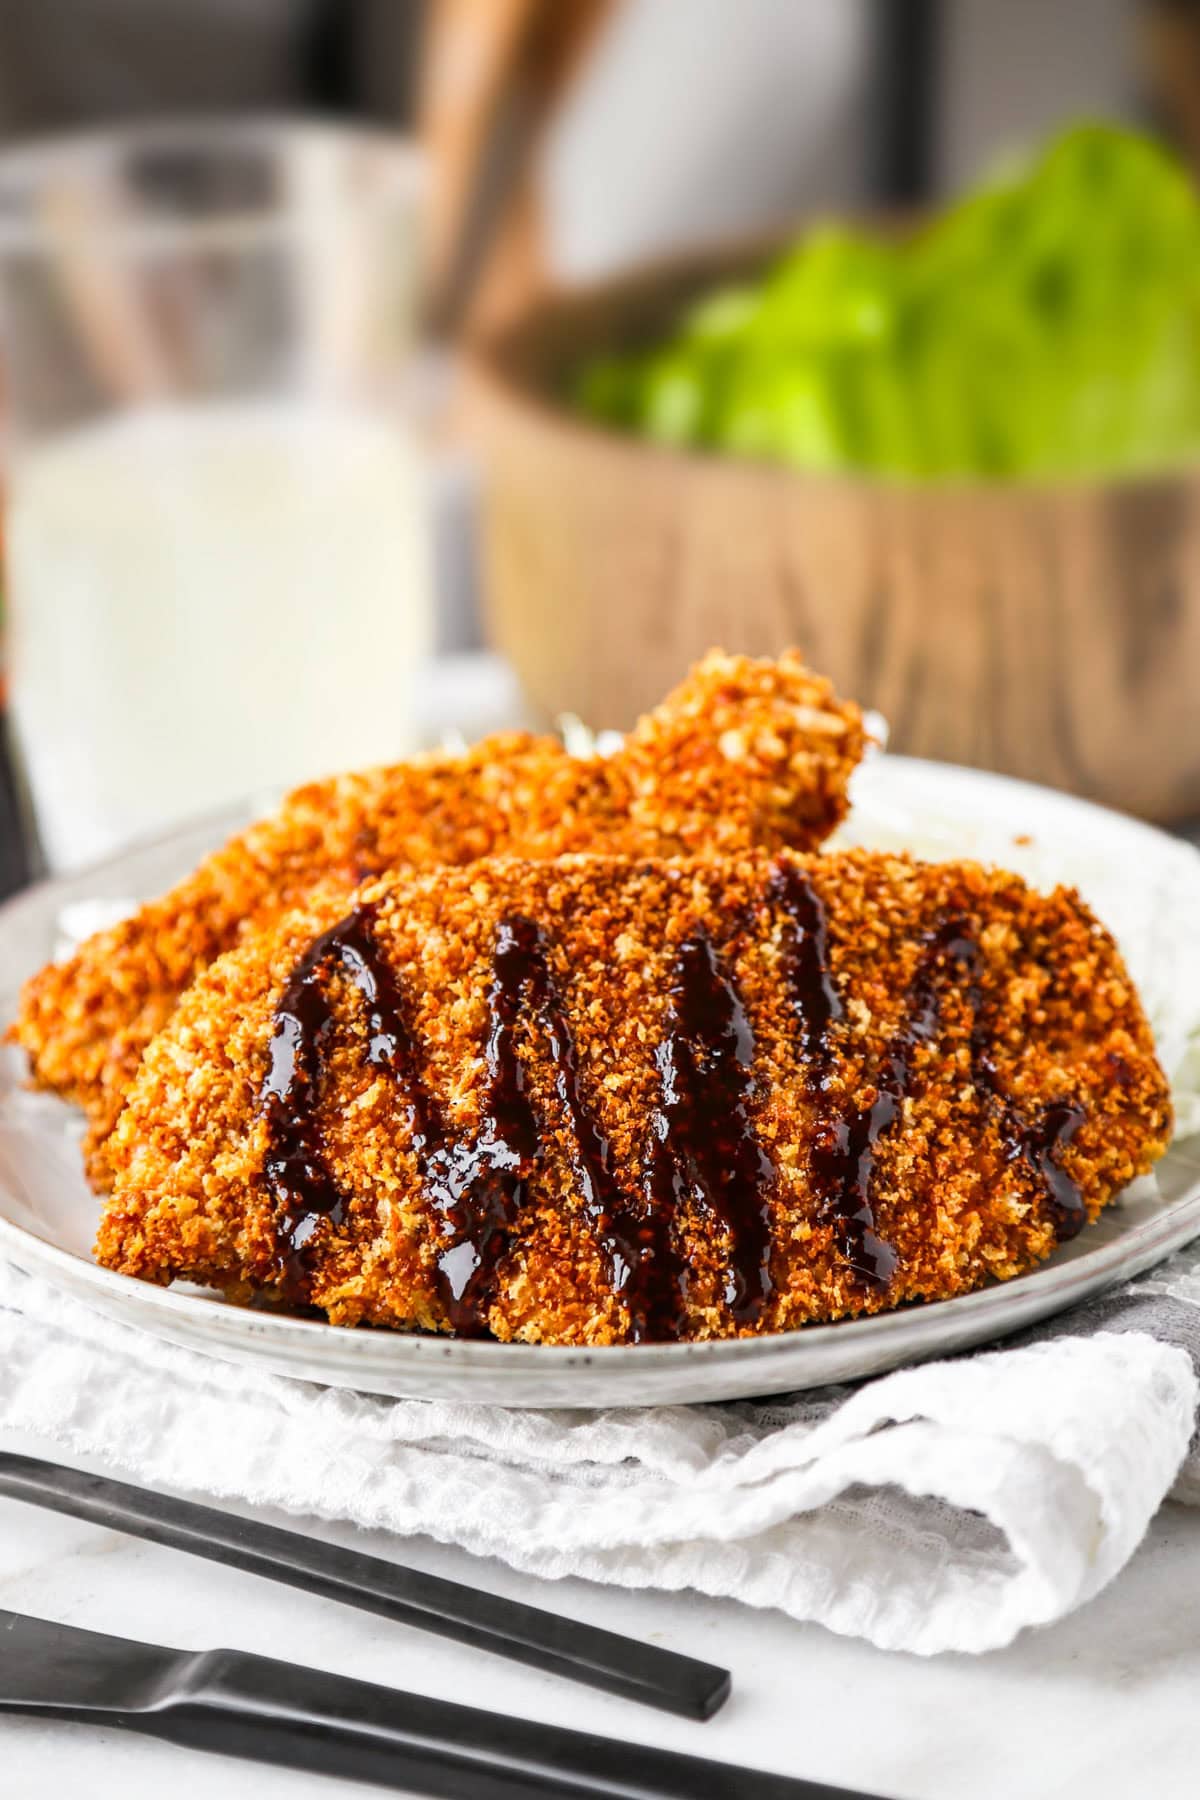
When we think of chicken katsu – or any type of katsu dish – we associate it with a protein cutlet such as pork, chicken, or beef, that’s deep fried until golden and served with tonkatsu sauce and plenty of shredded cabbage. This recipe is the healthier baked version and the good news is that it delivers the same crispy coating and juicy chicken with much less oil.
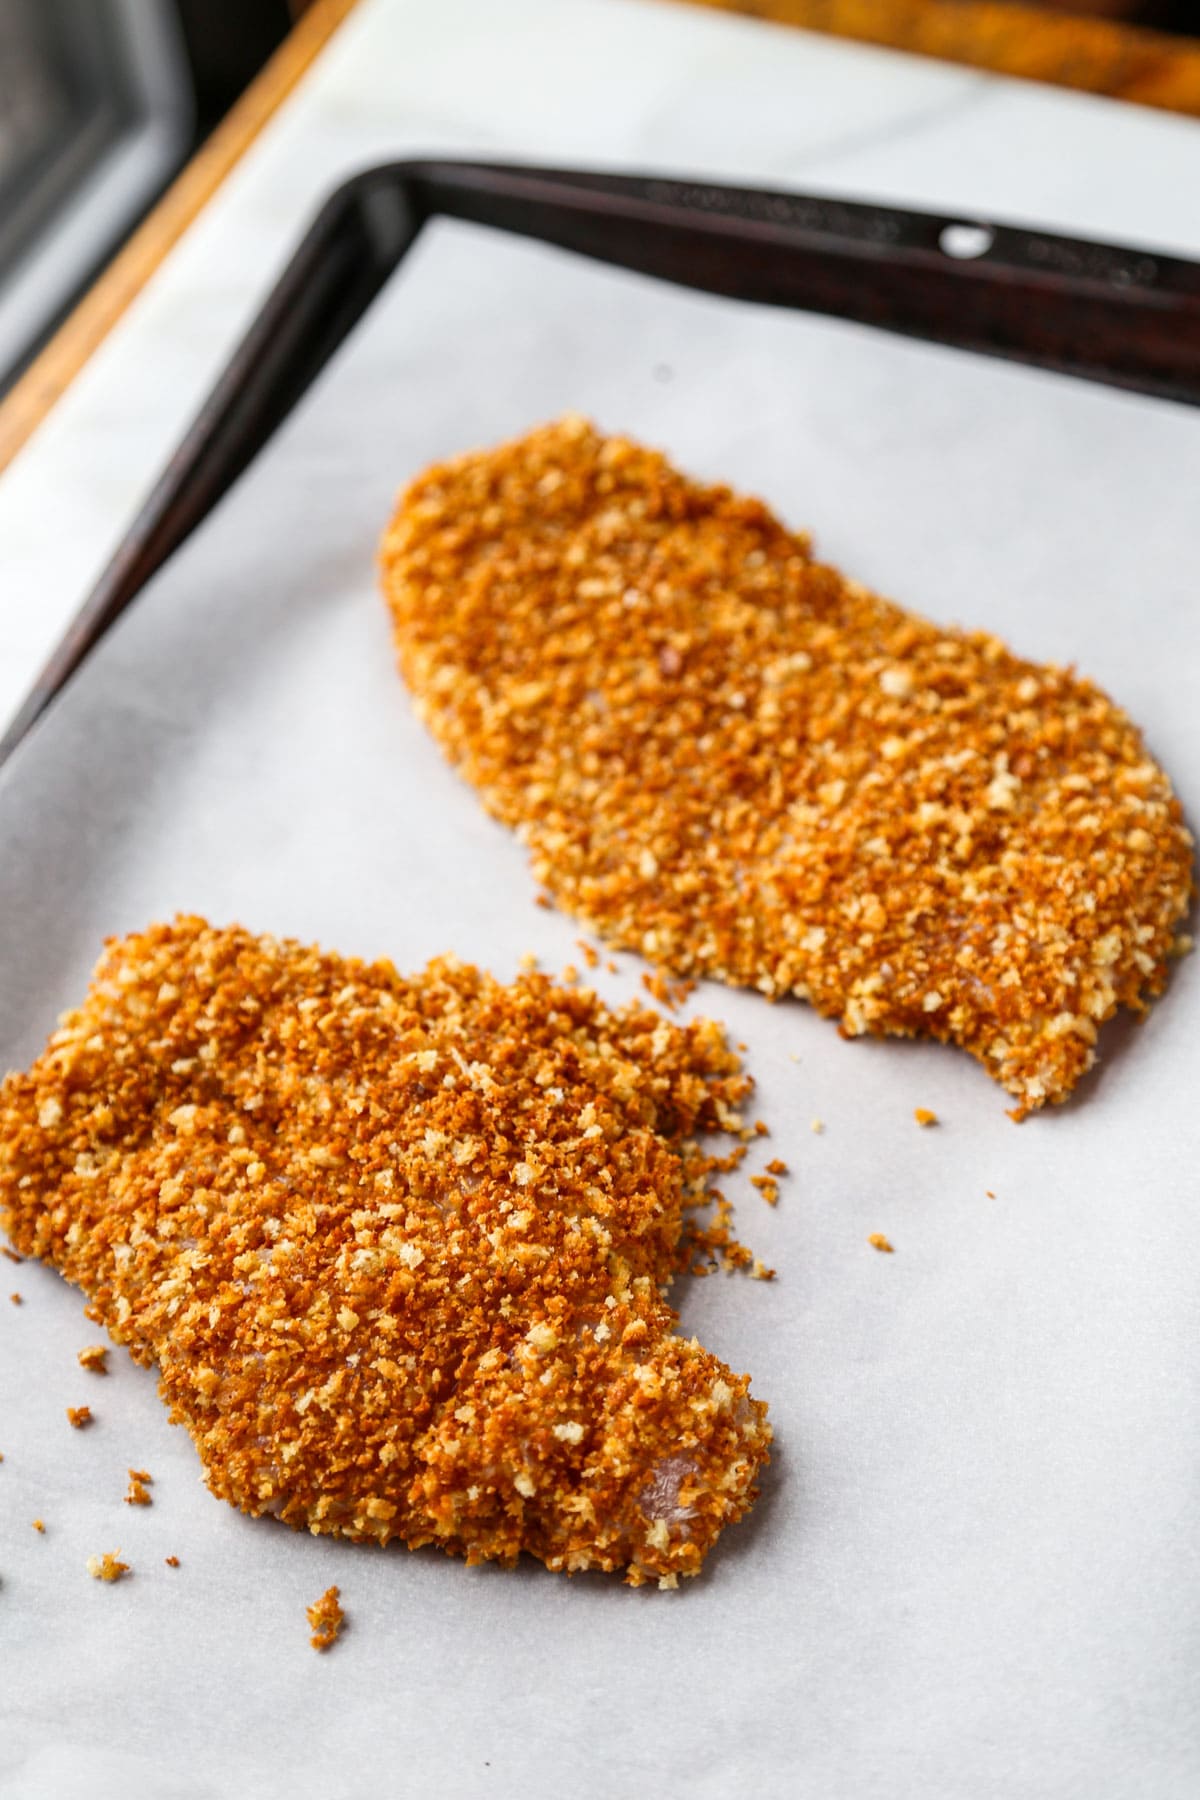
The secret is to toast the panko breadcrumbs before baking, which gives the chicken that golden crunchy exterior Japanese katsu is known for. This baked chicken katsu recipe is easy enough for a weeknight dinner and pairs perfectly with a side of white or brown rice, or as a topping for Japanese curry.
Why this Recipe Works
- Kids loves this dish because it’s similar to fried chicken.
- Baking instead of frying makes cleanup easier
- It’s a fairly healthy dish as the chicken is baked instead of deep fried.
- The flavor is just as satisfying as classic Japanese chicken katsu.
- It’s versatile: it can be served as a main, a sandwich filling (like this katsu sandwich), or a topping for curry or rice bowl.
Table of contents
Ingredients
- Chicken Breast: You’ll need about half a pound of boneless, skinless chicken breast to make this recipe.
- Panko Breadcrumbs: Crunchier and airier than traditional breadcrumbs, using panko breadcrumbs in this recipe will leave you with a perfectly crispy exterior. Panko is fairly easy to track down in most grocery stores these days.
- Extra Virgin Olive Oil: You’ll use this when toasting the breadcrumbs in a pan.
- All Purpose Flour: The flour is used as a binding agent.
- Egg: Egg is also used as a binding agent to make the panko breadcrumbs stick to the chicken cutlet.
- Salt and Pepper: Add dimension to your breading’s flavor with a little dash of salt and pepper.
Variations
- Use a different protein. Instead of chicken, use pork, beef, extra firm tofu, or a firm piece of fish.
- Add some spices. Add a little cumin and paprika to the flour to give it a curry flair and a little heat.
How to Make Baked Chicken Katsu
Scroll down to the recipe card for the full recipe.
- Preheat the oven and cover a baking sheet with parchment paper.
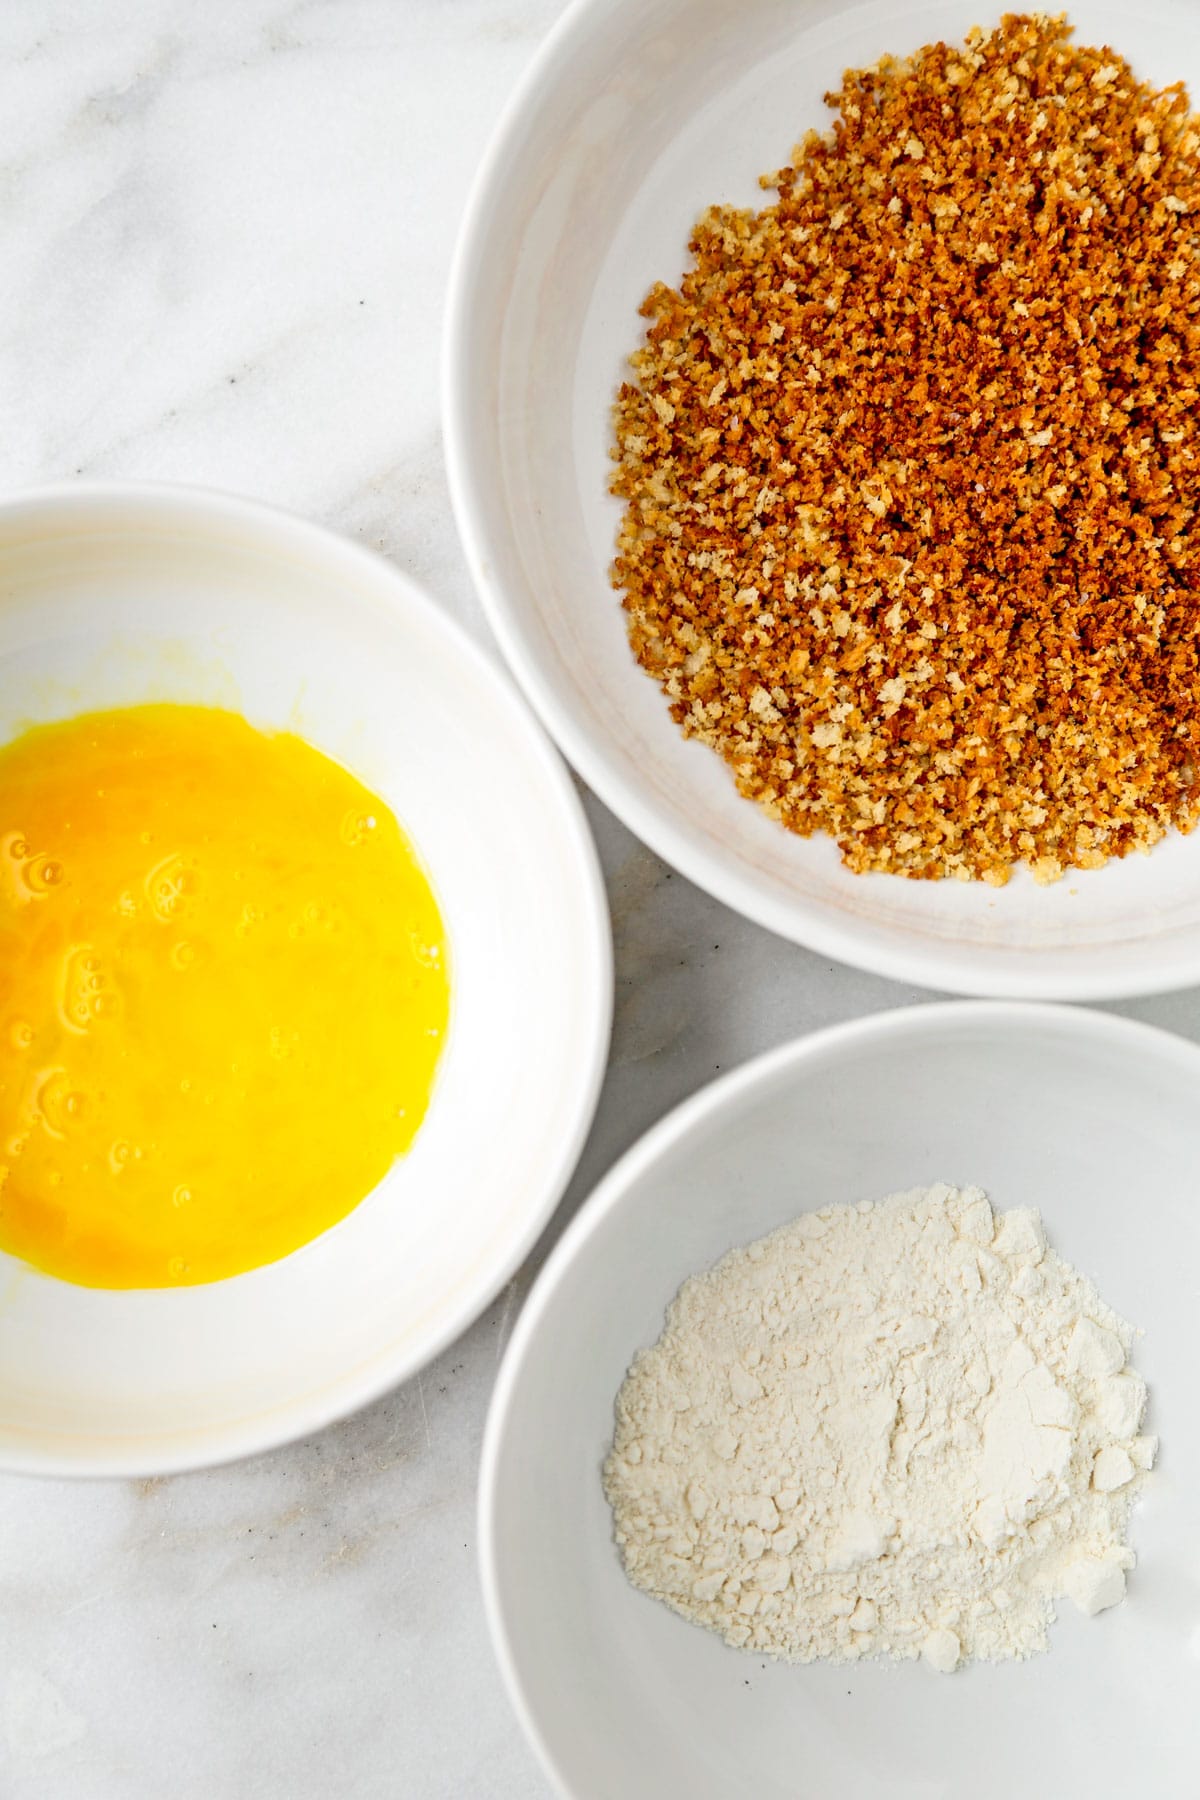
- Separate the ingredients for the breading in three different bowls and set them aside.
- Fry the panko breadcrumbs until golden brown and transfer them to a bowl.
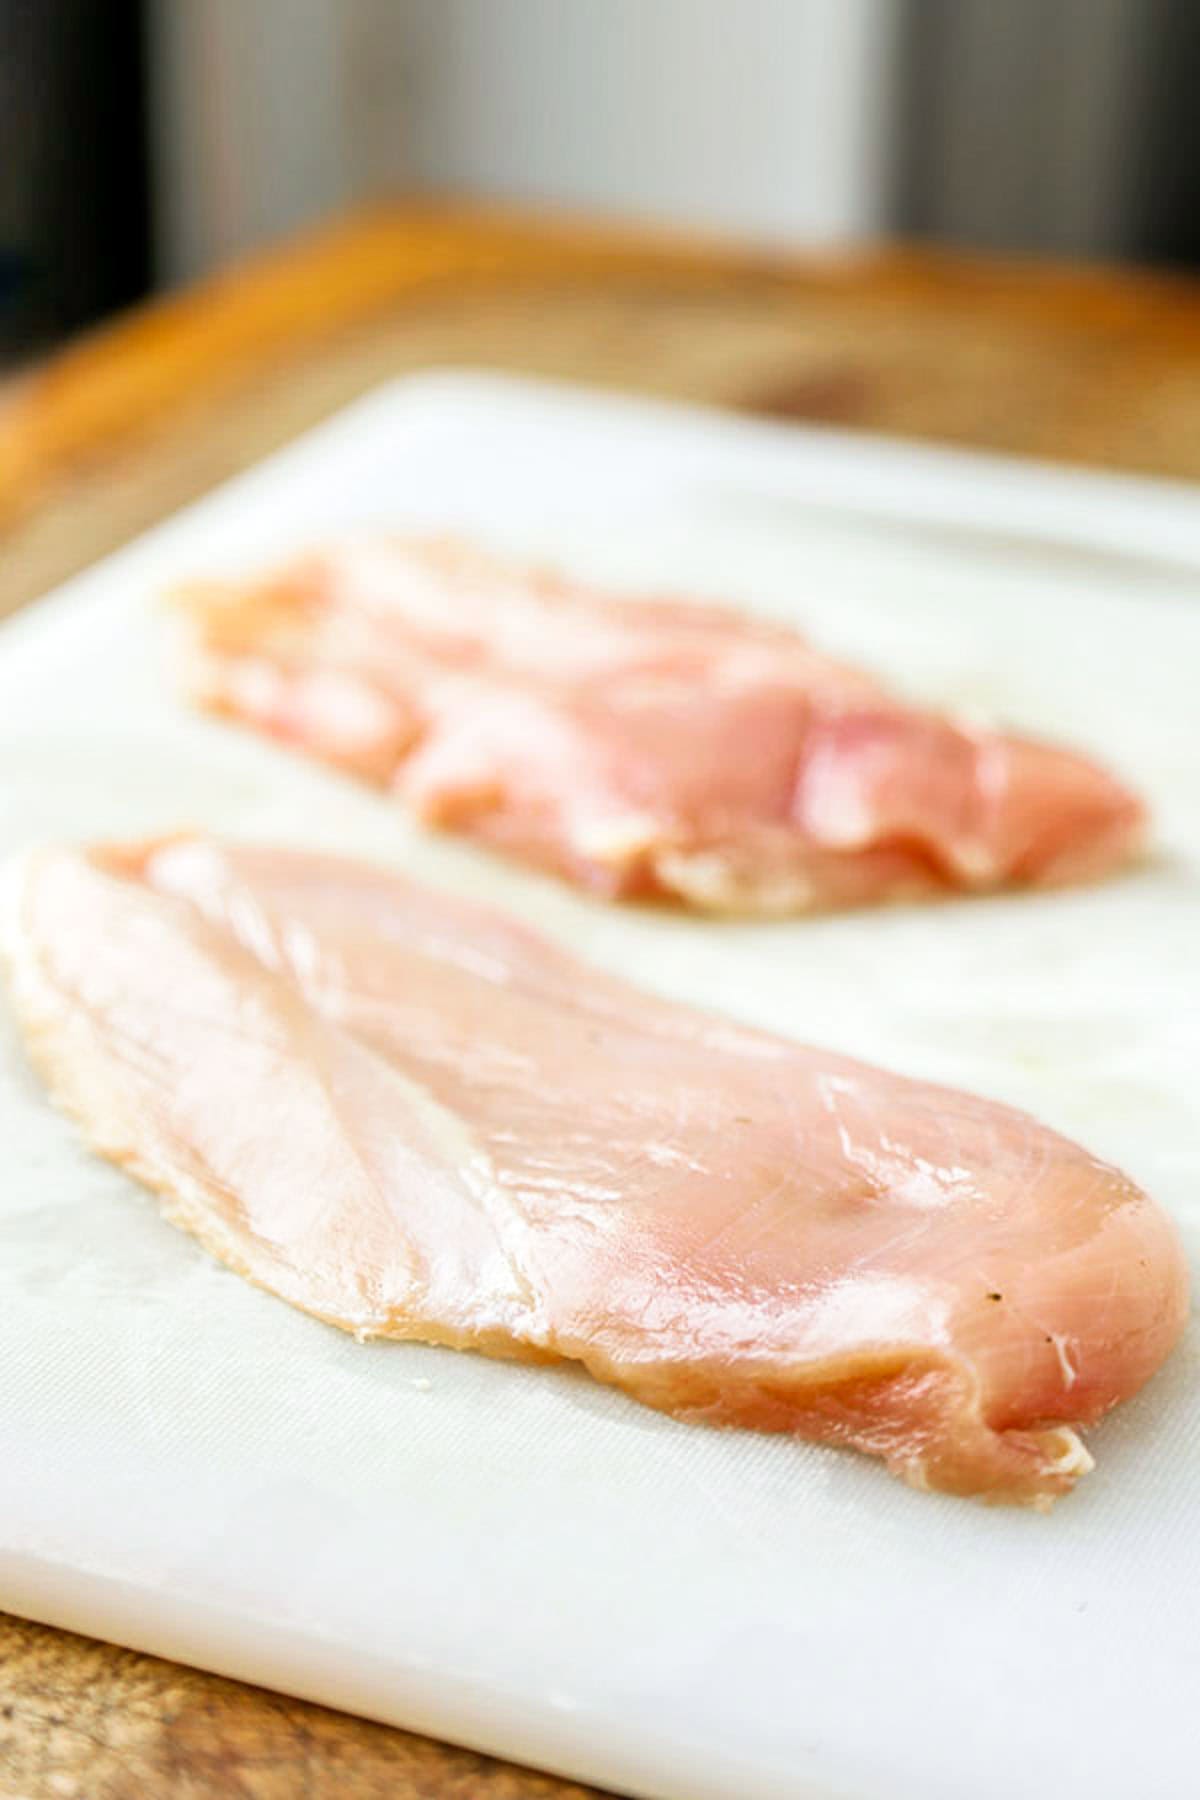
- Pound the chicken breasts.
- Dip the chicken in flour, egg, and panko breadcrumbs.
- Bake until the chicken is cooked through.
Tips for Extra Crispy Chicken Katsu
- Take the chicken out of the fridge 20 minutes before baking it. A piece of chicken that’s close to room temperature cooks more evenly and stays more moist.
- Pound the chicken to an even thickness. This ensures that every piece of chicken cooks evenly.
- Don’t overcrowd the baking sheet. Leave space between each piece so hot air can circulate.
- Bake the chicken on the upper-middle rack. This is good for better and more even browning.
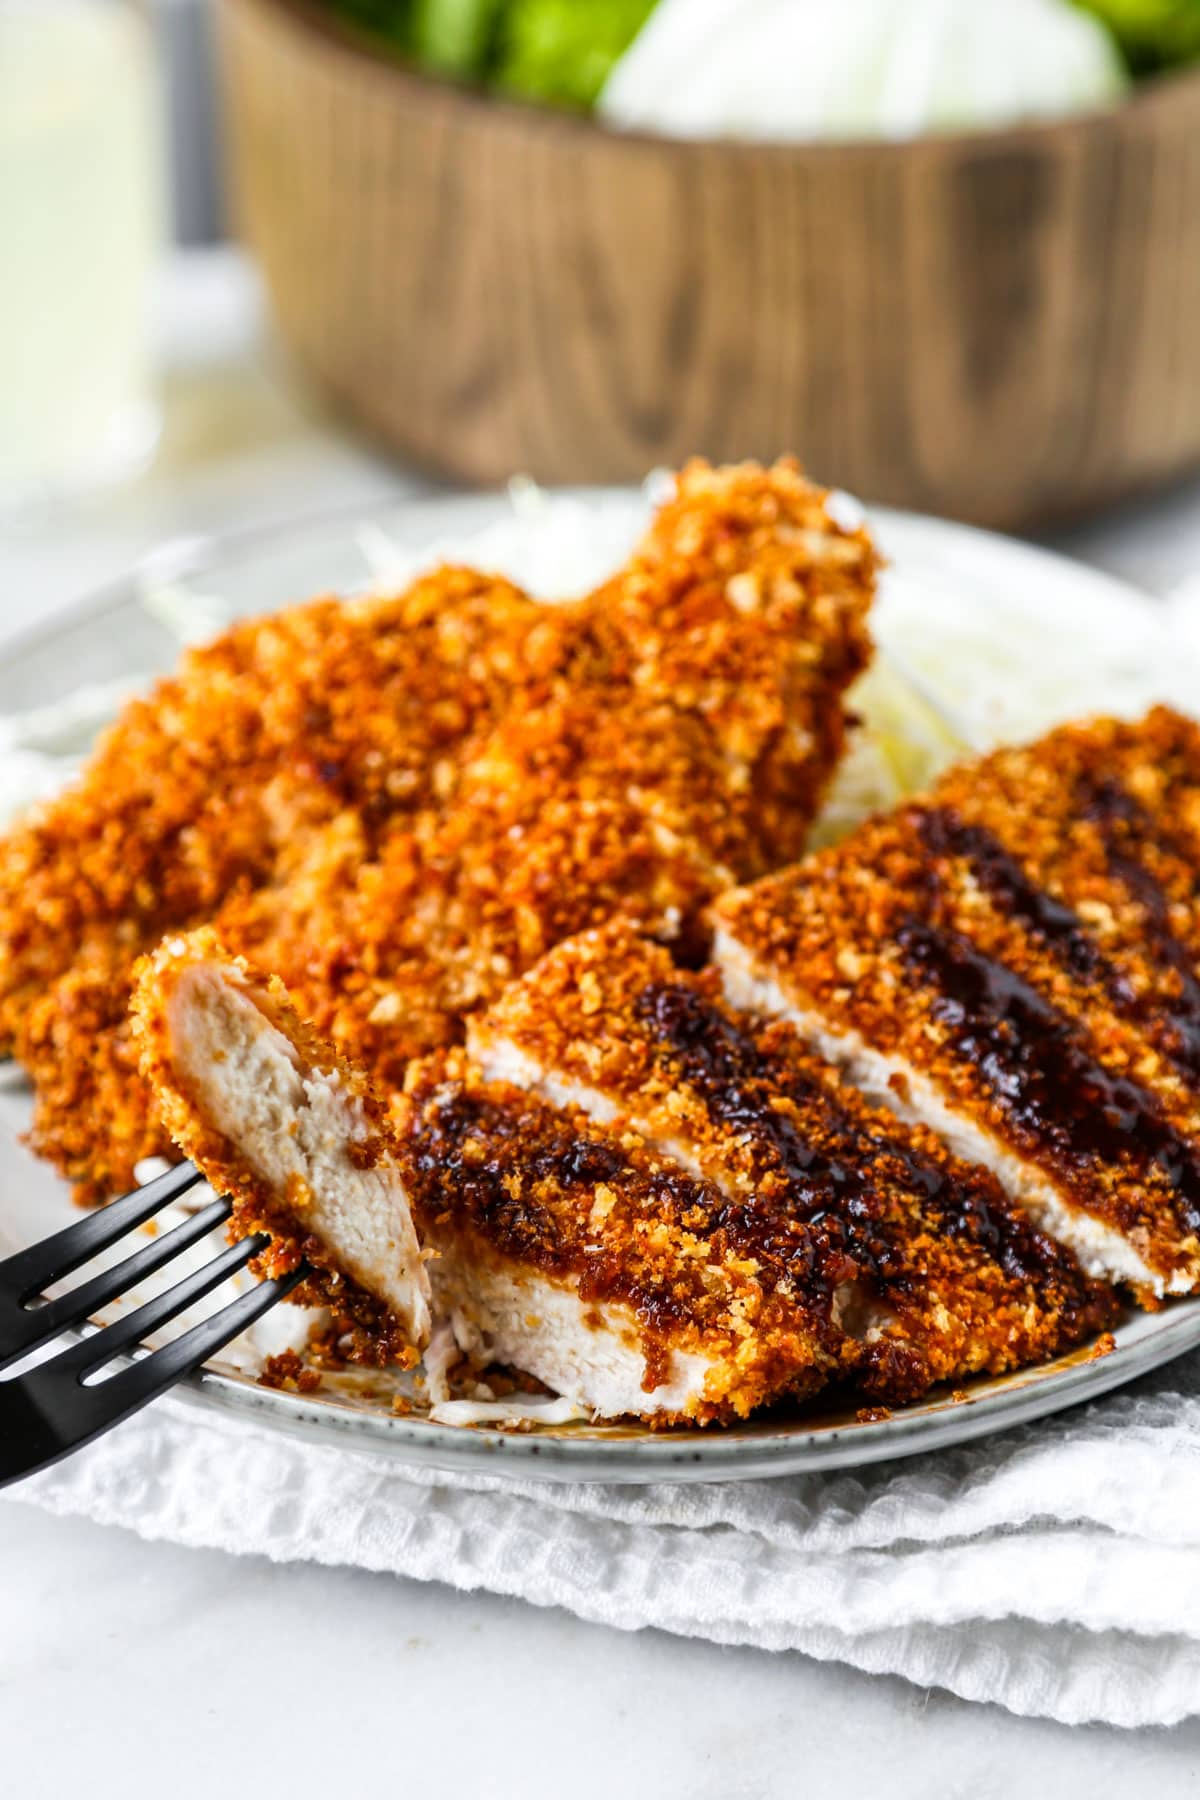
- Let the cutlets rest for 5 to 10 minutes. This ensures that the juices are redistributed evenly, making each bite equally juicy.
Storage & Reheating
Leftover chicken katsu can be refrigerated in an airtight storage container for up to 2 days.
To reheat, place the cutlets on a baking sheet and bake at 375ºF for 8 to 10 minutes, until hot and crispy again. Avoid microwaving if possible since the coating can become soggy.
This baked chicken katsu can also be frozen. Simply let the cutlets cool down to room temperature and wrap them individually in plastic wrap. Place them in a storage bag or airtight container and freeze for up to 1 month.
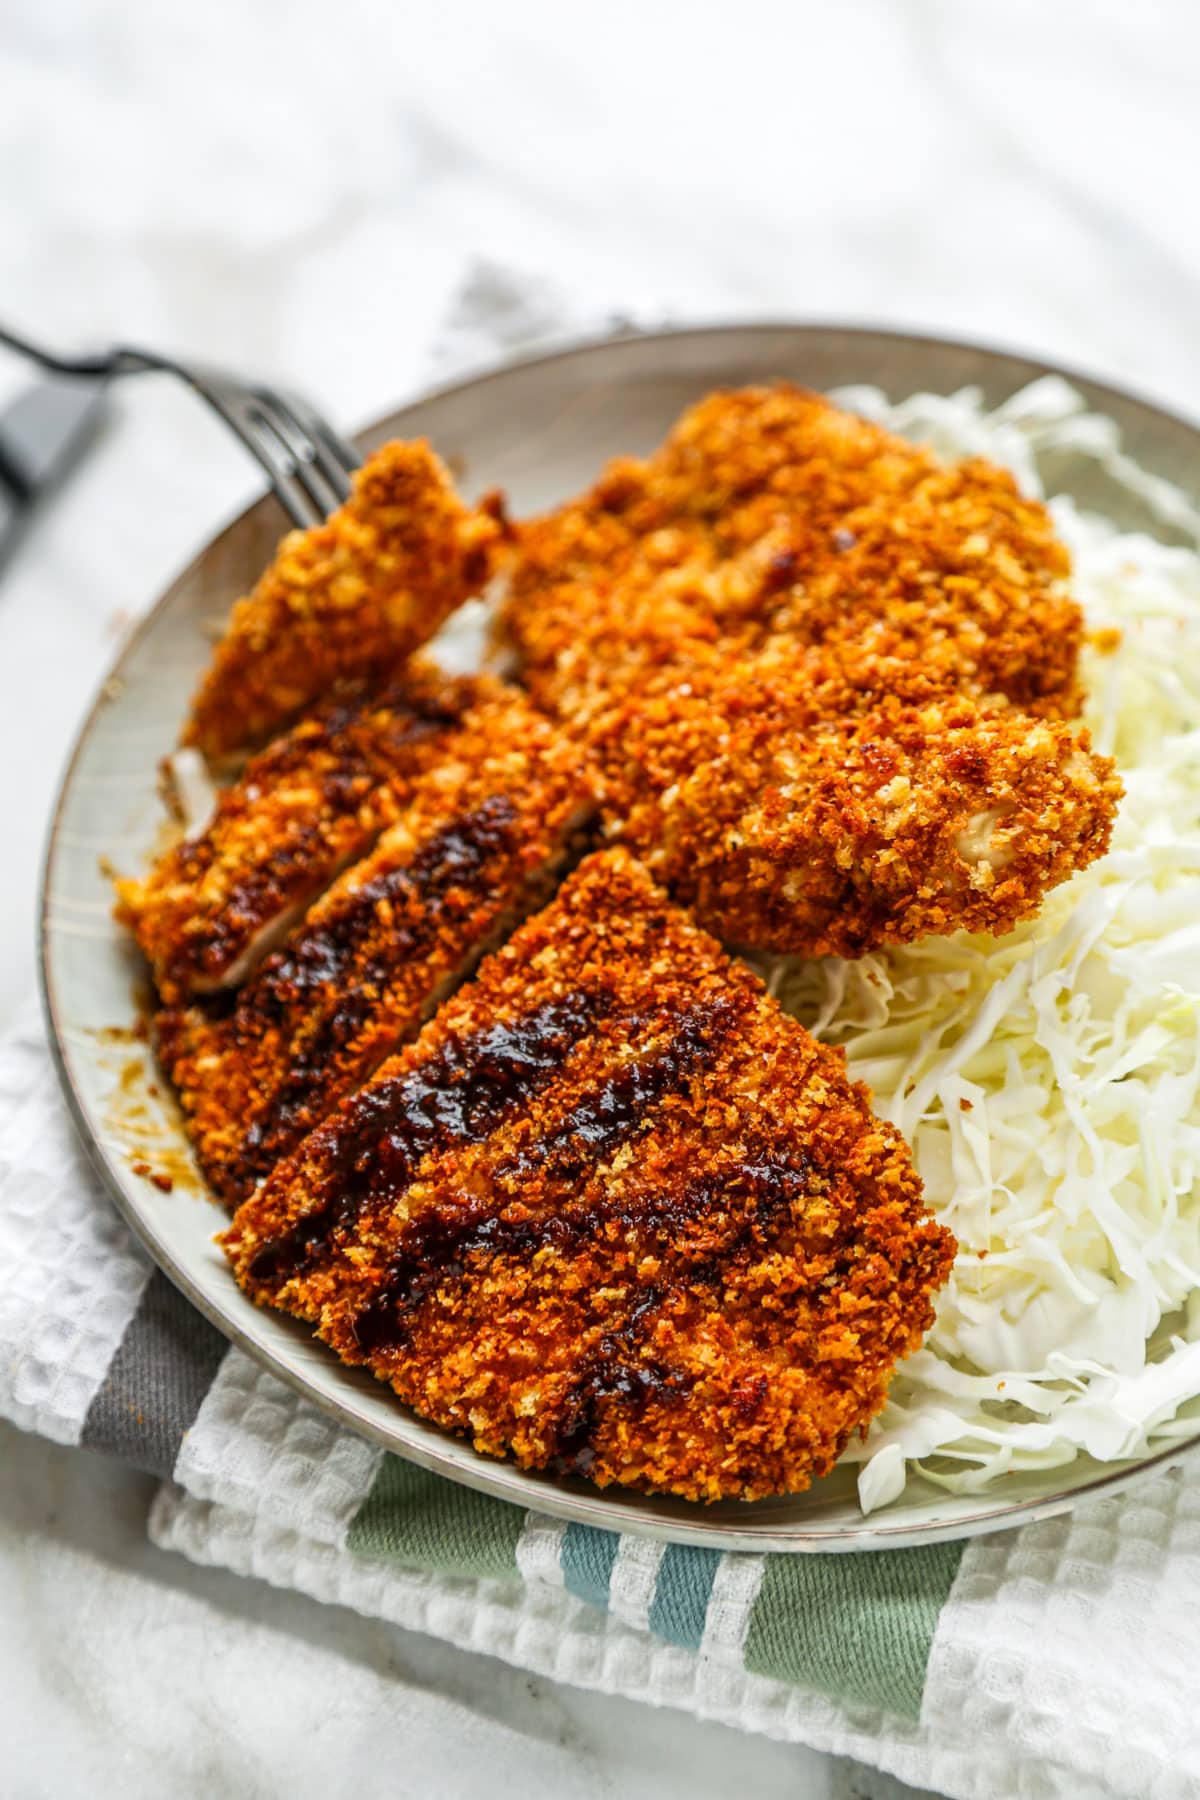
What to Serve with Chicken Katsu
In Japan, a crispy katsu cutlet is classically served with a mountain of shredded cabbage. While this is a great combination, there are plenty of other ways to serve this dish. If you are looking for more flavors than just plain shredded cabbage, try my Japanese cabbage salad.
Other classic and popular pairing options:
- Steamed Japanese rice
- Japanese fried rice (yakimeshi)
- Japanese potato salad
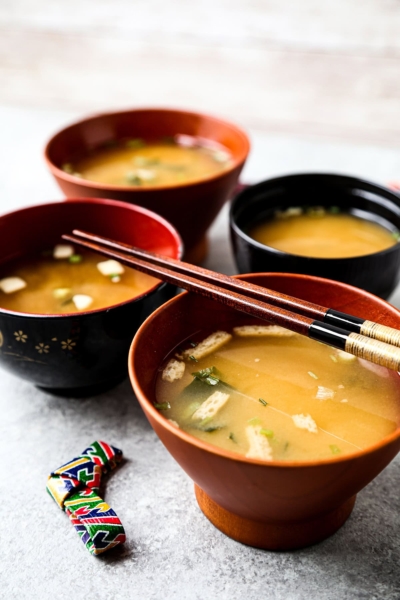
- Miso soup
- Japanese curry
- Pickles (tsukemono) or cucumber salad
- Simple green salad with carrot ginger dressing
Plus:
Did you like this recipe? Are there changes you made that you would like to share? Share your tips and recommendations in the comments section below!
PrintBaked Chicken Katsu
This baked chicken katsu recipe is just as crispy as the deep fried version and stays crispy even longer!
- Prep Time: 5 minutes
- Cook Time: 25 minutes
- Total Time: 30 minutes
- Yield: 2 servings 1x
- Category: Main
- Method: Baking
- Cuisine: Japanese
- Diet: Low Salt
Ingredients
- 1/2 pound boneless, skinless chicken breast
- 1/2 cup panko breadcrumbs
- 1 tablespoon olive oil
- 3 tablespoon all-purpose flour
- 1 large egg
- Salt and pepper to taste
- Tonkatsu sauce (optional)
Instructions
- Preheat the oven to 400ºF. And move one of the oven racks to the upper-middle part.
- Line a baking sheet with parchment paper. Set aside.
- Prepare the ingredients for the breading. Place three shallow bowls one next to another and fill the first one with flour and the second with the egg. Leave the third one empty for now – this will be for the panko breadcrumbs.
- Fry the breadcrumbs. In a small pan over medium heat, add the breadcrumbs and olive oil and toss to coat evenly. Season with salt and pepper and cook until breadcrumbs are golden brown. Turn the heat off and add breadcrumbs to the last shallow bowl.
- Coat the chicken with breading. Pound the chicken to about 1/2-inch thickness and dip each piece in flour, egg and panko breadcrumbs. Press gently to coat the chicken evenly on each side.
- Bake the chicken. Place chicken pieces on parchment paper and bake in the oven for 12-13 minutes on each side, until the chicken’s internal temperature reaches 165° Fahrenheit (75° Celsius).
- Serve chicken katsu. Serve it with tonkatsu sauce or ketchup.
Notes
Keep the leftovers in a storage container and refrigerate for up to 2 days.
Nutrition
- Serving Size: 1 cutlet
- Calories: 298
- Sugar: 0.6g
- Sodium: 129mg
- Fat: 12.8g
- Saturated Fat: 2.5g
- Unsaturated Fat: 1.9g
- Trans Fat: 0g
- Carbohydrates: 13.4g
- Fiber: 0.6g
- Protein: 30.6g
- Cholesterol: 175.7mg
Frequently Asked Questions
Yes you can. Use gluten-free flour and gluten-free breadcrumbs.
Yes you can, it will be similar to this tofu katsu recipe. Swap the chicken for an extra firm block of tofu, and the egg for a flaxseed egg.
Toasting the breadcrumbs before baking helps create a crispy golden coating that mimics the deep fried version.
Yes, although chicken breast gives the classic chicken katsu texture. Boneless skinless thighs will be juicier and slightly richer.
Tonkatsu sauce is the traditional choice, but ketchup, demi-glace, or a drizzle of soy sauce also work well.


This is a FANTASTIC recipe- the chicken is just like out favorite Japanese restaurant! Definitely a keeper, and we absolutely loved it. Instead of pounding the chicken, we just cut it thin and it was perfect. Well done- the cooking of the Panko and flipping them over during cooking makes them crisp and perfect. Thank you.
Thank you so much! We also love it, especially the crispiness! 🙂
How about using an air fryer for this?
Hi Mary! Yes, an air fryer should work well with this recipe. I would make sure to check how long it takes to cook chicken in your air fryer since they are all a little different. Let me know how it turns out!
This is my go-to recipe for chicken katsu. I’ve made this using thighs and it’s so good. I love the tip about toasting the crumbs in oil first. It definitely ensures a crispy crust on the outside. And I like that this is baked, so a healthy alternative to deep-frying the chicken. I combined two Asian cuisines tonight and made Korean vegetable pancakes as an accompaniment to this delicious chicken katsu. I should have invited friends to share because it was an impressive dinner if I do say so myself. Thanks for this winning recipe!
There are lots of food blogger like this But the best food recipe “Baked Chicken Katsu Recipe” is yours. Thanks for giving me this wonderful blog. I will try to make it like you.
Made this for my book club and it turned out delicious. I also made to homemade tonkatsu sauce…surprisingly spicy! Loved it and so easy. Only change I made was some spicy salt in the panko and salt and pepper on the chicken breasts.
Best recipe using chicken breast that I’ve tried in a long time. My family loved it!
First time making this. It was a big hit, but the panko breading didn’t stay
crunchy for me. Could it have been because the panko wasn’t fresh (we’ve had that box for a while now)? Also, is there a reason for toasting the panko in a SMALL pan as opposed to a big one? It would seem that a larger pan would help with a more even toasting.
Hi Kay! I’m so sorry you had trouble with the recipe. I think the fact that the panko was old might be the reason why it didn’t stay crunchy, or maybe it wasn’t toasted long enough? It’s hard for me to tell without a picture (feel free to email any time and I can help you 🙂 ) As far as toasting in a small pan, there is no particular reason other than I find that it helps with preventing the panko from burning too quickly.
I used boneless chicken thighs. Pounded them thinner and they were crispy on the outside and moist inside. I also made the tonkatsu sauce, which was delicious
Thank you Lorna! 🙂
First time making this – made it for 11 people and they ALL loved it. Got distracted with the first batch of panko and burned it afterwards, went well and DEFINITELY gave it the crunch people love!
Thank you so much Amanda!
Hi! Can I make this ahead? How long will it keep in the fridge, and can I reheat in the oven?
Hi Alison! I wouldn’t recommend making this ahead of time since the texture of the breading is best when fresh out of the oven (super crispy – so yummy!) It will keep in the fridge for about 2 days and yes you can reheat it in oven at a low temperature so the chicken doesn’t dry out. 🙂
We make this recipe at least once a month, it’s one of our toddler’s favourite meals 🙂 Highly recommend!
Absolutely loved this recipe! I added curry sauce on top.
Just made this with boneless skinless chicken thighs and it’s fantastic! Juicy on the inside and crisp on the outside… great tip on toasting the panko first it made all the difference! Thanks.
Amazing!!! Toasting the panko is a gamechanger! All I had were chicken thighs so I pounded them out, cut them in half and they were delicious. I had those in the oven a few extra minutes. Soooo crispy with barely any oil used! I served over rice with tonkatsu sauce and a daikon slaw
Hi in your instructions, did you mean 1/2 inch instead of 2 inches for the chicken thickness?
Yes Anne, that’s correct and thank you for spotting that mistake! I’ve made the changes to 1/2-inch 🙂
Can you substitute beef, pork, fish or any seafood? Thanks for the tip about the Panko bread crumbs becoming crunchy longer while baking the katsu.
Hi Jade, I tried substituting chicken for shrimp and it wasn’t good so I’m not sure if this would work well for fish. I think beef and pork is good though 🙂
This looks delicious Caroline. I have tried this at home a few times, but the crumb crust is never crisp so thanks a lot for the toasting tip!! Will definitely try this very soon 🙂
Jenny, you won’t believe how crispy it is!