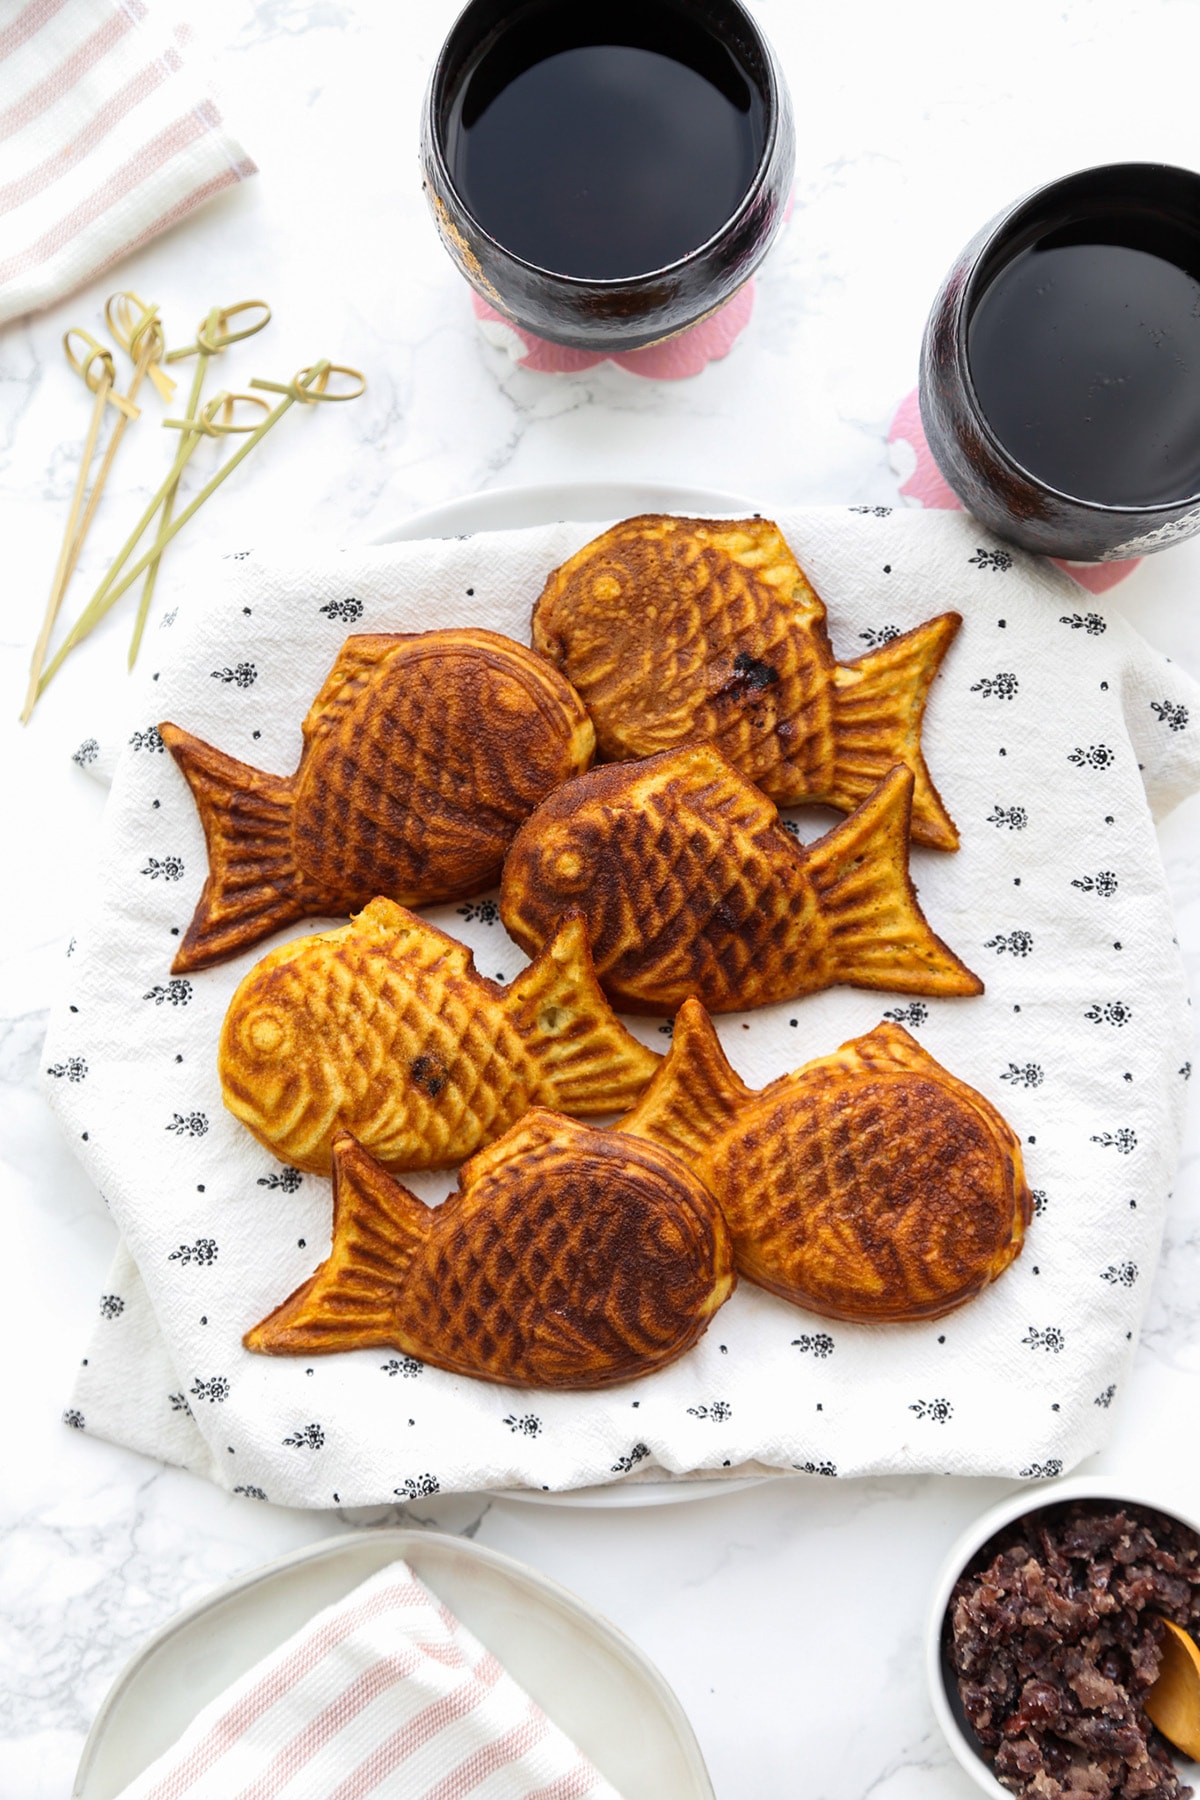
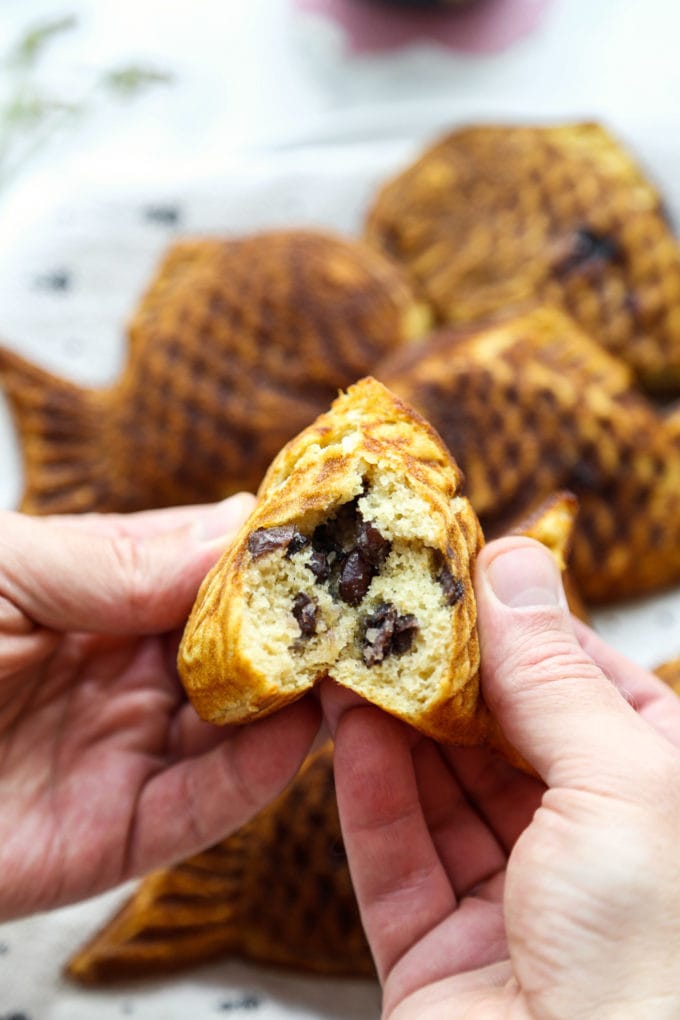
Taiyaki are Japanese fish shaped waffle cakes stuffed with sweet red bean paste (anko) or various other fillings. It’s a popular snack sold at street fairs, convenience stores, food counters, and specialty shops all across Japan. My taiyaki recipe is easy to follow and comes with 3 filling options – sweet red bean paste, nutella, and strawberry jam.
Why I Love This Recipe
What makes taiyaki so special in my eyes isn’t only because of its pretty fish design, I love the crispy and light texture of the cake, somewhere between a pancake and a wafer, and the rich sweet red bean paste that’s just sweet enough to satisfy my sugar cravings, but not so sweet that it’s cloying.
The overall dish tastes fresh and almost healthy! It’s has a comforting element when served warm, like it was made out of love and care. Sitting on a beach with my mother while chewing on these beautiful sweet waffle cakes is one of my favorite things to do in the summer.
Table of contents
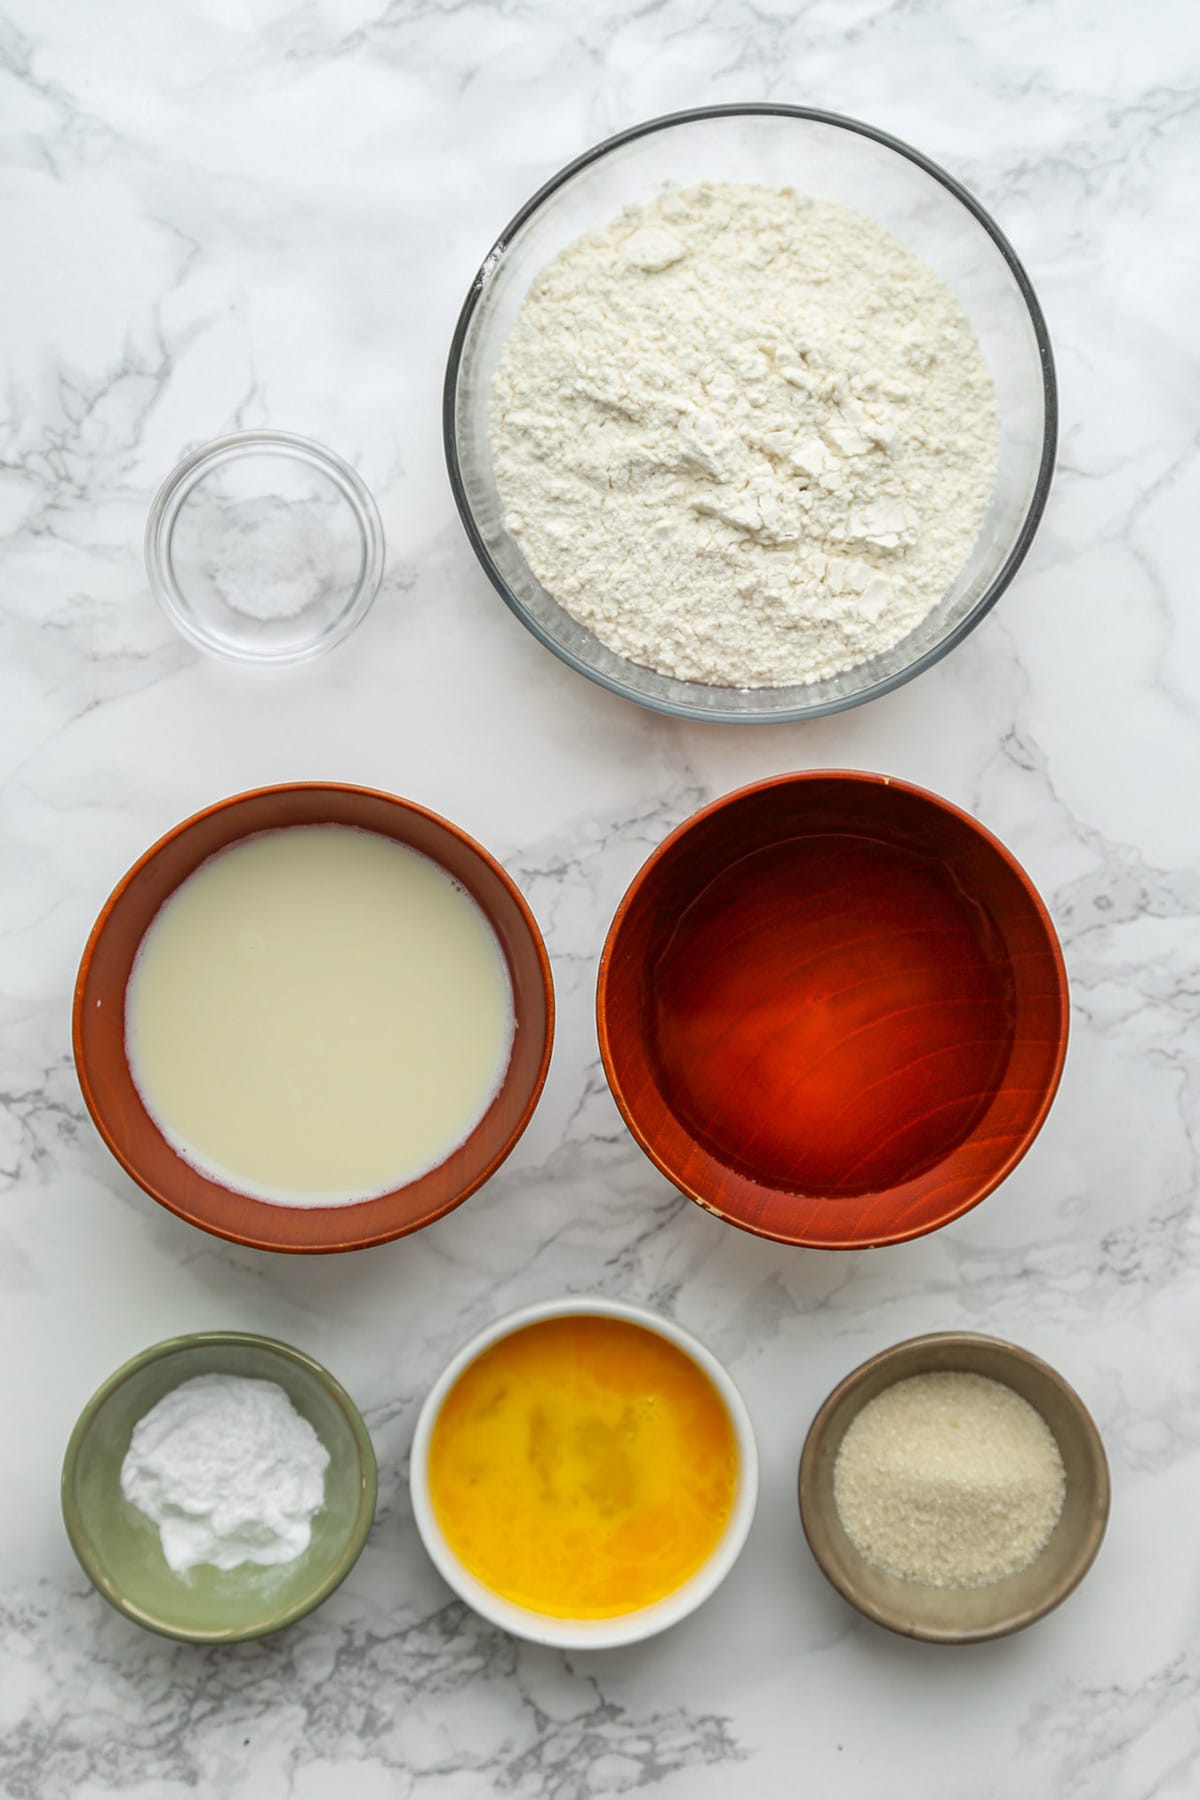
Ingredients
- Cake flour: Cake flour is made from soft wheat and contains less gluten protein (7-9 percent) than all purpose flour (10-13 percent), which means that the texture of the taiyaki will be lighter, softer, and more tender.
- Baking powder: The baking powder give the pancakes a light and fluffy texture.
- Baking soda: Baking soda is added to make the batter lighter and more airy.
- Sugar: Just a little sugar to add some sweetness to the batter. Japanese desserts are generally less sweet than Western desserts, but feel free to add an extra teaspoon of sugar if you like a sweeter cake.
- Salt: Just a pinch to balance the sweetness of the batter.
- Water and milk: Using a mixture of milk and water makes the batter fluffy and gives the overall result more structure.
- Egg: You will need a large egg to bind all the ingredients.
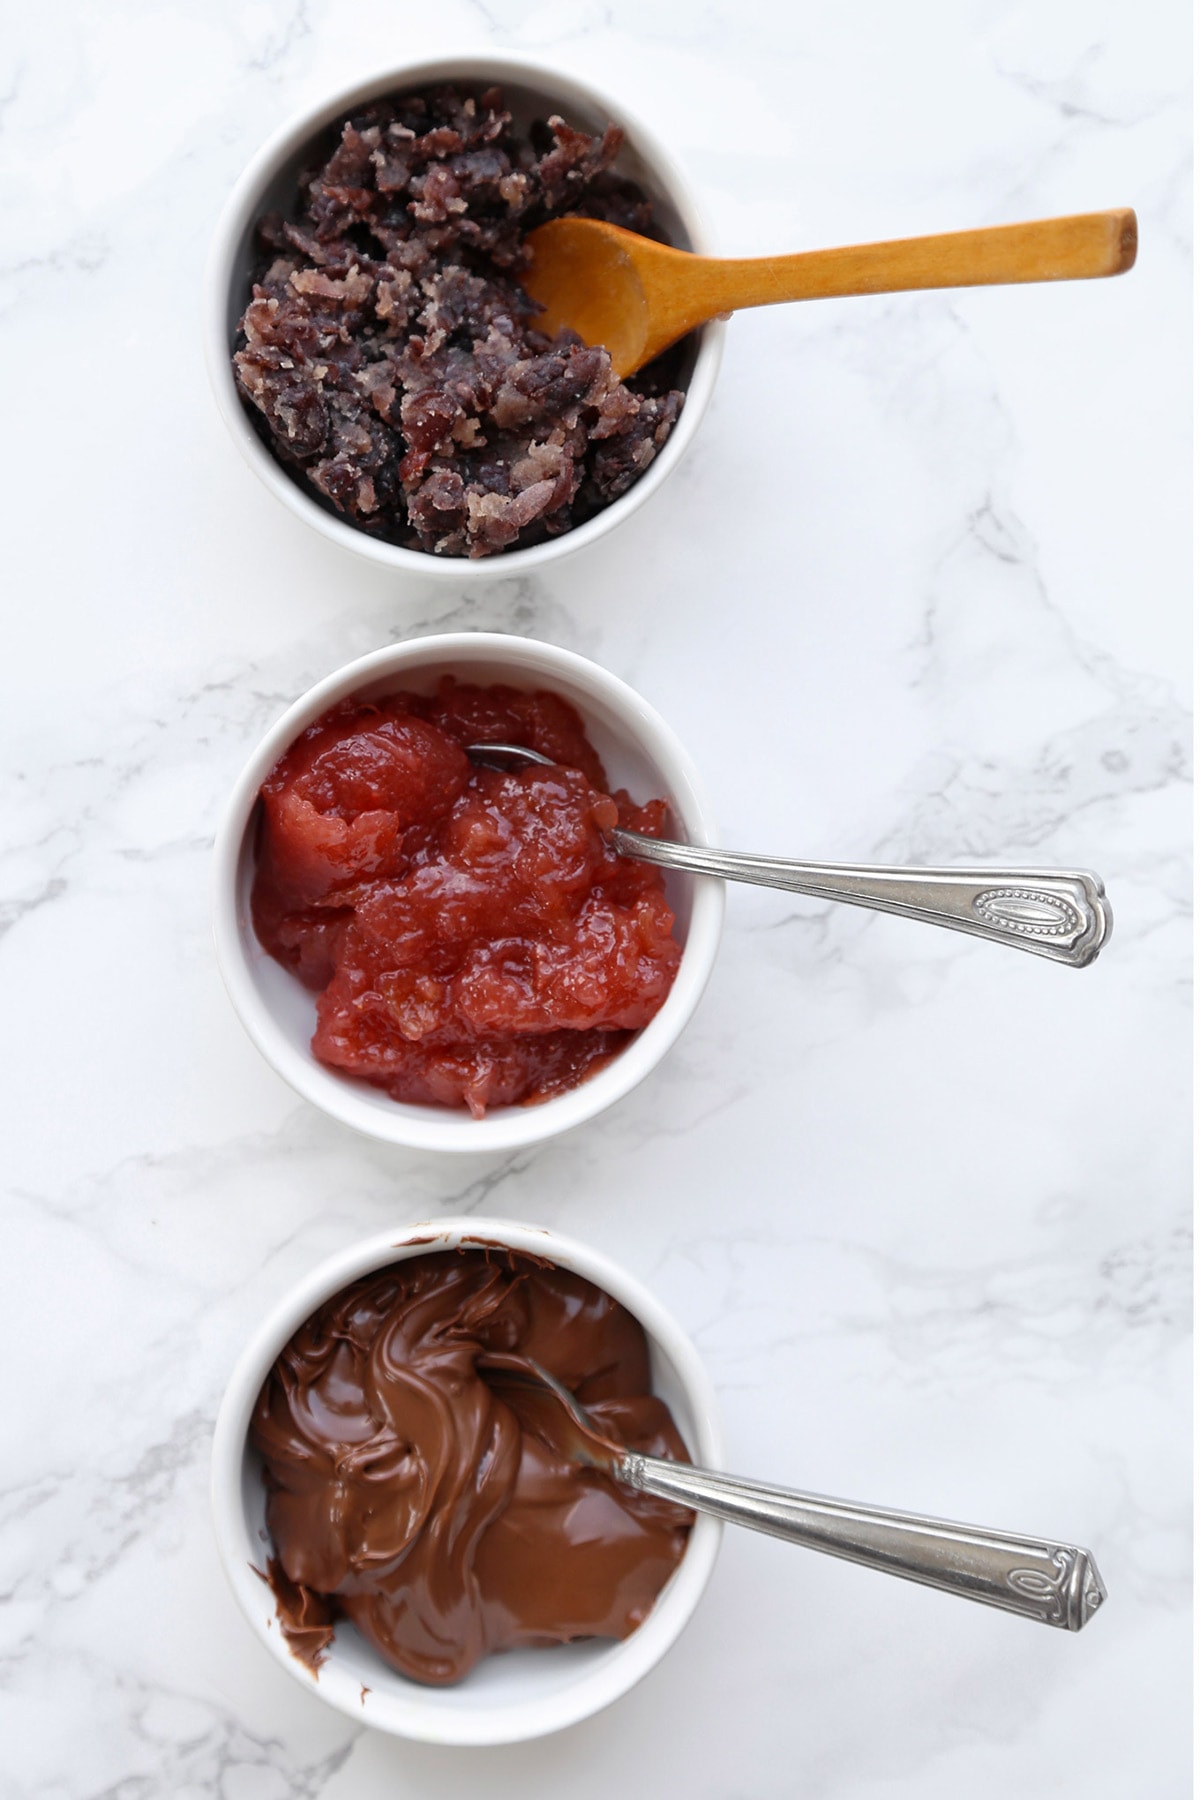
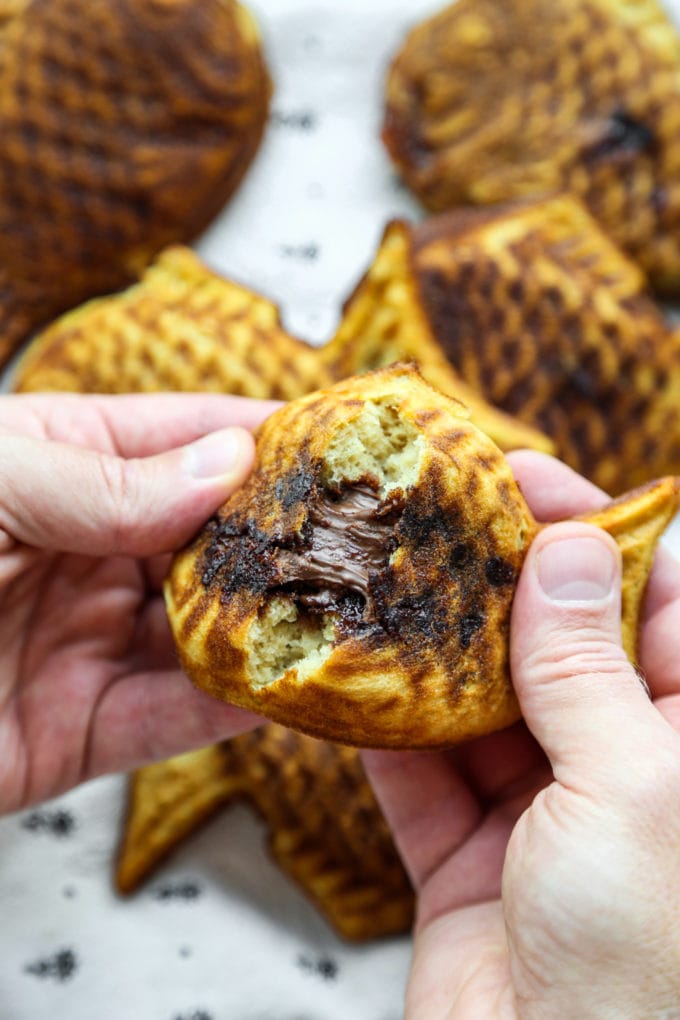
- Fillings: For this recipe I have chosen to use anko (sweet red bean paste), Nutella, and strawberry jam.
Filling Variations
The fun part about making taiyaki is that all kinds of filling can be used for it! While you can technically add any filling you like to this Japanese fish waffle cake, some of the more popular options, aside from anko and nutella, are:
- Custard
- Sweet potato paste
- Chestnut paste
- Matcha cream
- Ice cream
- Pizza
- Cheese
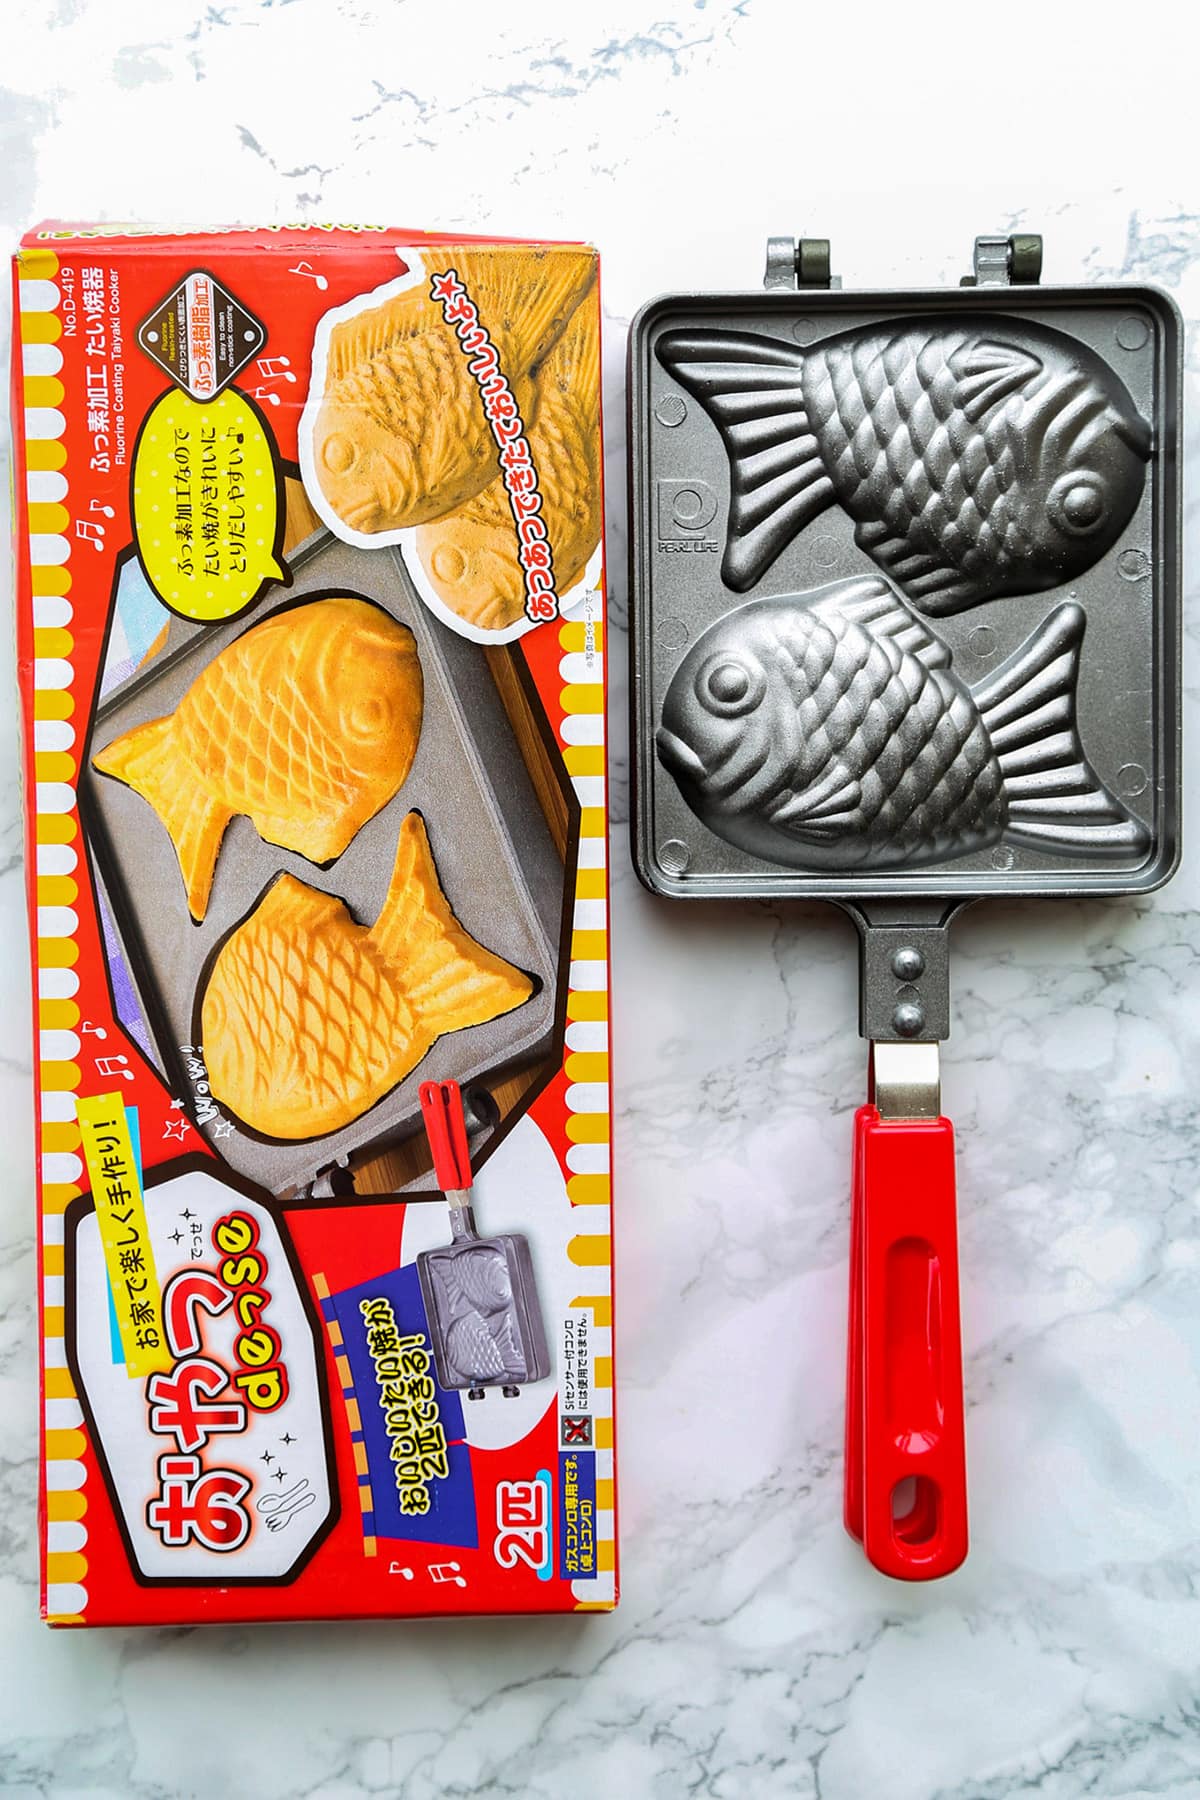
Kitchen Tools Needed To Make Taiyaki
Taiyaki pan: You will need a taiyaki pan to shape the waffle cakes. The one I have is by Kotobuki, which is a brand I trust based on previous purchases I have made with them.
You will also need a mixing bowl, a ladle, a brush or cooking spray, and a cooling rack (optional).
How to Make It
Scroll all the way down to the recipe card for the full recipe.
- Sift the dry ingredients into a bowl.
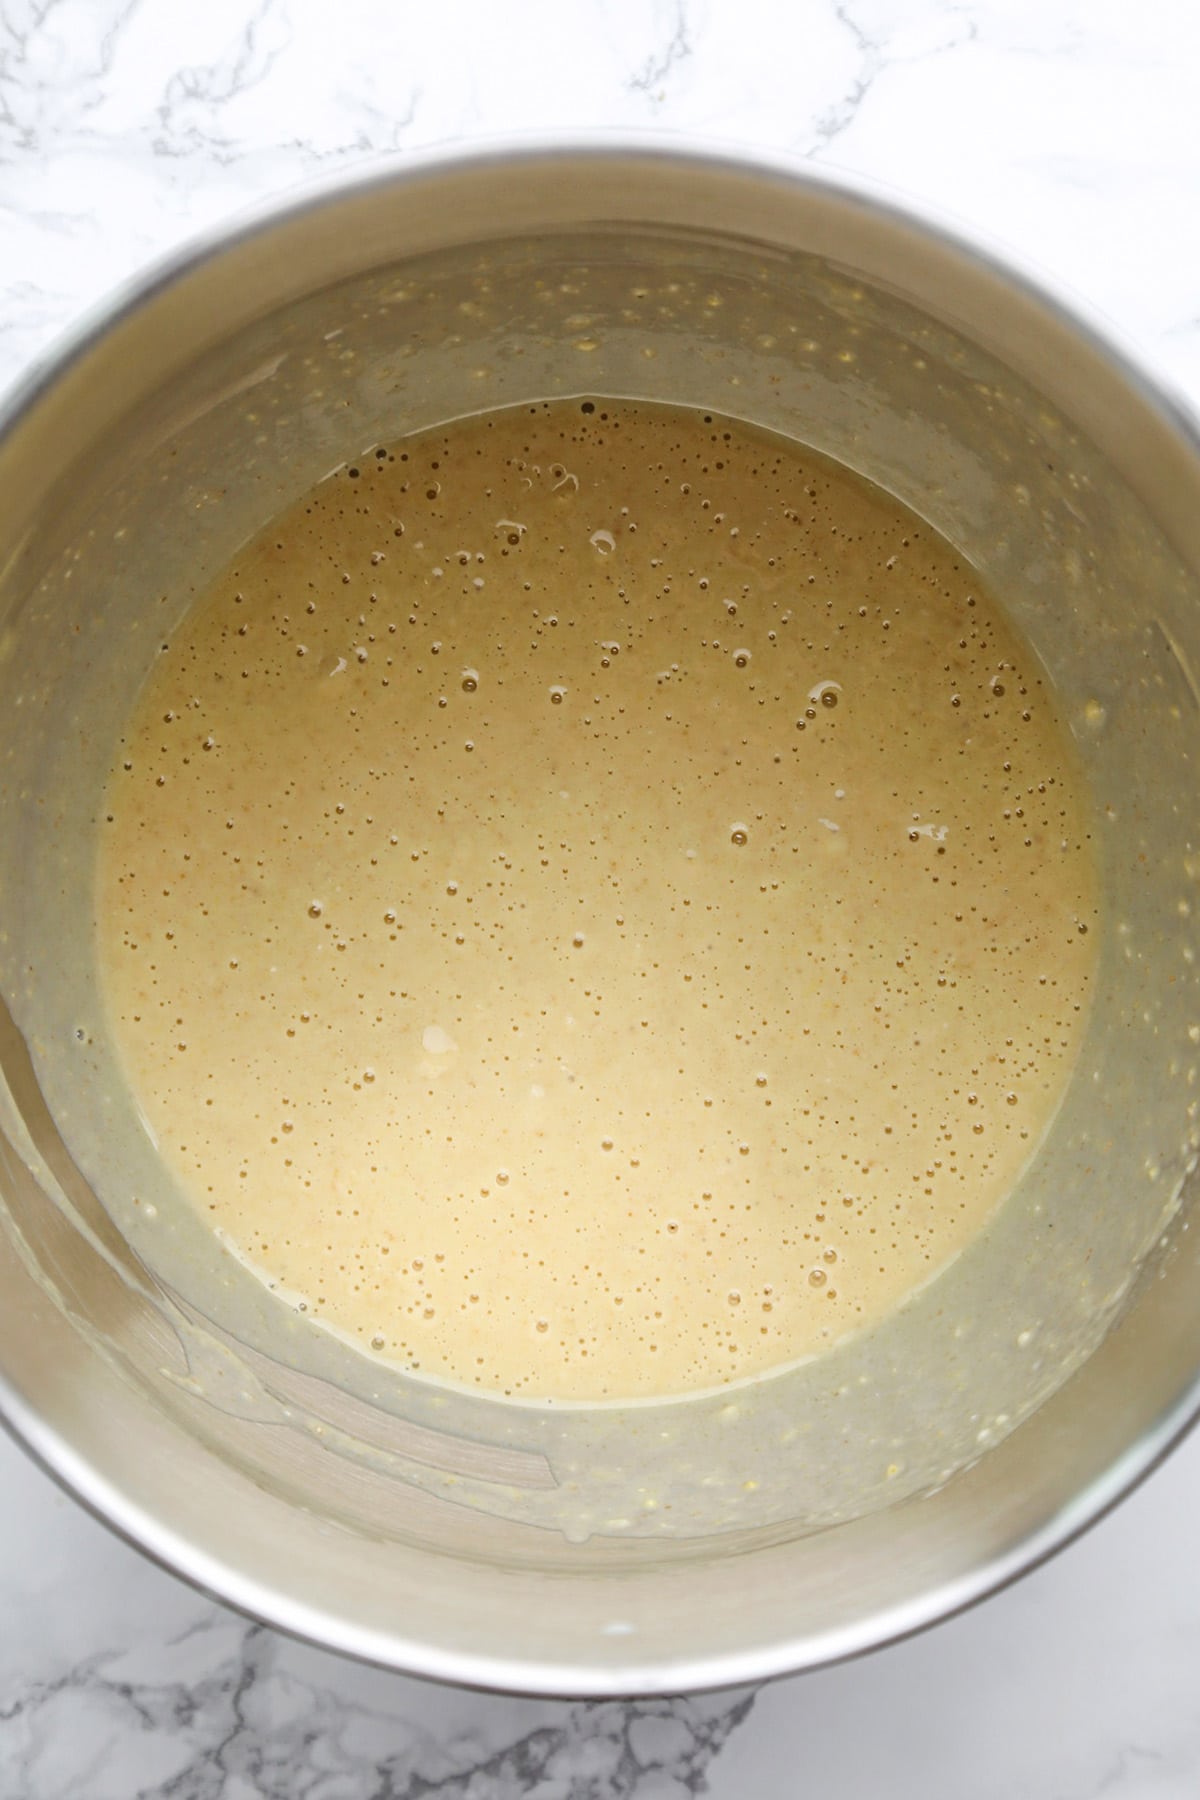
- Add the water, milk, and egg, and whisk until the batter is smooth and put it in the fridge to chill.
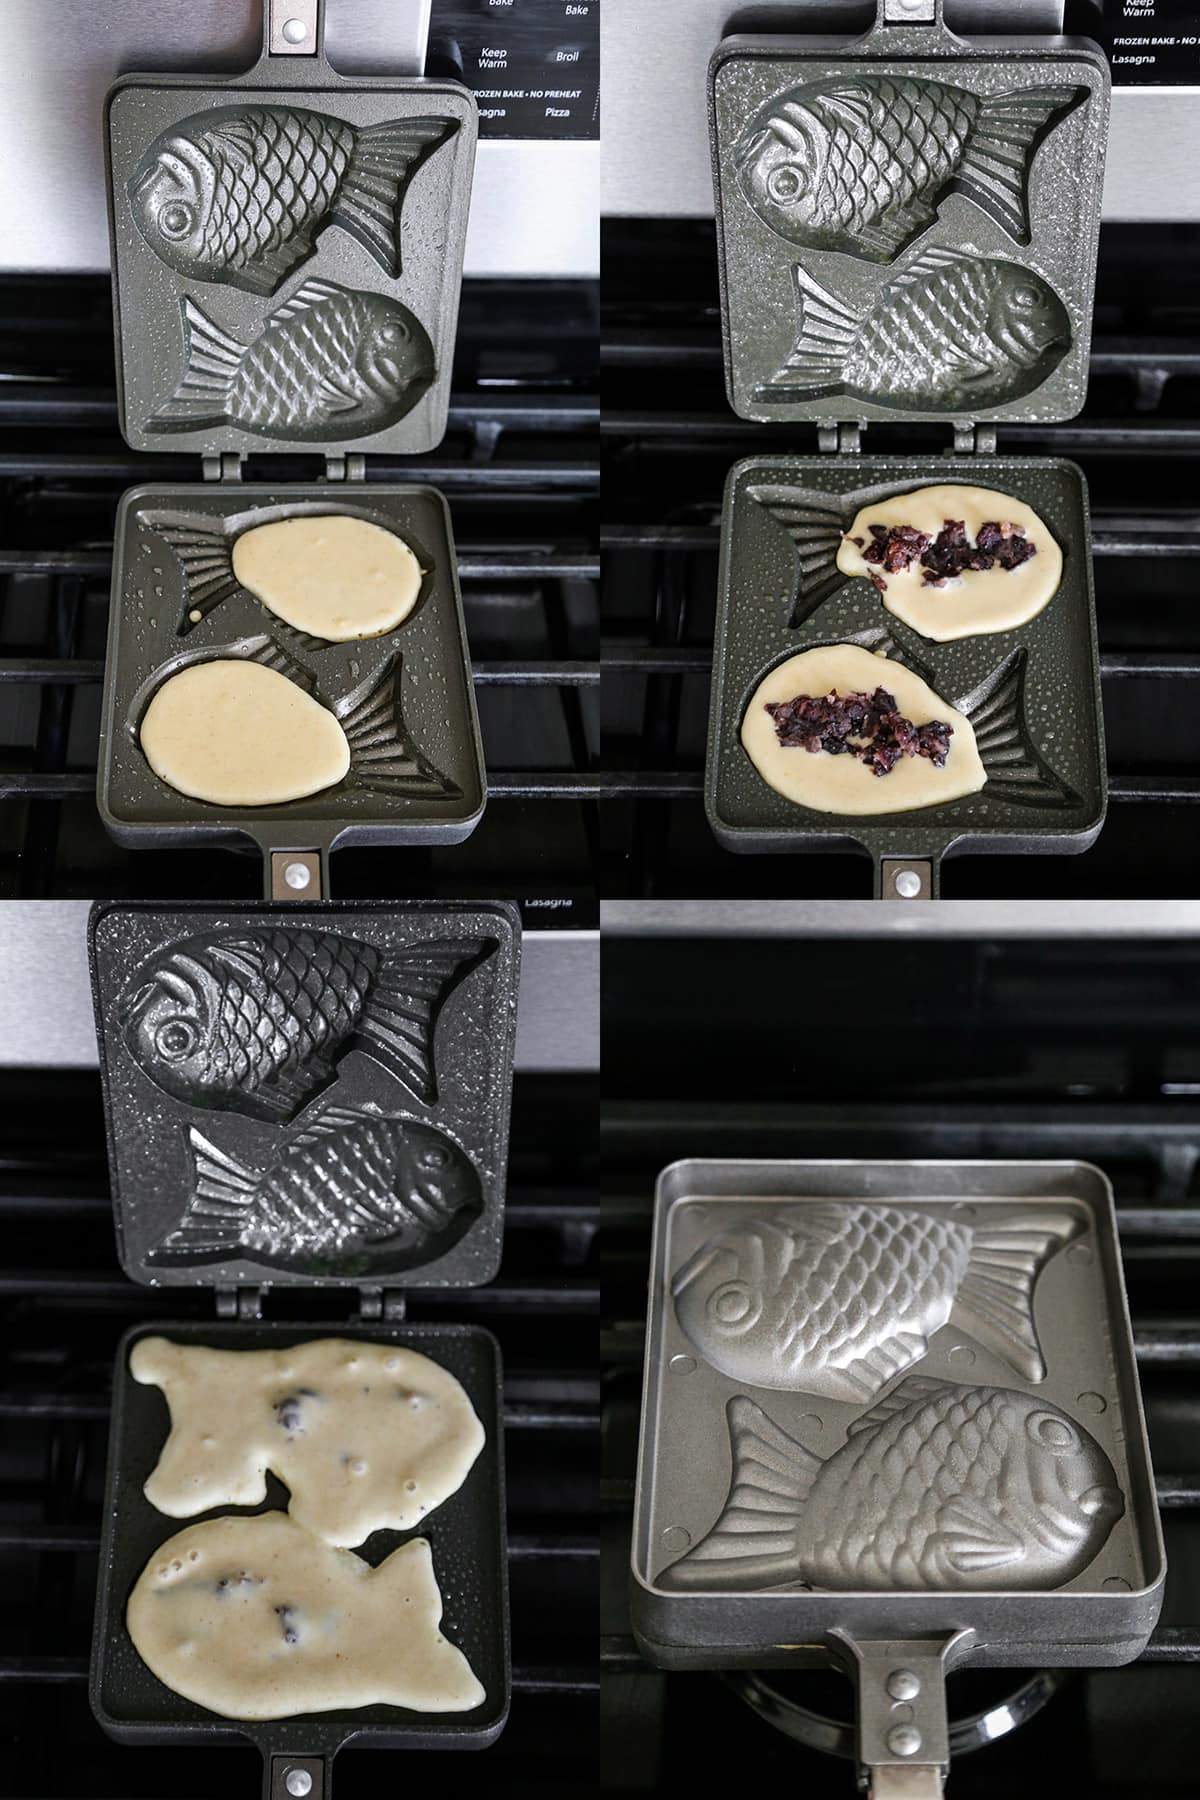
- Warm up the taiyaki pan and brush the fish molds with a little oil.
- Ladle a little batter in each fish mold and let it cook for a few seconds.
- Add a little filling in the center of each mold and add a little more batter on top to cover the filling.
- Close the pan, flip it and cook for a couple of minutes. Let it cook for another minute or two, until both sides are golden brown.
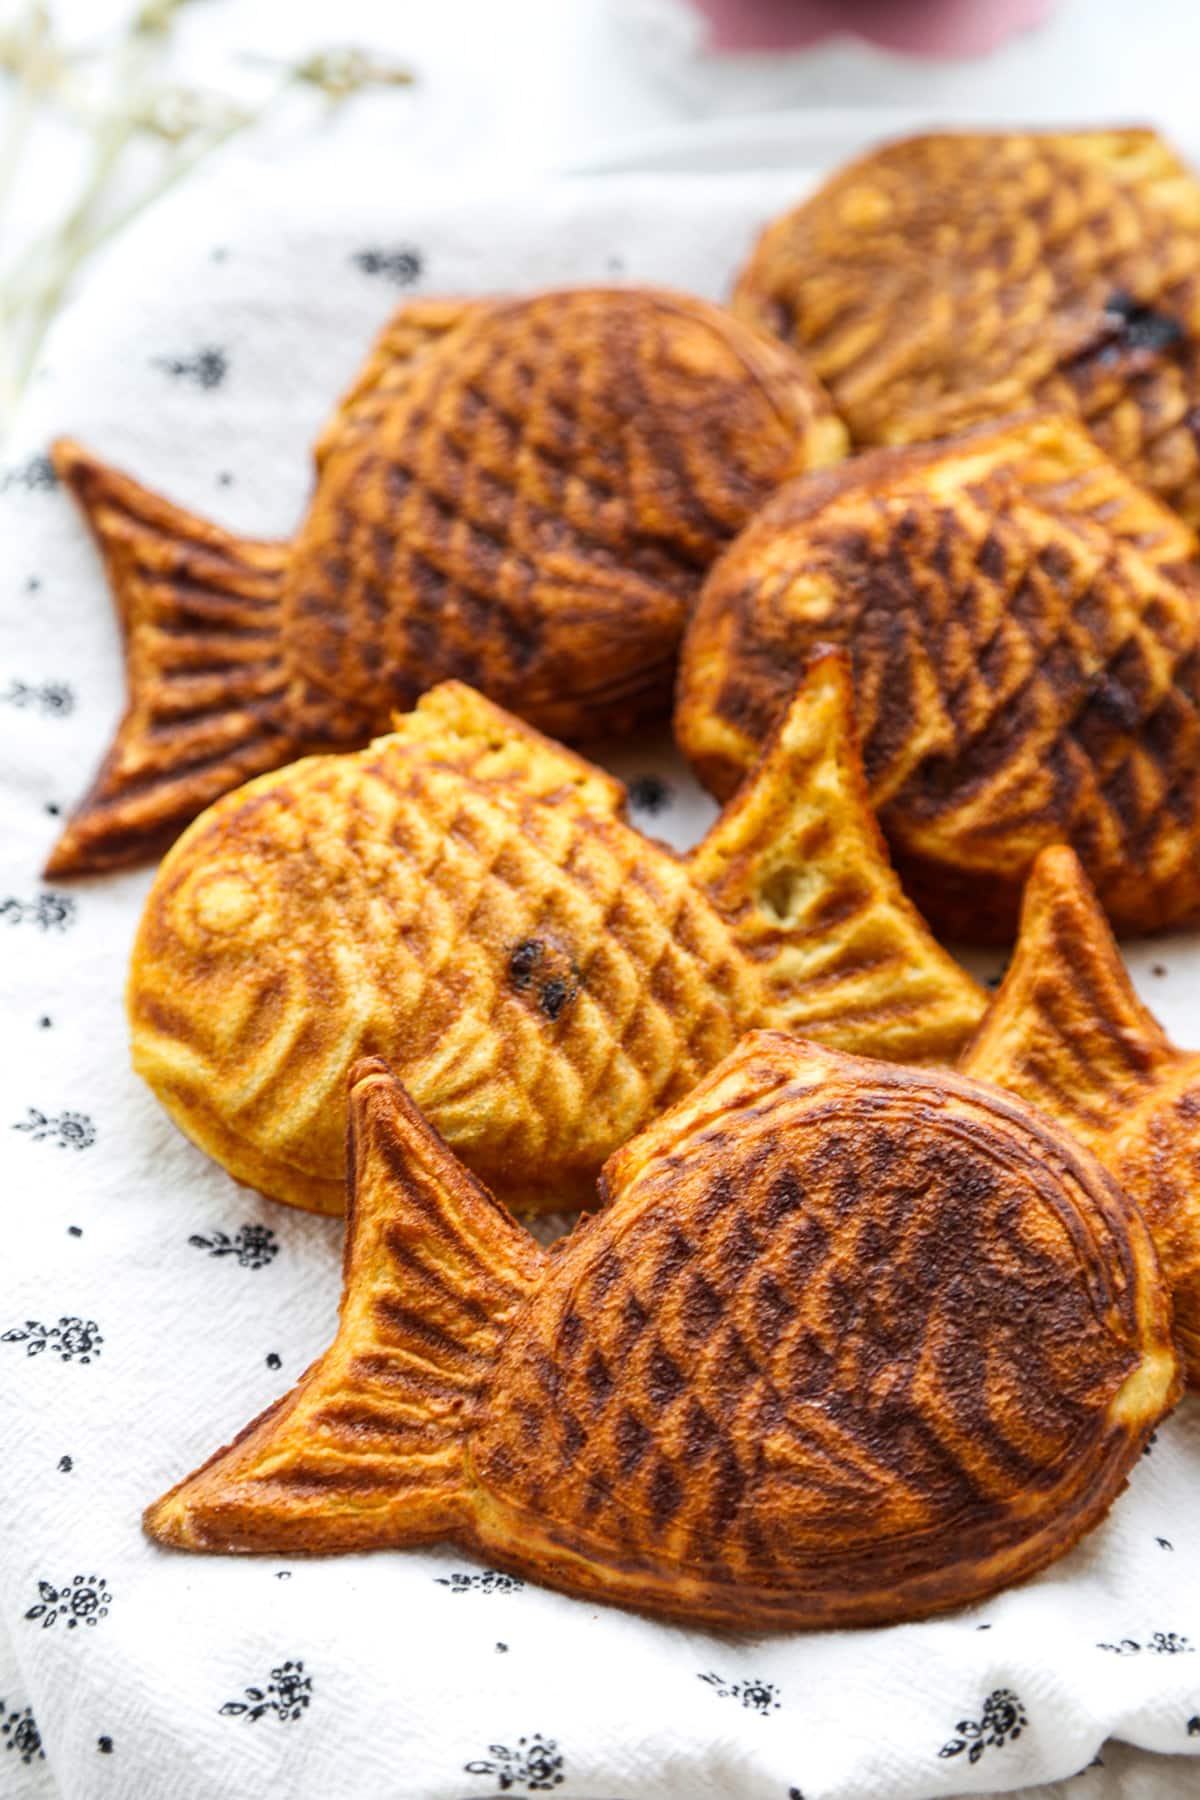
- Transfer the fish cakes to a baking rack and let them cool for a couple of minutes before serving.
Expert Tip
Spread the batter evenly: Make sure to spread the batter evenly so that the thickness of the waffle cakes are even and the cooking time is the same throughout.
Add the right amount of filling: Adding too much filling may cause the taiyaki to overspill and not close properly, while not enough filling will make the cake dry. Add 1 1/2 tablespoon to 2 tablespoons of filling in the center part of the fish (avoiding the fish tail) and spread it lengthwise, leaving wet batter around the edges so the top part can seal with the bottom part.
Storage And Reheating
Fridge: While taiyaki tastes best when it’s right out of the pan (the texture is a little crispy and the filling warm and almost gooey), it will keep in the fridge for a couple of days, stored in an airtight storage container.
Freezer: To freeze taiyaki, wrap each fish individually in plastic wrap and place them in an airtight storage container, or sealable bag. They will keep for up to 6 weeks. Place them in the fridge overnight before reheating them.
Reheating: To reheat taiyaki, either toast them in a toaster (if they fit, depending on their size), or warm them up in a skillet without any oil, until they get crispy. They can also be microwaved for about 20 seconds, but this method will not yield a crispy exterior.
What To Serve With
Taiyaki is sweet but not too sweet, which makes it a perfect treat for both kids and adults to enjoy. They are often eaten on the go as many taiyaki stands will make them from scratch and serve it to you wrapped in waxed paper. When I make it at home I like to serve them with some ice cream, a little whipped cream, or custard.
When it comes to beverages, I enjoy eating taiyaki with a chilled glass of matcha latte, Korean banana milk, or mugicha (barley tea).
Other Japanese snacks you might like to try: Castella cake, dorayaki, mitarashi dango, kinako dango, matcha mochi cookies, matcha ice cream, coffee jelly and grapefruit jelly.
Frequently Asked Questions
Yes you can. Use 200g all purpose flour and add 3 1/2 tablespoons of cornstarch. Mix well and you have just made cake flour! Make sure to remeasure your flour before following the recipe steps since you have just added a significant amount of cornstarch to it.
It could be that the batter wasn’t done cooking or that the temperature of the burner is too low, preventing the taiyaki pan from getting hot enough. It could also be that not enough batter was used or that it wasn’t spread throughout to seal all the edges properly.
Yes you can make gluten-free taiyaki! Instead of using cake flour, use gluten-free flour or rice flour. I recommend adding an additional 2 tablespoons of water when using these 2 types of flour to help them get the right level of hydration. Gluten-free flours also need less time to sit in the fridge so it should be okay to use after 30 minutes to 1 hour.
Did you like this recipe? Are there changes you made that you would like to share? Share your tips and recommendations in the comments section below!
PrintTaiyaki
Making taiyaki is a fun activity you can do with your kids. These fish waffles can be filled with sweet or savory fillings, and make a wonderful snack or dessert.
- Prep Time: 10 minutes
- Cook Time: 25 minutes
- Total Time: 35 minutes
- Yield: 10 to 12 taiyaki 1x
- Category: Dessert
- Method: Stove top
- Cuisine: Japanese
- Diet: Vegetarian
Ingredients
- 200g cake flour or pancake flour
- 1 teaspoon baking powder
- 1/2 teaspoon baking soda
- 2 tablespoons granulated sugar
- Pinch of salt
- 140ml water
- 100ml milk or non dairy alternative such as oat milk or soy milk
- 1 large egg
- Neutral oil for brushing the taiyaki pan
Filling
- Anko (sweet red bean paste)
- Nutella (optional)
- Strawberry jam (optional)
Tools needed
Instructions
- Add dry ingredients to a bowl: In a bowl, sift the flour, baking powder, baking soda, sugar, and salt.
- Mix wet ingredients and chill the batter in the fridge: Whisk in the water, milk, and egg, and mix until the batter is smooth. Cover and refrigerate for at least an hour, up to 2 hours.
- Warm up the taiyaki pan: Brush the fish molds with a little oil and place the taiyaki pan on a burner over medium-low heat. Give it a couple of minutes to warm up.
- Add batter to the taiyaki pan: Pour enough batter in each mold to cover about 50% of the surface, leaving the tail part empty (it will fill up once you add a filling and more batter).
- Add the filling: Let the batter cook for a few seconds and place a little anko (or other filling of your choice) in each of the molds.
- Add more batter and flip the pan:Top with more batter until the filling is covered, this time filling the tail portion as well. Close the top part of the taiyaki pan and flip it.
- Cook the taiyaki: Cook for 2 – 3 minutes and flip the pan. Cook for another 1-2 minutes, until both sides are golden brown. Not all taiyaki pan are the same sizes so yours may take more or less time to cook.
- Serve: Transfer to a baking rack and let cool for a few minutes before eating.
Notes
Leftovers: Keep leftover taiyaki in an airtight storage container and refrigerate for up to 2 days. To freeze, wrap each taiyaki individually and place them in an airtight storage container or bag. They will keep for up to 6 weeks.
Reheating taiyaki: Use a toaster to reheat taiyaki or warm them up in a pan, without using any oil. Both methods should yield a crispy exterior. You can also microwave taiyaki for 20 seconds, but the texture won’t be crispy. It will be more pancake-like.
Nutrition
- Serving Size: 1 taiyaki fish
- Calories: 111
- Sugar: 2.8g
- Sodium: 279.1mg
- Fat: 0.8g
- Saturated Fat: 0.2g
- Unsaturated Fat: 0.2g
- Trans Fat: 0g
- Carbohydrates: 22.4g
- Fiber: 0.6g
- Protein: 3.1g
- Cholesterol: 18.6mg

