Tamagoyaki is a traditional Japanese omelette that’s easy to prepare, kid friendly, and packed with sweet and savory flavors. My recipe is very easy to follow and requires only 8 ingredients!
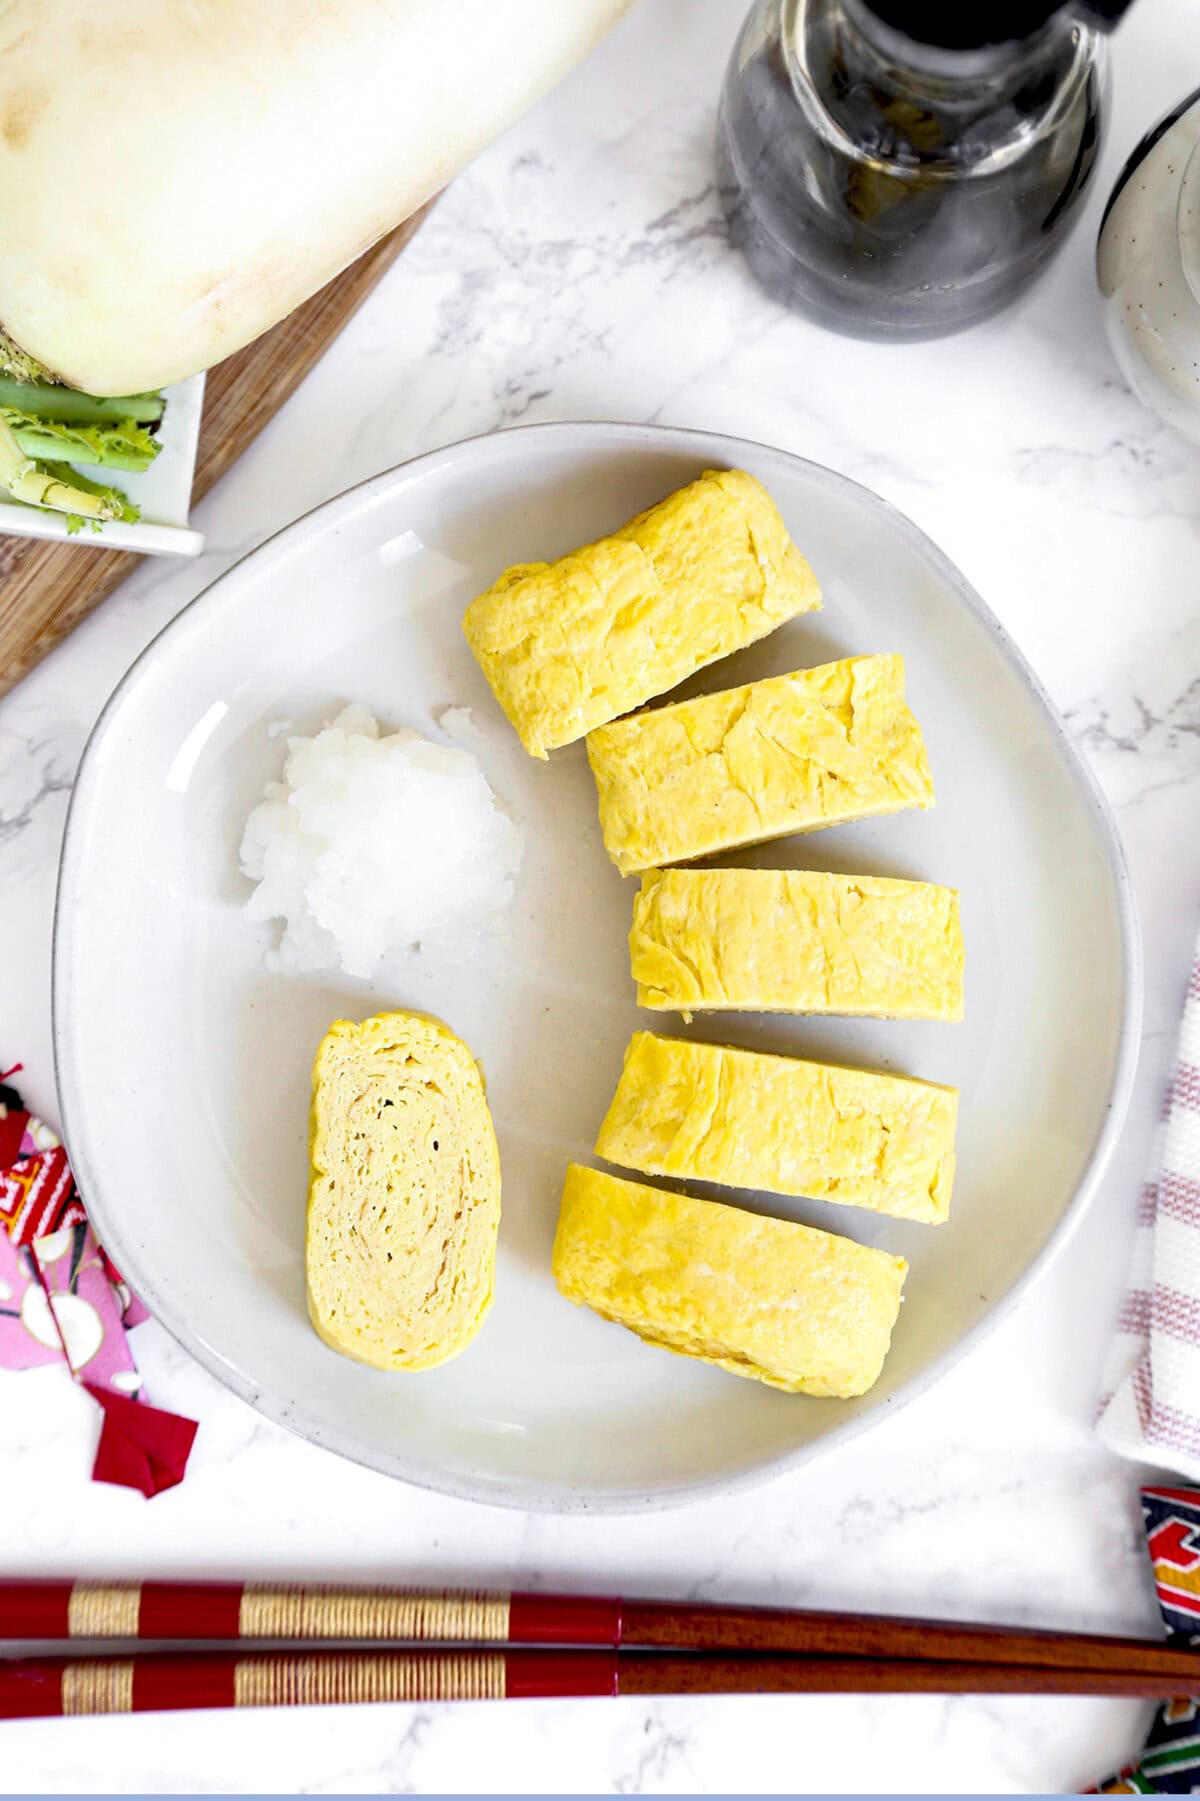
Tamagoyaki is a traditional Japanese omelette made by rolling several thin layers of cooked eggs, one of top of the other, and shaped into a rectangle. It’s served as a breakfast dish (often topped with grated daikon and a drizzle of soy sauce), a side dish for bento boxes, as a topping for nigiri sushi, or as a stuffing for futomaki, which are fat sushi rolls.
Throughout my life I’ve tasted good and bad tamagoyaki. Taste is a personal thing so I can only speak for myself when I say that I don’t enjoy a Japanese rolled omelet when it’s too sweet (my mother, on the other hand, loves them when they are). So when I make tamagoyaki at home, I use a lot less sugar so I can taste more of the dashi stock and the umami from the soy sauce. My recipe is on the traditional side but less sweet than what is usually served as part of a bento meal or omakase dinner.
Table of contents
Ingredients
- Oil: I’m using grapeseed oil but any type of neutral oil such as vegetable oil or canola oil works for this recipe.
- Eggs: Get some good pasture raised eggs if you can. They taste so much better because the hens that lay the eggs are free to roam outside which means they are happier and much less stressed. My favorite ones are from Vital Farms which you can find at Whole Foods.
- Daikon: The daikon is used as a topping for the eggs to lighten up the dish and add a pungent and classically Japanese element to the dish.
- Soy sauce: Regular Japanese soy sauce is used as a seasoning for the omelet and also as a topping to drizzle on the daikon. Again, I recommend using good soy sauce such as Yamasa for a tastier tamagoyaki.
- Mirin: Mirin adds sweet, sake-like taste that pairs well with soy sauce and dashi. You will need two tablespoons for this recipe.
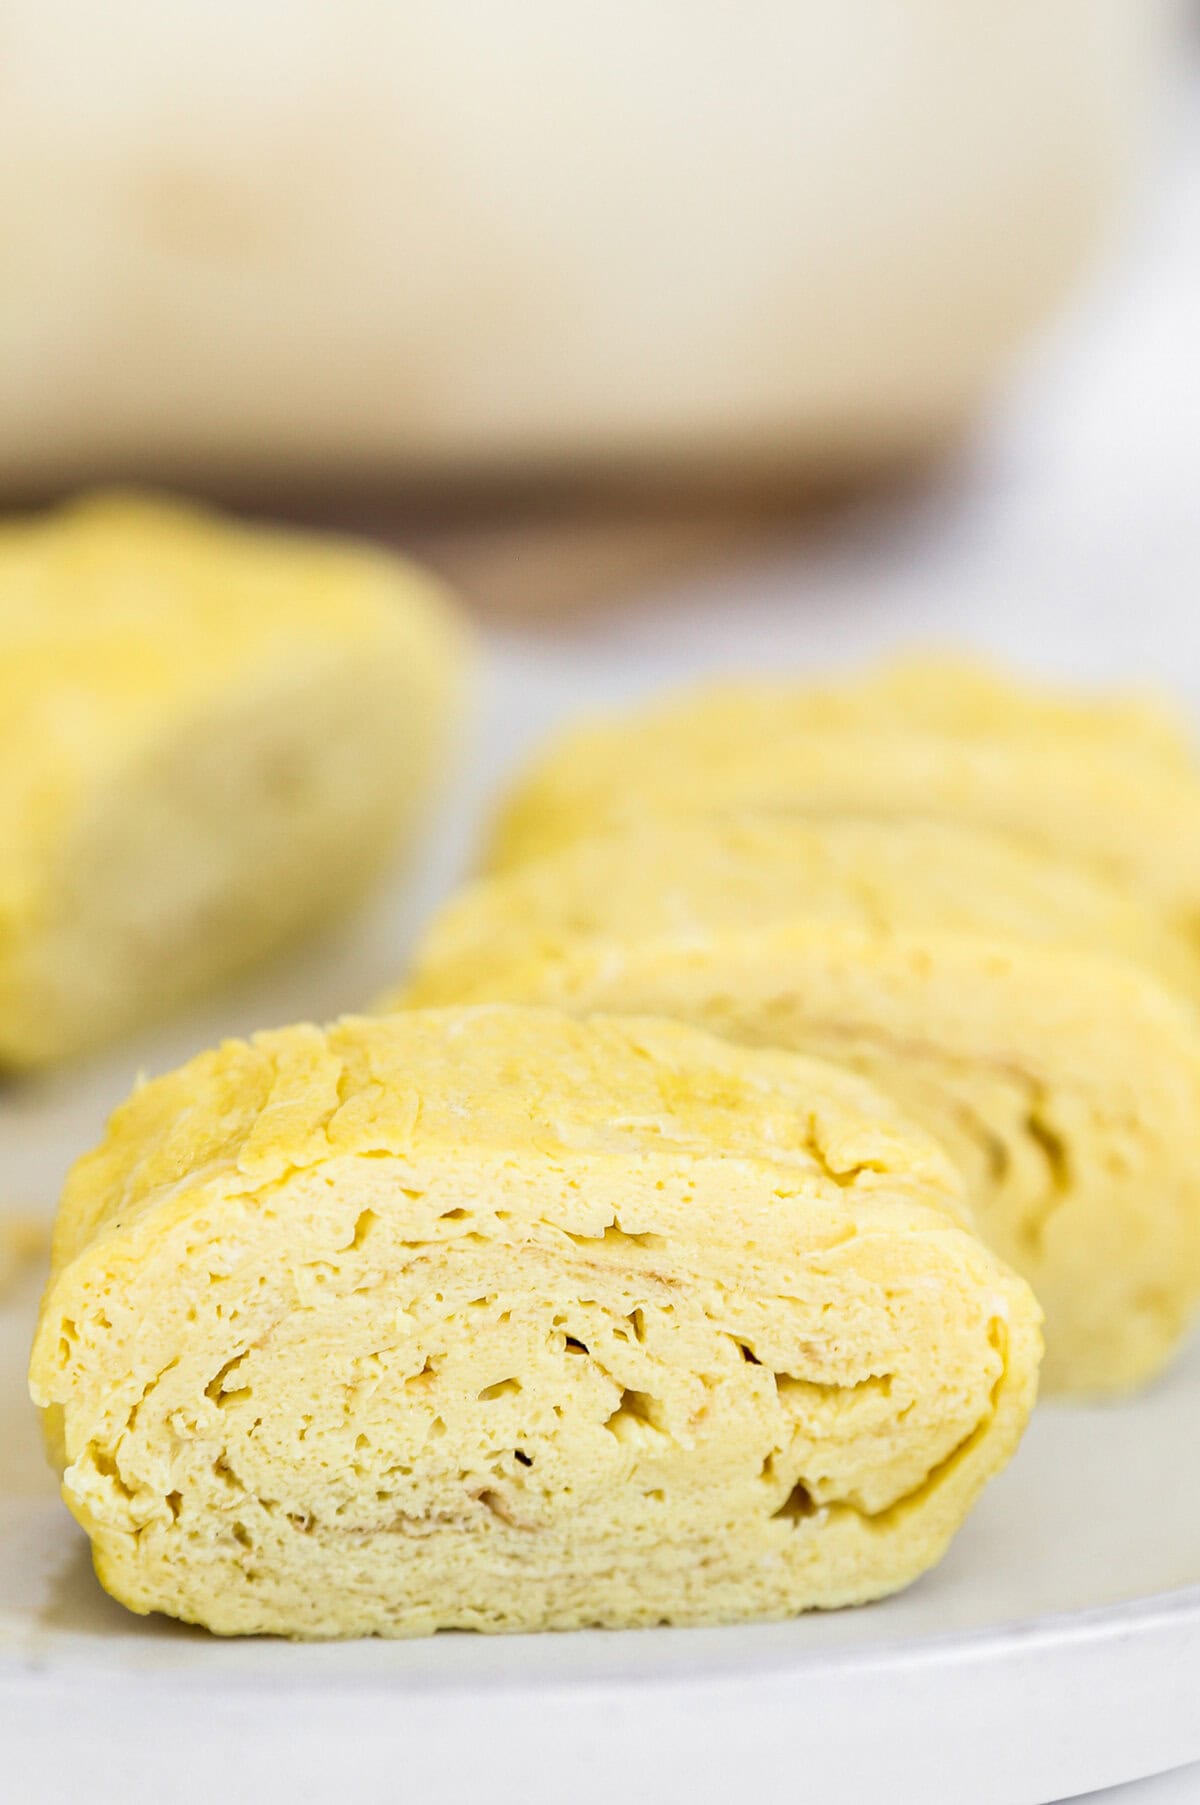
- Dashi: Another classic Japanese ingredient, dashi adds umami and depth of flavor to tamagoyaki. It’s a little fishy and salty and the addition of stock makes the omelet nice and light.
- Sugar: Sweet and savory is a popular combination in Japanese cuisine. For this recipe I’m only using 1 tablespoon of sugar since I don’t like my omelet to be too sweet. But feel free to add more if you have a sweeter tooth than mine!
Variations
- Make it sweeter: Add an additional 1/2 tablespoon of sugar. Do not increase the sweetness with mirin as mirin’s flavor is more complex and will change the overall taste of the omelet.
- Make it more savory: If you want to completely nix the sweetness, omit the use of sugar and mirin. Or try my dashimaki tamago recipe, which contains no sugar.
- Make it nutty: Add 1 teaspoon of sesame oil to add a little nuttiness.
How to Make It
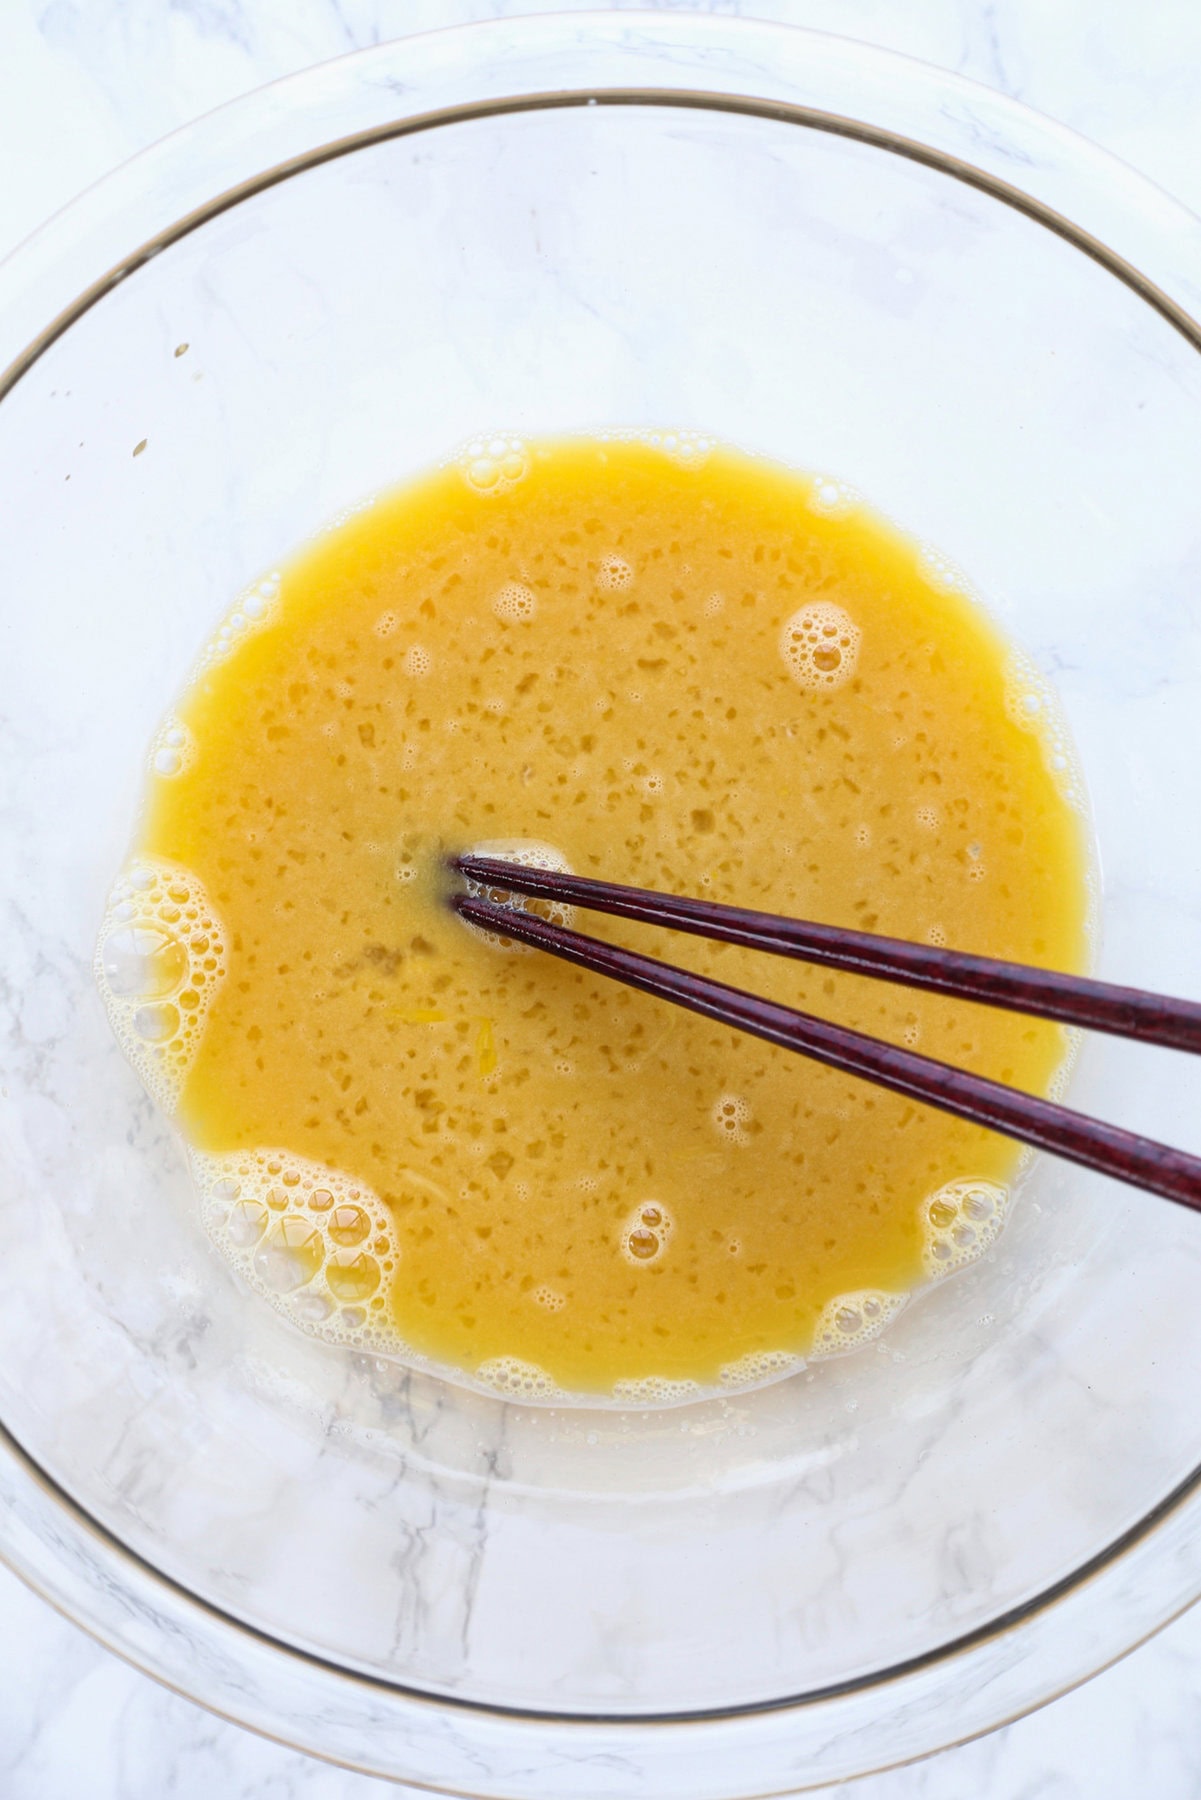
- Break the eggs in a bowl and whisk them. Strain the eggs through a sieve and into another bowl.
- Add the seasoning ingredients (mirin, dashi stock, soy sauce, sugar) and whisk well.
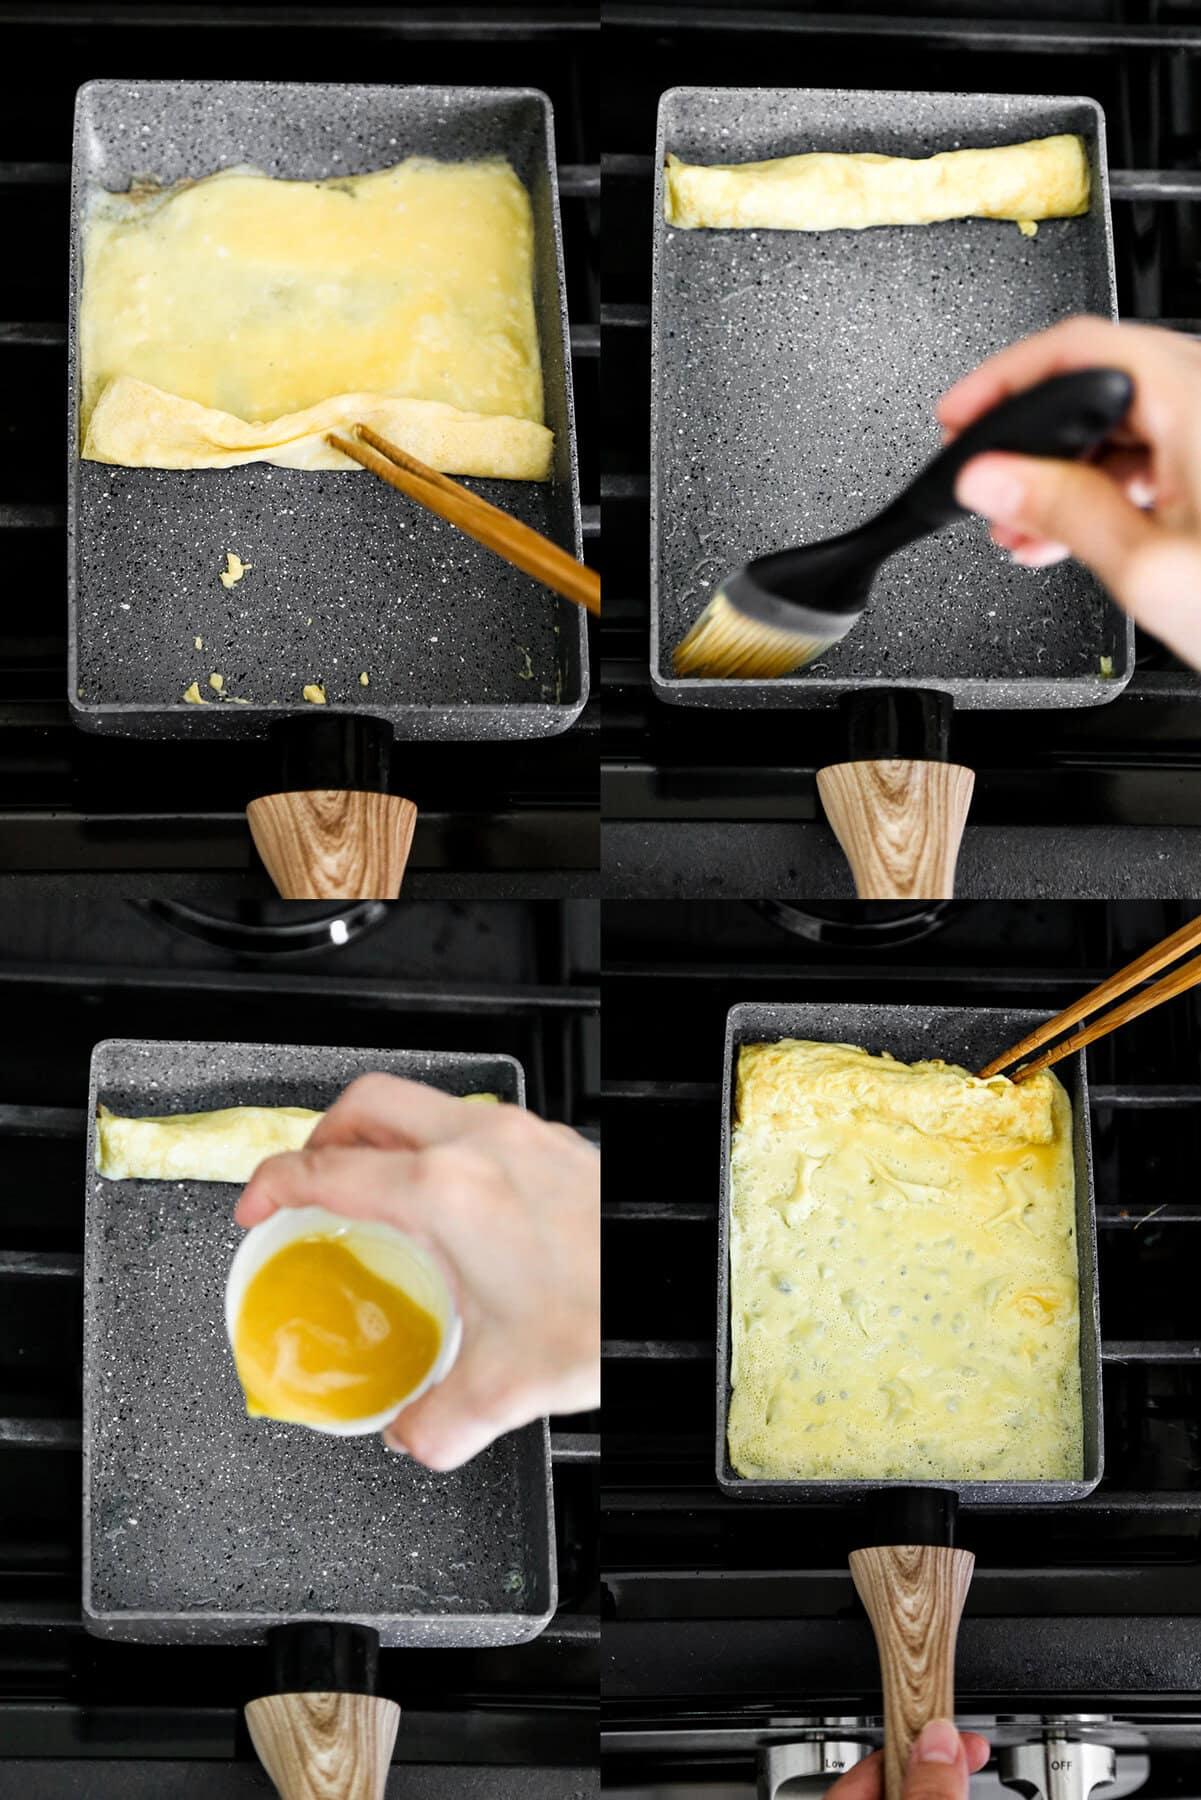
- Grab your tamagoyaki pan and brush the bottom with a little oil. If you don’t have a tamagoyaki pan, use the smallest pan you have (something around 5″ to 7″), even if it’s round. Your omelet won’t end up looking rectangular like mine but it will still taste the same.
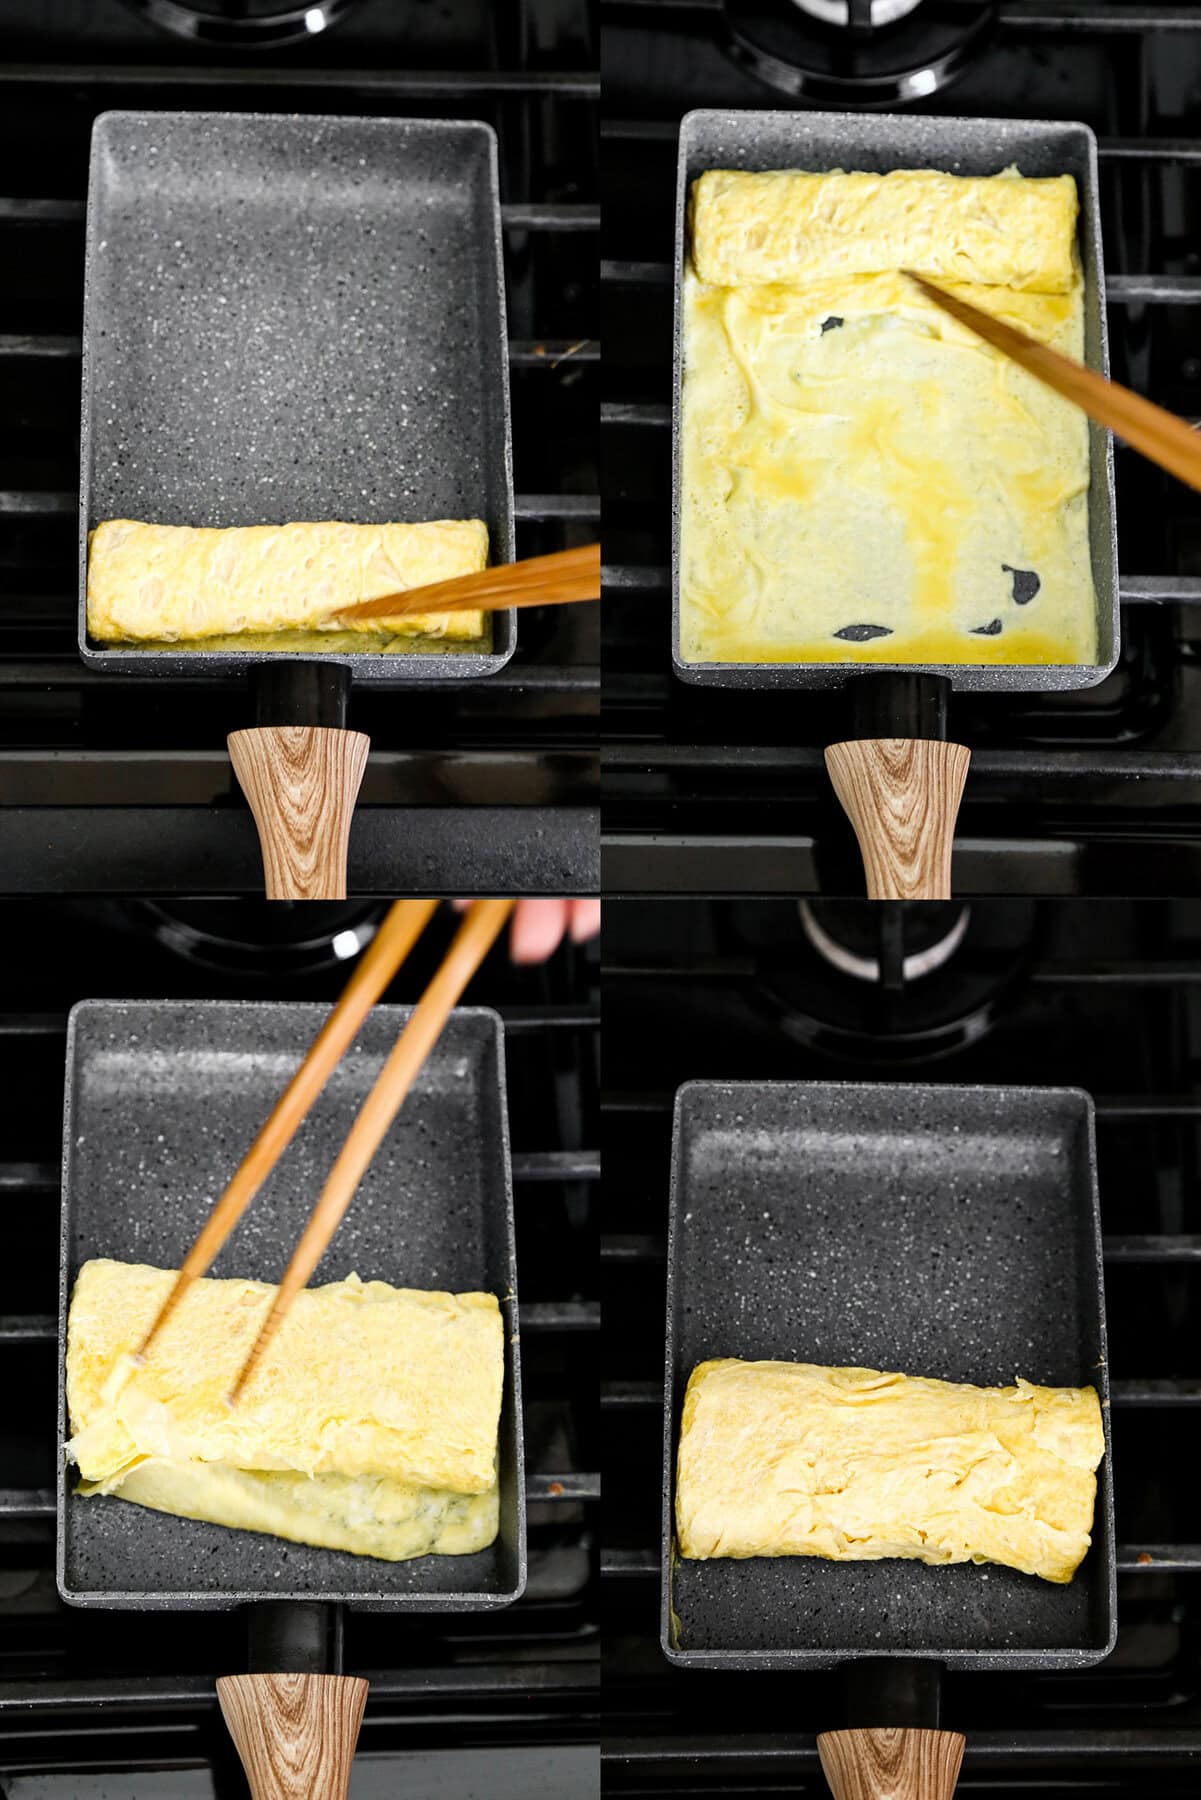
- Pour about 2 tablespoons of egg mixture into the pan and quickly spread the mixture all over the pan by swirling it.
- When the layer starts to set, roll it toward the end of the pan and leave it there.
- Lightly brush the bottom of the pan again and pour another couple of tablespoons of egg mixture. Quickly swirl to spread the mixture and create a thin layer, making sure the mixture is also spreading under the rolled egg at the end of the pan. When the layer starts to set, roll it toward the handle this time (toward you). When you are done rolling, push the rolled omelette back to the other end of the pan.
- Repeat this action until all the egg mixture has been used and you have a complete rolled omelette at the end of the pan.
- Turn the heat off and slide the omelet onto parchment or wax paper.
- Wrap the paper over the omelette, creating a rectangular shape, and leave for a few minutes to cool.
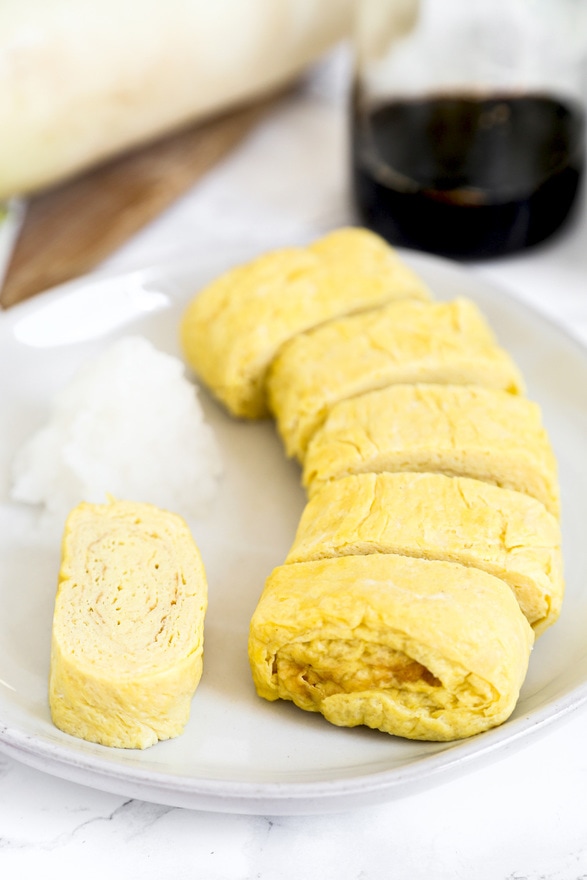
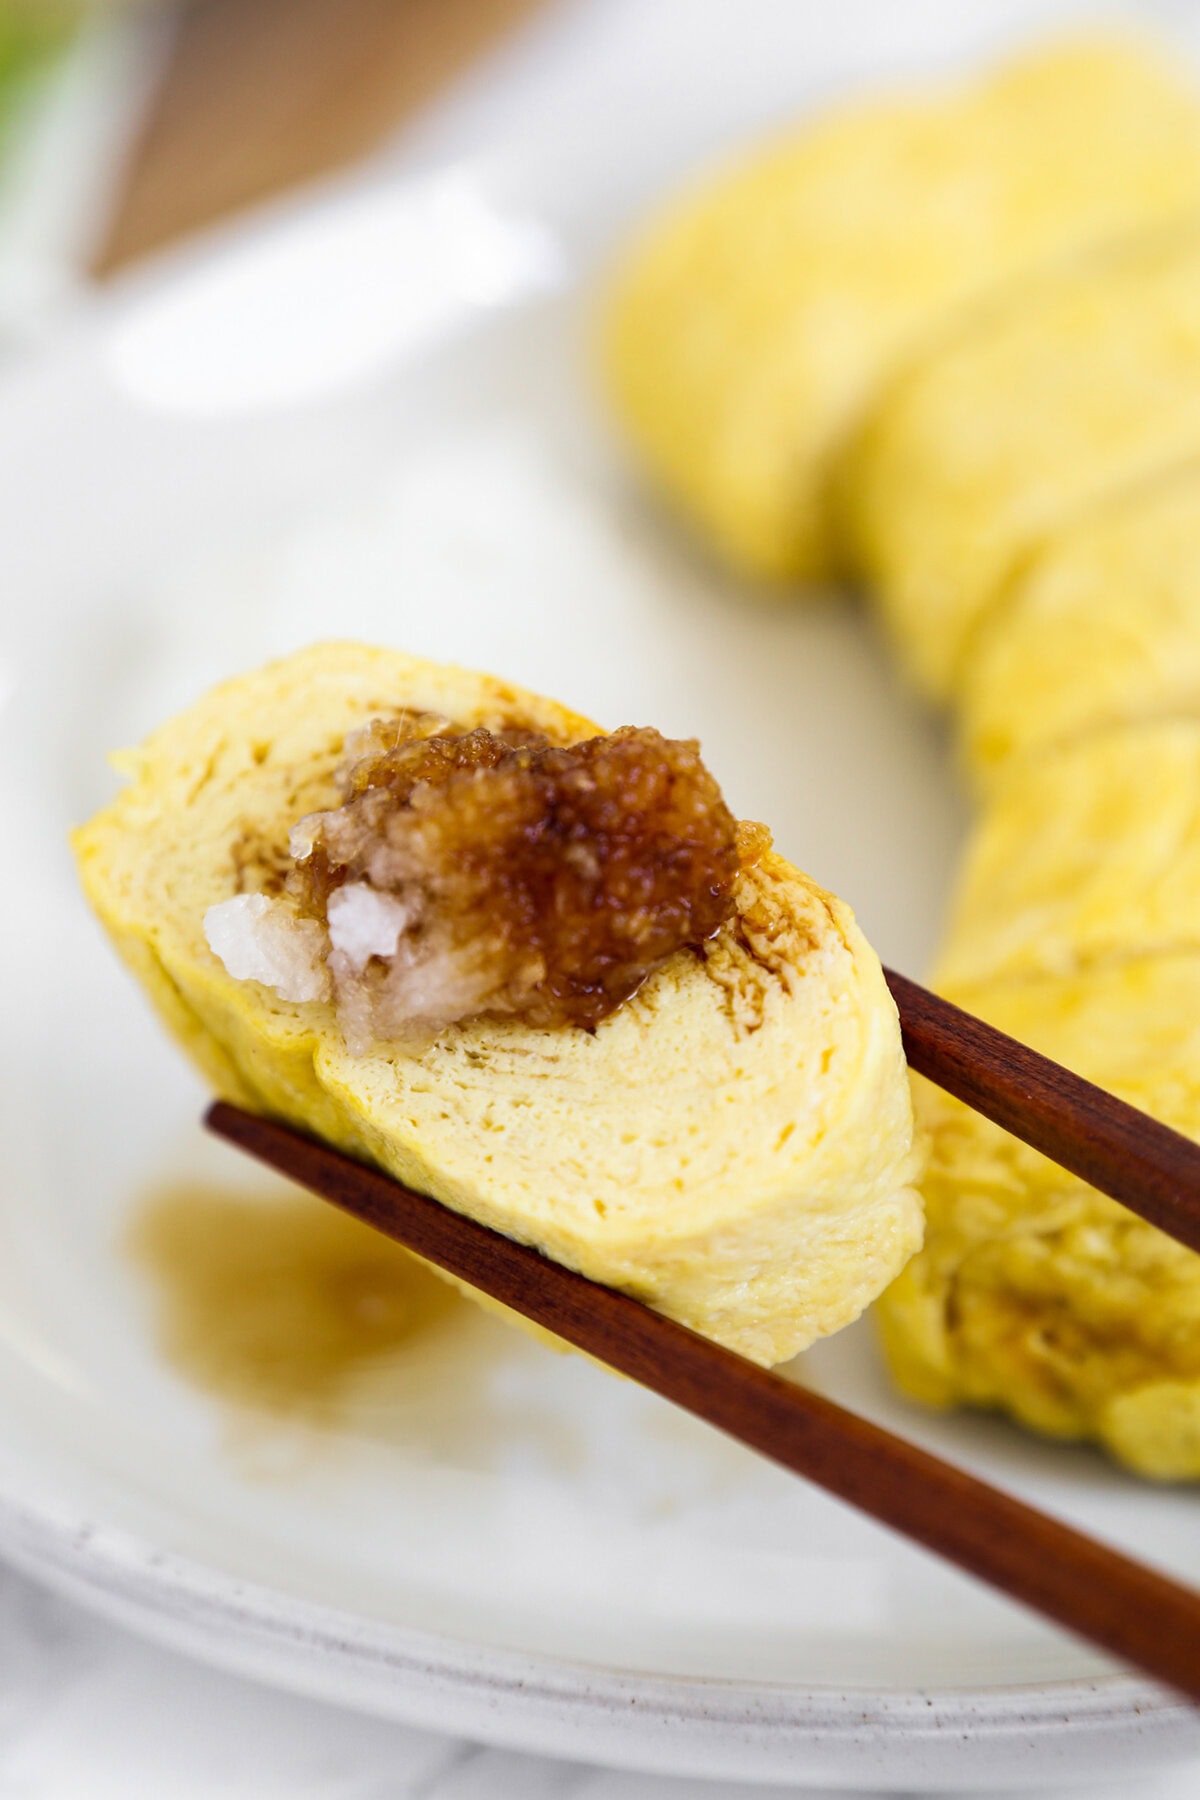
- Cut into six slices and serve with grated daikon on top and a drizzle of soy sauce.
Expert Tips
- Nonstick for success: Make sure that the pan you are using is non stick. This is crucial to the success of your omelet! Otherwise you will find yourself adding a lot of oil and ending up with a very oily egg dish.
- Patience is key: Making tamagoyaki takes a bit longer than making a regular omelet. The heat must be kept to a medium low temperature to prevent the egg layers from overcooking. So, be patient, focus on the goal here, which is to make a beautiful fluffy omelet!
Storage
Keep the leftovers in a storage container and refrigerate for up to 3 days. I don’t recommend freezing tamagoyaki because the texture will deteriorate and not be pleasant.
What To Serve With It
If you are serving tamagoyaki for breakfast, offer a side of white rice (watch our tutorial on how to make Japanese rice) and 2 or 3 additional small dishes such as:
- Tsukemono (Japanese pickles)
- Green salad with carrot ginger dressing
- Salted salmon (shioyaki)
- Miso soup
- Hiyayakko (chilled tofu with toppings)
- Shiraae (Japanese mashed tofu salad)
If you would like to try your hand at making your own rolls and using tamagoyaki as a stuffing, I have a tutorial on how to make maki sushi here.
Frequently Asked Question
You can use a regular non stick small pan but it will be much harder to achieve perfectly shaped tamagoyaki rolls. If you don’t care about the esthetics of the omelet, the answer is yes, you can make it without one.
Yes you can. Or, you can use a gluten-free soy sauce, tamari, or liquid aminos.
You can use a little monk fruit sugar, which is my favorite type of sugar free sweetener, or stevia. And you can use a little sake instead of mirin. I would caution to go easy on both of these ingredients since they can be quite strong in flavor.
Did you like this recipe? Are there changes you made that you would like to share? Share your tips and recommendations in the comments section below!
PrintTamagoyaki (Japanese Rolled Omelette)
Tamagoyaki is a traditional Japanese omelet that’s easy to prepare, kid friendly, and packed with sweet and savory flavors. Only 8 ingredients needed and ready in 12 minutes!
- Prep Time: 5 minutes
- Cook Time: 10 minutes
- Total Time: 15 minutes
- Yield: 6 to 8 pieces 1x
- Category: Side
- Method: Frying pan
- Cuisine: Japanese
Ingredients
- 2 tablespoons grapeseed oil or vegetable oil
- 4 large eggs, pasture raised preferably
- 2 tablespoons grated daikon
- Soy sauce, to taste
Seasoning mix
- 2 tablespoons mirin
- 3 tablespoons dashi stock
- 1 teaspoon soy sauce
- 1/2 tablespoon sugar
Instructions
- Prepare the eggs: Whisk the eggs in a bowl and strain them into another bowl.
- Make the seasoning mix: Whisk in the seasoning mix and keep stirring until the sugar has completely dissolved.
- Make the first layer of the omelet: Brush a little oil on the tamagoyaki pan and turn the heat to medium low. When the oil is hot, pour a little egg mixture into the pan (about 2 tablespoons), just enough to cover the entire pan with a thin layer.
- Roll the layer: Just as it’s beginning to set, roll the thin layer as best as you can (like a rolled carpet), away from the handle and all the way to the other end of the pan. This is going to be the center of the tamagoyaki roll. You are going to build upon that now.
- Make the second layer: Brush the pan with a little more oil and add another thin layer of egg mixture – make sure the mixture spreads under the rolled egg layer we just did.
- Roll the layer: Just as it’s beginning to set, roll the thin layer toward the handle this time (toward you). When you are done rolling, push the rolled omelet back to the other end of the pan.
- Keep going with the same steps: Repeat the same steps until you’ve used all the egg mixture, always making sure the egg mixture spreads underneath all the previously cooked layers.
- Shape the tamagoyaki. Carefully slide the roll out of the pan and onto a sheet of parchment paper or wax paper. Wrap it into a rectangular shape and leave it for a few minutes to cool.
- Serve. Cut into six slices and serve with grated daikon on top and a drizzle of soy sauce.
Notes
Save the leftovers in the fridge in an airtight storage container. It will keep for 3 days.
Nutrition
- Serving Size: about 2 pieces
- Calories: 200
- Sugar: 8.9g
- Sodium: 233.8mg
- Fat: 13.3g
- Saturated Fat: 2.8g
- Unsaturated Fat: 6.1g
- Trans Fat: 0g
- Carbohydrates: 9.7g
- Fiber: 0.1g
- Protein: 9g
- Cholesterol: 248.2mg





I would really like to purchase a Tamagoyaki pan. Which one would you recommend? I would have to order from Amazon as the Asian Markets here don’t carry much of any Japanese ingredients or cookware. I live in West Texas now but am Native Hawaiian from Hawai’i and grew up on Japanese food and other Asian dishes (which I love!) in Hawai’i. Sadly, we don’t have any REAL Japanese restaurants here…but the good thing is I have your recipes to rely on so I am able to cook my own! Thank you!
Hi Genny! I hear you, I’m currently in Iowa (we moved here temporarily for family reasons) and there is no real Japanese food either! It’s a good thing we can make it at home 🙂 This is the tamagoyaki pan I use and the one you see in the pictures, it’s really good -> https://www.amazon.com/gp/product/B074JCC6CN/ref=ppx_yo_dt_b_asin_title_o06_s00?ie=UTF8&psc=1
This is an outstanding recipe and full of flavor recipe, it looks soo yummy as well….i will make it tomorrow breakfast for my kid…Thanks for sharing…..
Thank you so much Lily! 🙂