Press a button and enjoy perfect, fluffy rice every single time! Learn how to make white rice and brown rice with ease with this easy, step-by-step tutorial.
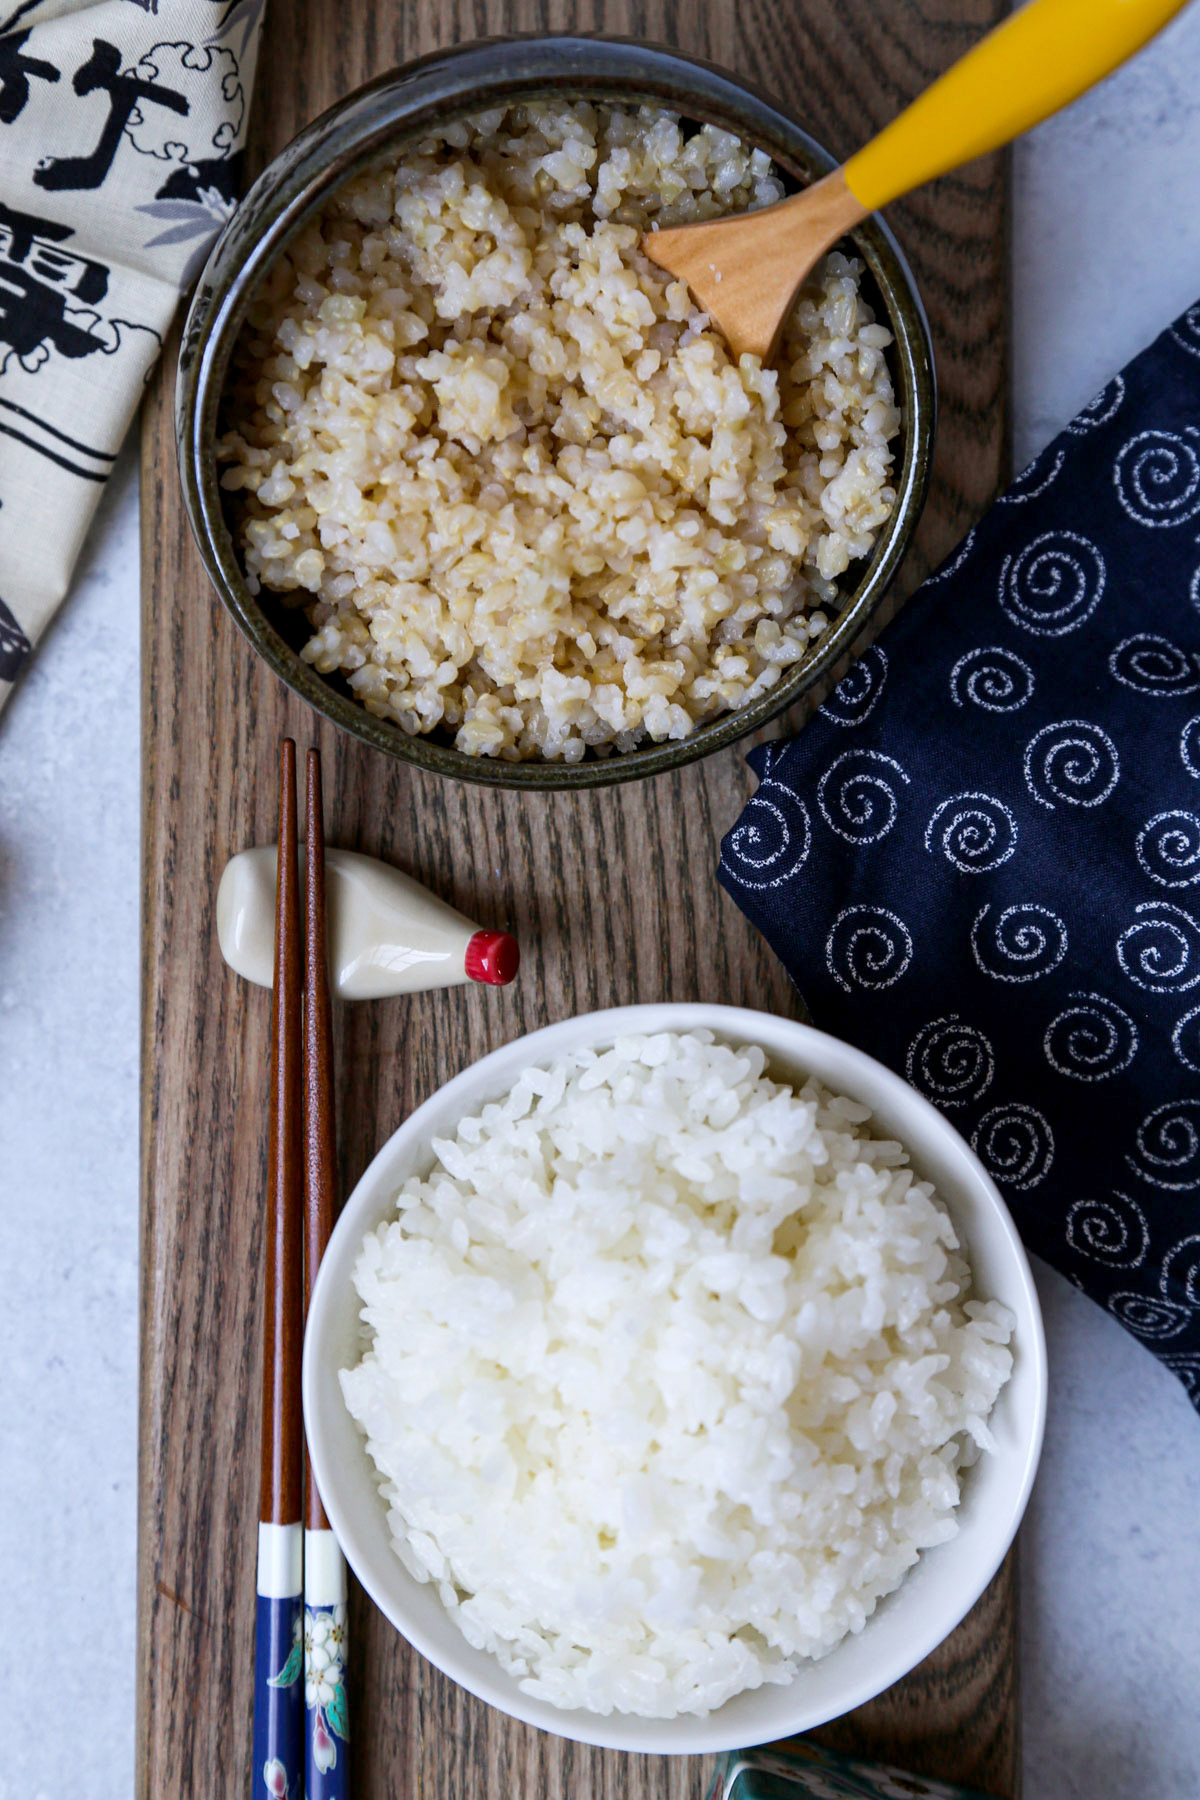
Table of contents
Is Making Rice in a Rice Cooker Better?
Cooking rice in a rice cooker is certainly easier (and less fussy) than making it on the stovetop. It erases guesswork like how much water should I use? – and how long should I cook the rice?
A rice cooker simply makes rice that is fluffy and perfectly cooked EVERY. SINGLE. TIME.
- In my experience, there’s never a random batch that turns out sad and mushy – or hard enough that you call it al dente with an eye roll.
- As long as you follow the instructions that came with your machine, a rice cooker removes all vestiges of human error.
- It just works.
And, as we’ll talk about in a second, a rice cooker shouldn’t be considered a single use appliance any longer. You’re not limited to only making rice. Not by a long shot.
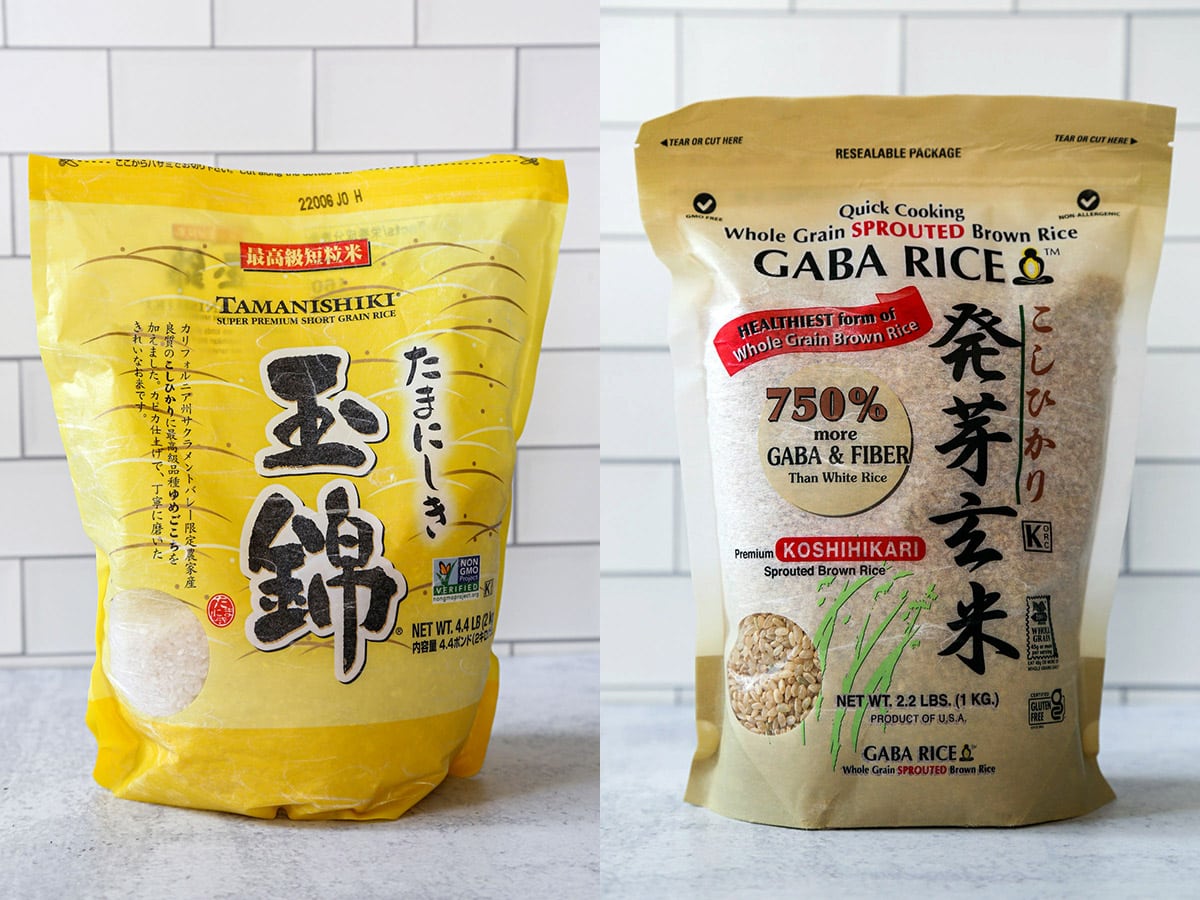

Can I Cook Brown Rice in a Rice Cooker?
Yep! Whether you’ve got an old-school rice cooker with a single cook switch – or yours has as many functions and buttons as a spaceship – you can definitely use it to make brown rice.
Even if your rice cooker doesn’t have settings specific to brown rice, I’ve got instructions you can use in the recipe card below.
We’ll also get in to specifics like water to rice ratios for different types of rice, but first here’s a rule:
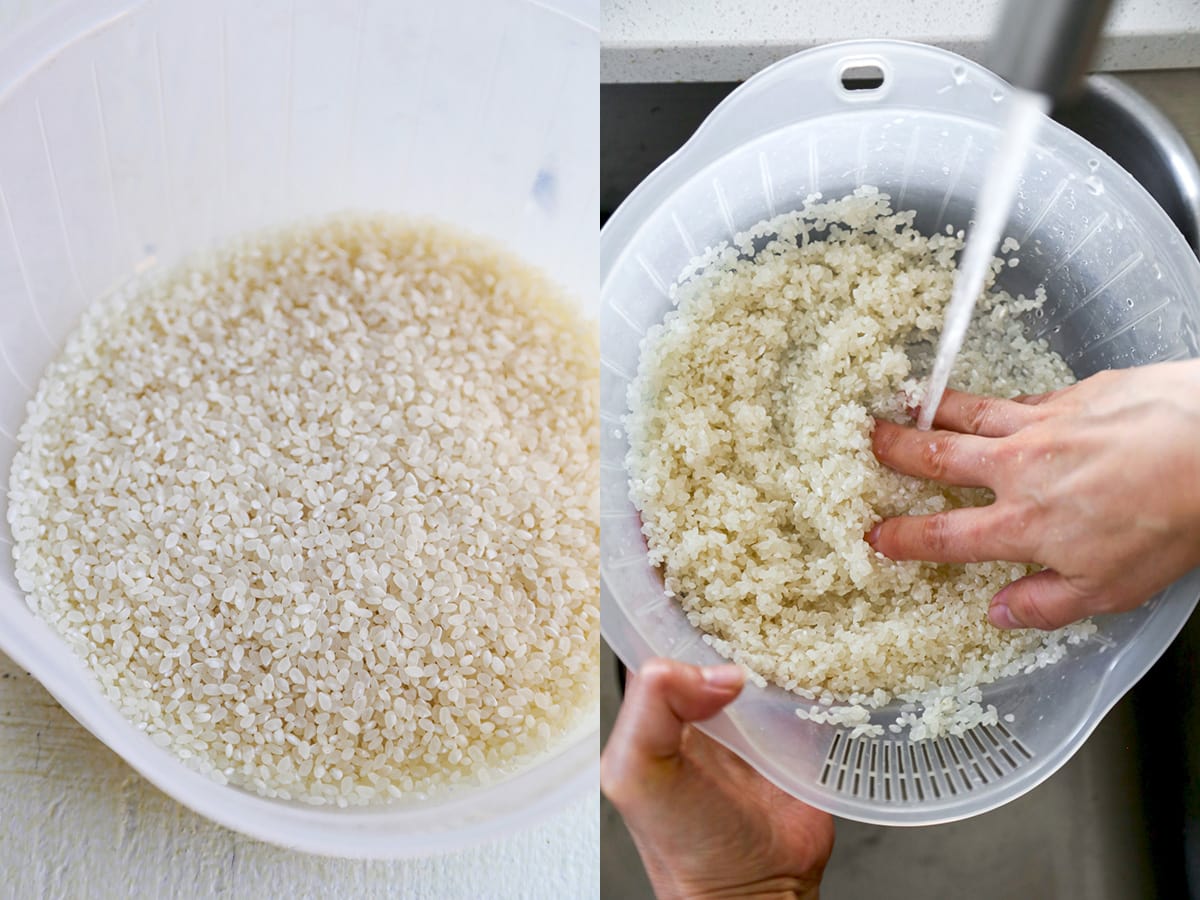
- Always rinse your uncooked rice before placing it in the rice cooker.
- Rinsing rice in a colander or a rice washing bowl removes any debris or dust it may have accumulated in the manufacturing process.
- But it also gets rid of excess starch from the grains of rice. This surplus starch can result in cooked rice that turns out gummy and mushy.
- It’s most obvious when rinsing white rice. You’ll see milky white runoff when rinsing it. But even though starch may not be quite as visible with all types of rice, rinsing it definitely improves the fluffy texture and consistency of your cooked rice.
What Other Types of Rice Can I Cook in a Rice Cooker?
My personal favorite is Japanese rice. While you may see it in the grocery store sold as sushi rice, it’s a short-grain rice with a pliant chew and somewhat sticky consistency. This rice is what you’d use in everything from tekka-don (Japanese rice bowl with tuna) to onigiri (Japan’s famous rice balls).
But you can use a rice cooker to make medium grain rice like Arborio.
And long grain rice variaties like Jasmine rice, basmati rice and wild rice all turn out perfectly.
Read a little deeper about preparing rice in a rice cooker or on the stovetop:
- How to make Japanese rice
- All about making sticky rice
- How to make sushi rice (and the simple ingredients and flavorings that restaurants use)
- How to cook Jasmine rice
Water to Rice Ratio for a Rice Cooker
The old wisdom is that you should use a water to rice ratio of 1:1. That means one cup of water for one cup of uncooked white rice. Making two cups of rice? Just use two cups of water.
- White rice generally does ok with a 1:1 ratio of water to rice.
- Brown rice typically needs 1.25 cups of water for each cup of uncooked rice.
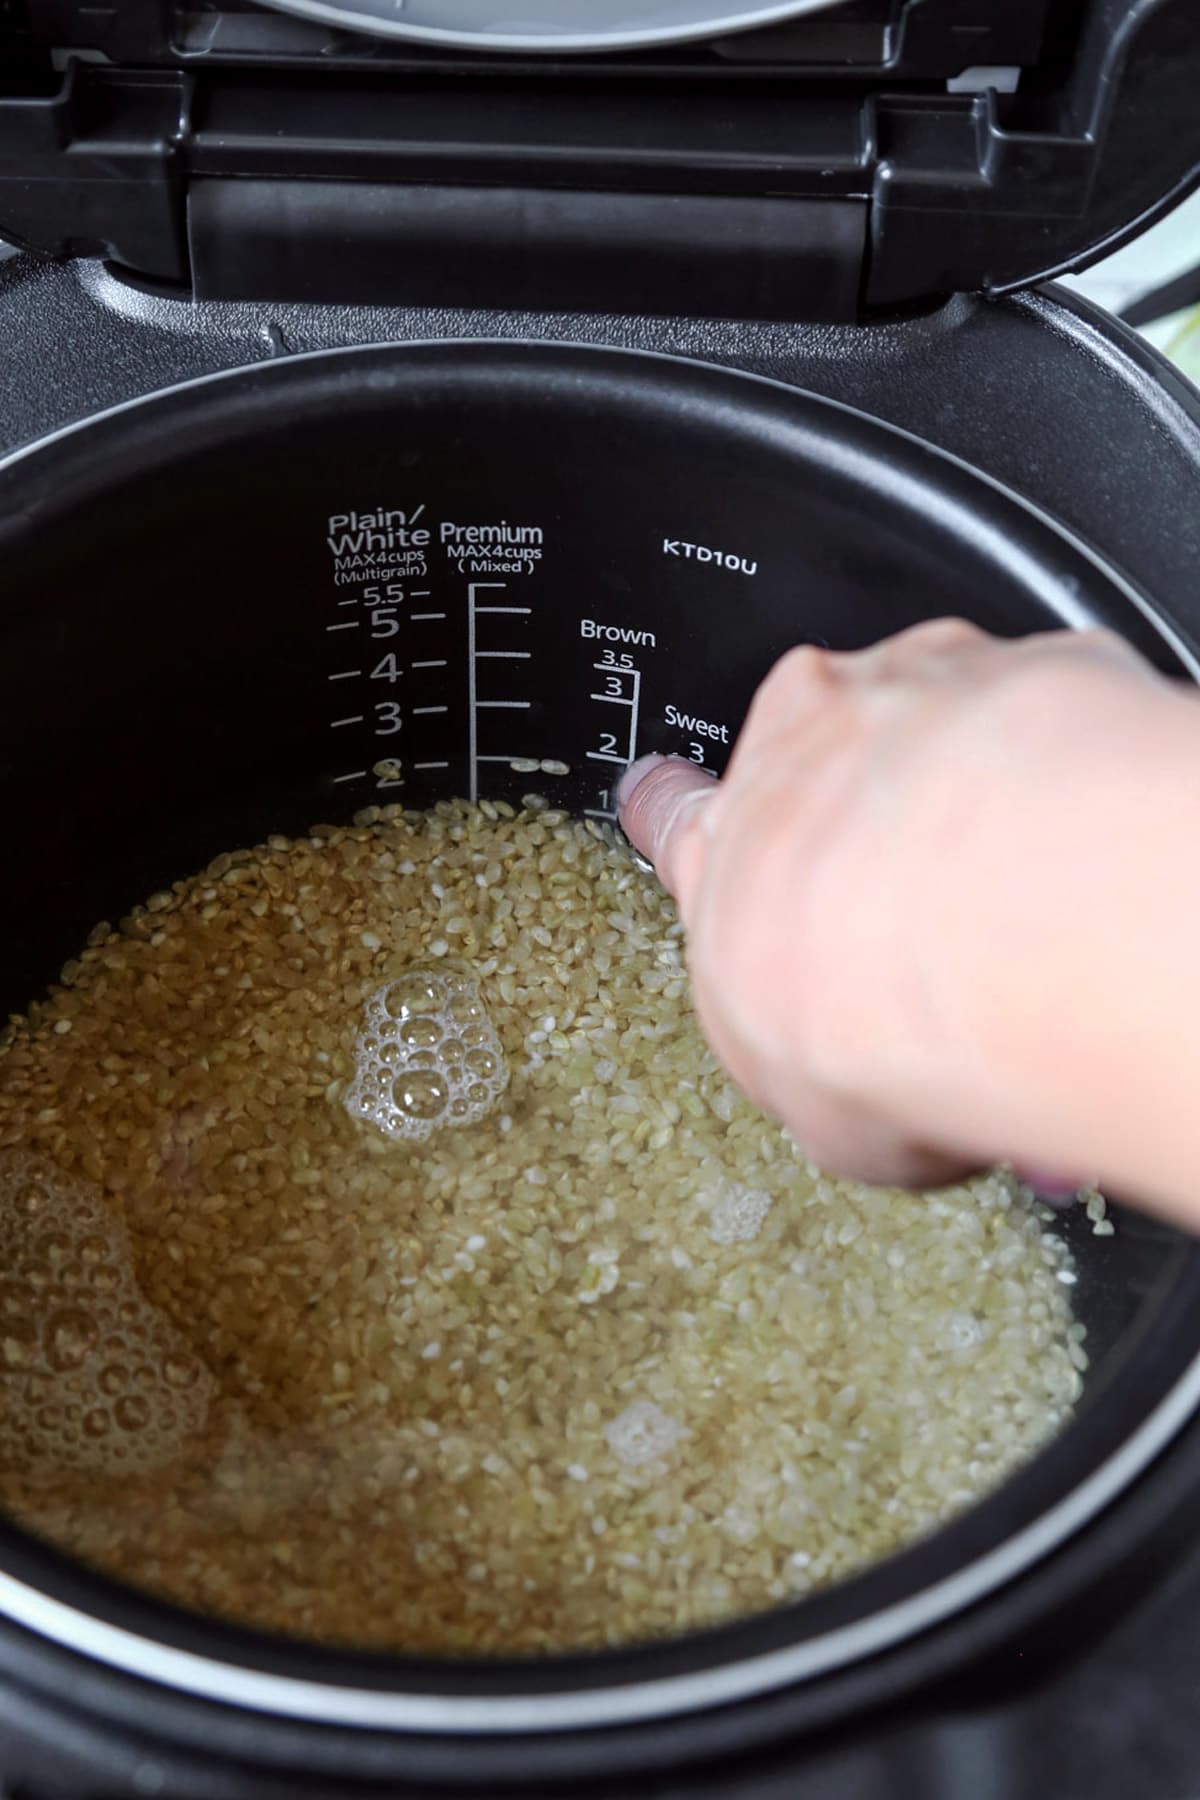
However, most rice cookers have markings on the inner pot. Those are fill lines for water. If you use the fill lines, it’s important to add the water after you’ve placed your uncooked rice in the inner pot.
In the picture above, since I’m making 2 cups of brown rice, I’d just add my rice to the inner pot and then fill with water to the 2 line under the ‘brown’ heading.
Important to note:
- There may be different fill lines inside your rice cooker’s inner pot for different types of rice. For example, white rice requires less water than an equal amount of brown rice.
- Most rice cookers come with a measuring cup. That measuring cup is typically about 25% smaller than a standard American cup – around 180 ml.
- Don’t heap the cup! Measure so the top of the rice is flat and level with the lip of the measuring cup.
- If you use the fill lines in your rice cooker to gauge water, use the cup that came with your rice cooker to measure the rice.
- Alternatively, if you’re using a less precise method like the 1:1 ratio, use the same measuring instrument for both the water and rice – whether it came with the machine or not.
How to Use a Rice Cooker
When it comes to cooking rice, it doesn’t get much easier than this.
- Measure and rinse your rice well (until the water runoff is clear).
- Place the rinsed, uncooked rice into the inner pot of your rice cooker.
- Add water to the fill line that corresponds with the type of rice you’re making. If fill lines don’t exist, use those water to rice ratios. Make sure the rice is completely submerged and even (gently shake the pot to level it out if the rice is heaped in the middle).
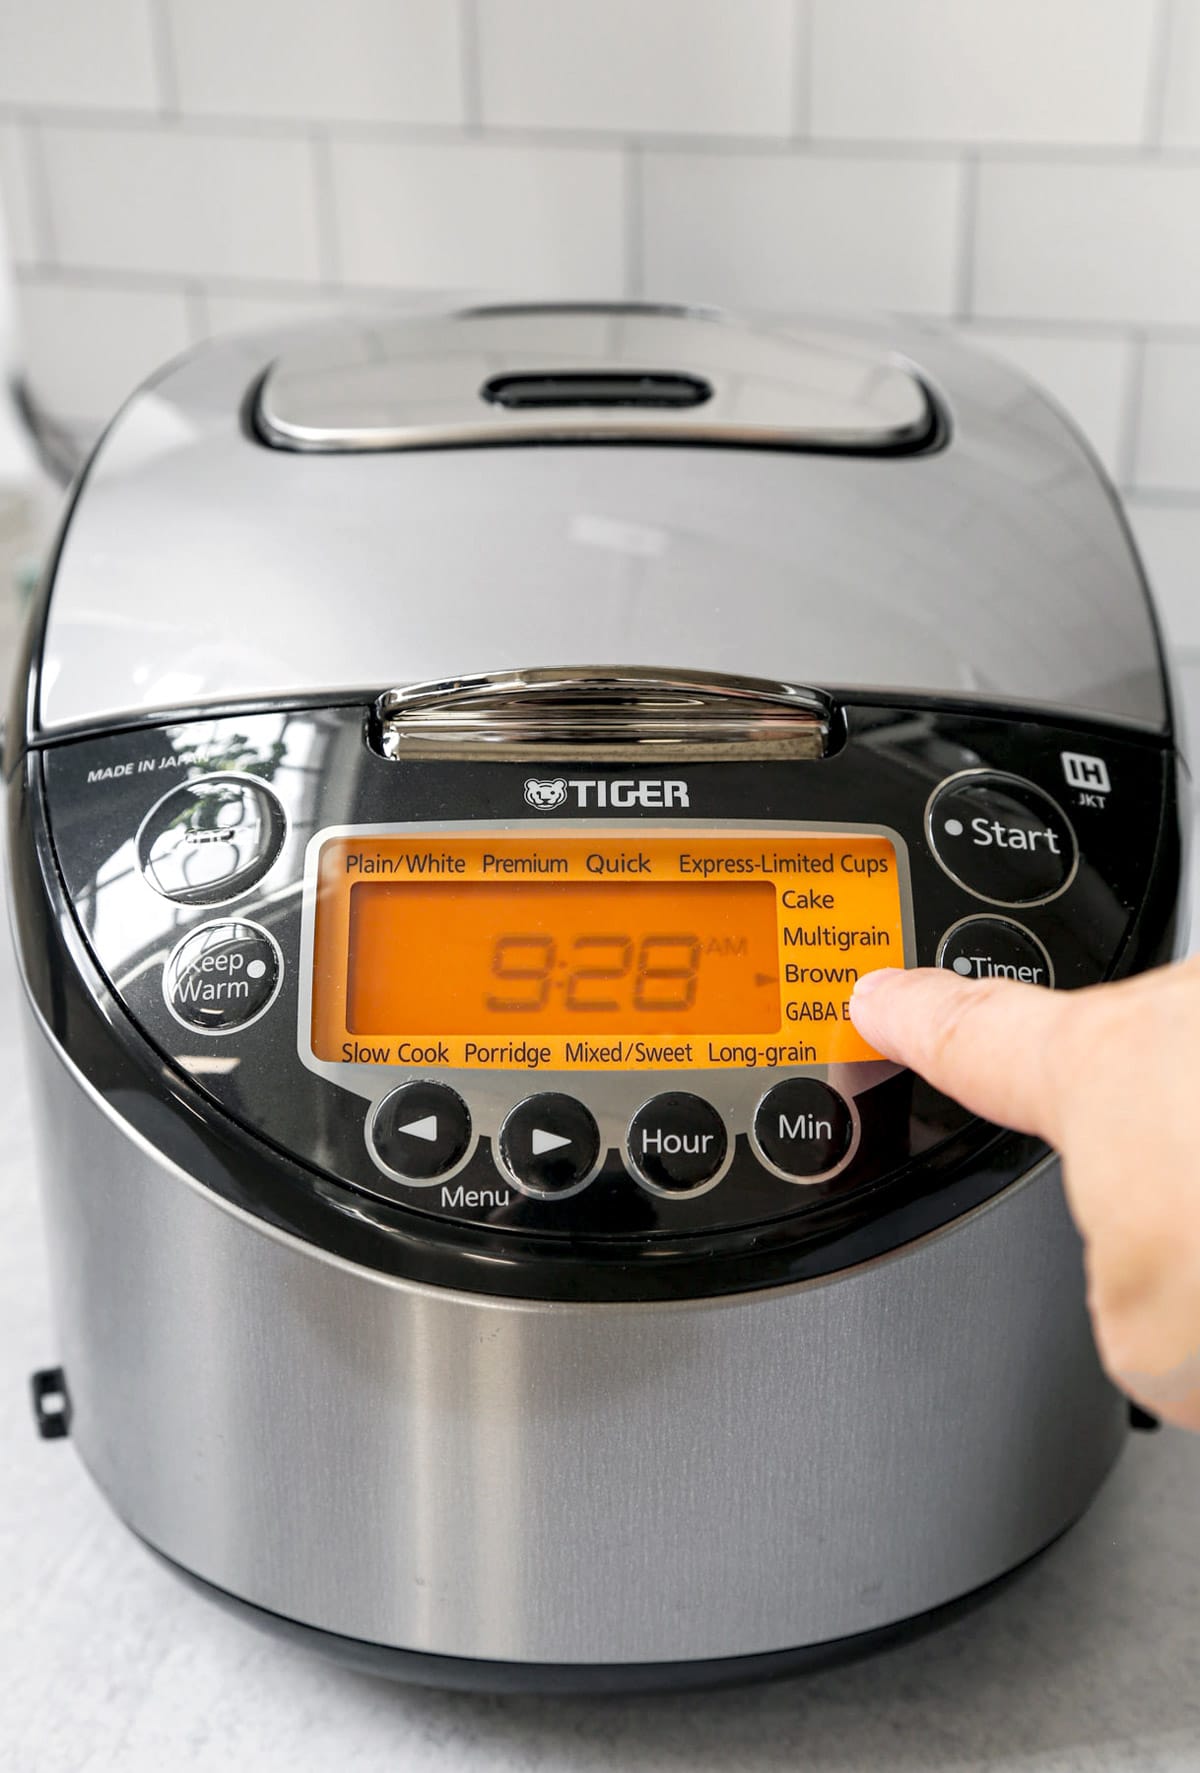
- Close the lid and select the cooking mode for the type of rice you’re cooking – and press the start button.
- Don’t open the lid while it’s cooking! I get the temptation to take a peek and see how things are going. But you don’t want the steam to escape as the rice cooker goes through it’s pre-programmed boil / simmer routine.
- Once the cooking cycle is complete, wait 5-10 minutes before opening the lid. This ensures properly plump rice grains.
- Open the lid, fluff the rice with a rice paddle (I’ll explain this in a sec) and serve hot.
Be sure to check out the step by step instructions and water to rice ratios for brown rice and white rice in the recipe card below.
Cleaning a Rice Cooker
- Remove the inner cooking pot and wash thoroughly with hot water and non-abrasive dish soap. On many rice cookers, the inner pot has a delicate surface. Some are even ceramic coated. Treat with care!
- Dry the pot with a soft dish towel. Don’t place it open side down in your dish rack. Again, that coating can get chipped on hard surfaces.
- Many models have removable steam vents, lids and rubber gaskets that should be cleaned and dried between uses as well.
- Wipe non-removable surfaces with a soft damp cloth and allow to air dry.
How to Fluff Rice
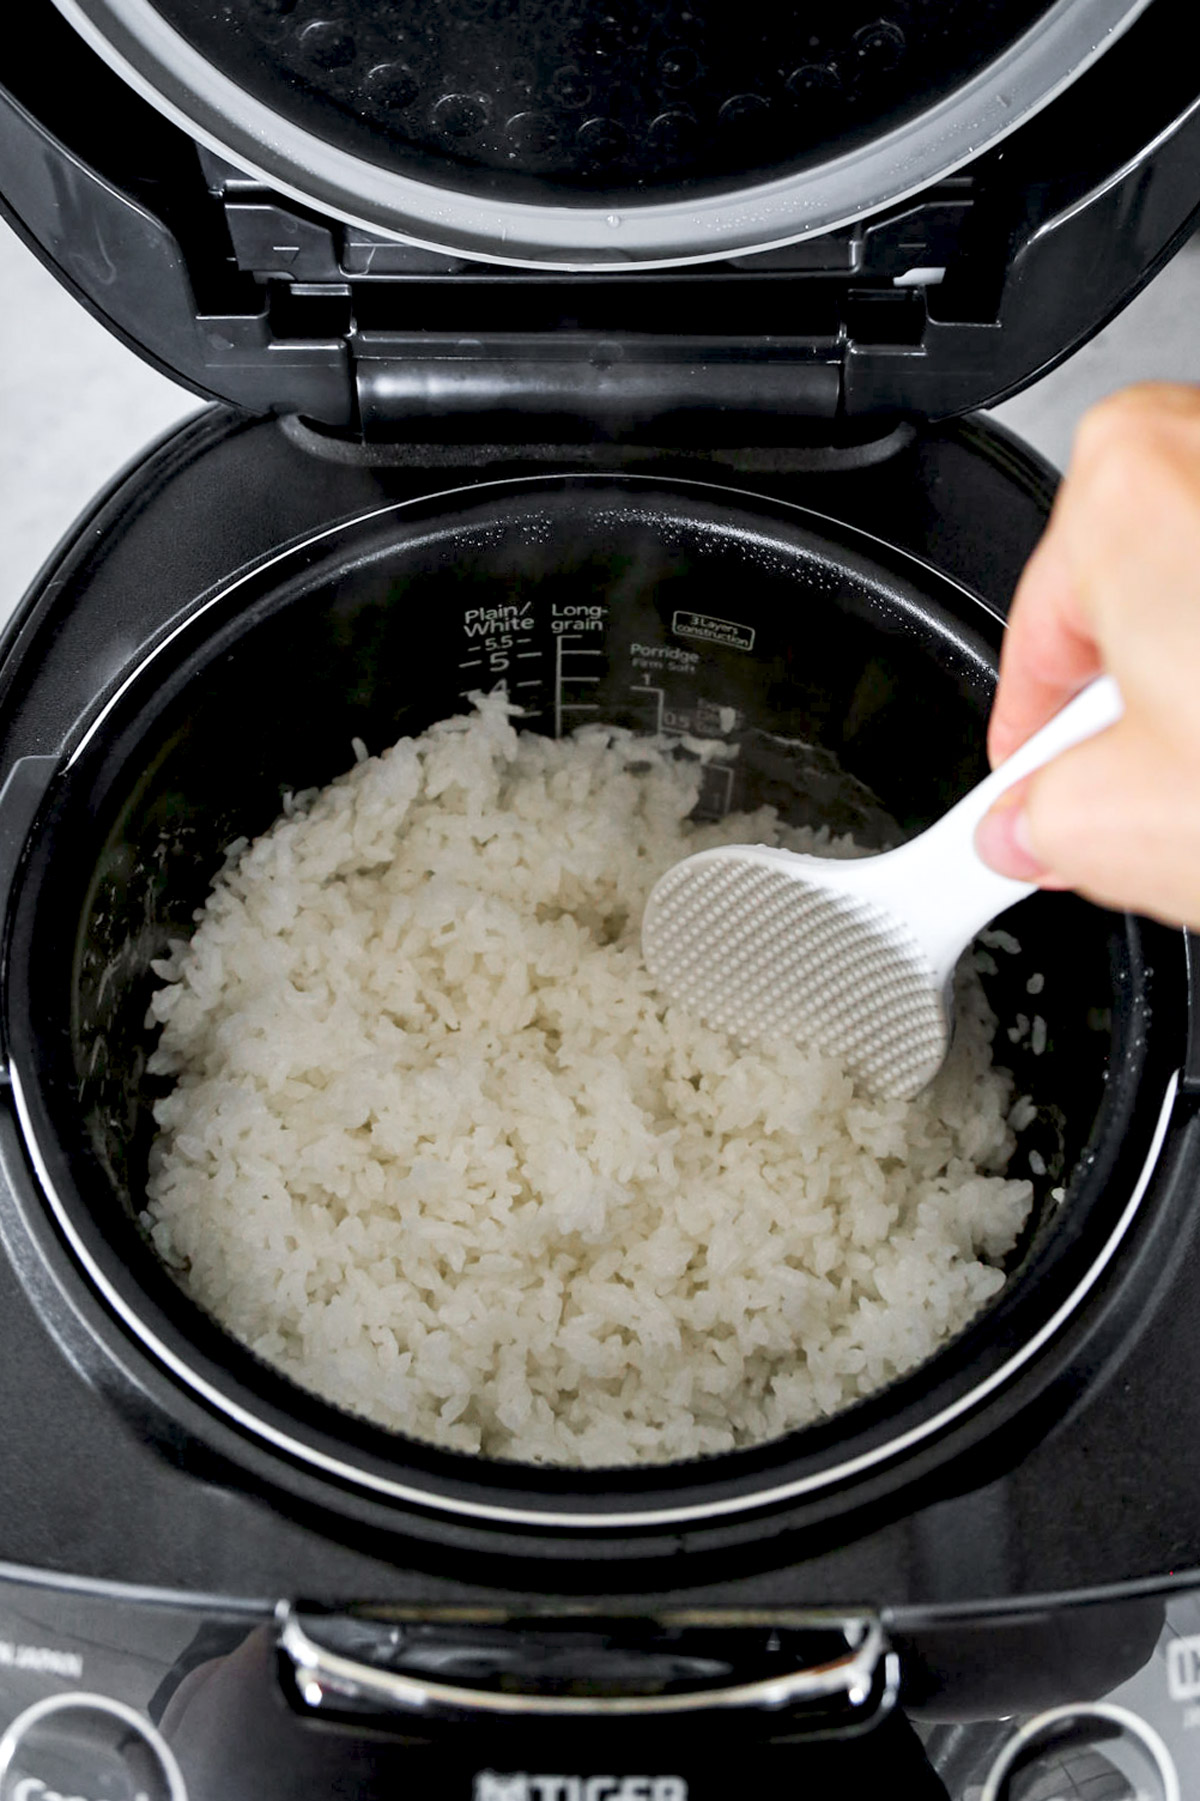
Fluffing rice simply means gently loosening up the cooked grains and getting rid of any large clumps.
Use the rice paddle that came with your rice cooker. Alternatively, use a wooden spoon, or a plastic or rubberized spatula. Be careful if using a fork. It can scratch the delicate coating of the inner pot.
- When fluffing Japanese rice, jasmine rice, brown rice, basmati rice, etc., run the rice paddle around the edge of the inner pot on one side and fold the cooked rice over.
- Repeat that on the opposite side.
- Then gently run the narrow edge of the rice cooker paddle through the rice to break up any clumps. (Not too hard though. You don’t want to break the cooked grains themselves.)
I’m using a Japanese hangiri (aka: sushi oke) to fluff and mix sushi rice in this video, but you can do this directly in the rice cooker’s inner pot.
This step leaves you with fluffy rice with a uniform texture.
How Long Can Cooked Rice Stay in a Rice Cooker?
Most rice cookers have a ‘keep warm’ setting baked into them. This means that once the active cooking cycle finishes, your cooked rice should be kept hot (around 165° F) and ready to eat for some time to come.
Here’s my general rule of thumb when it comes to how long to keep it in the rice cooker:
- 8-12 hours is the longest I keep cooked rice in the rice cooker.
- The keep warm setting needs to be selected and active.
- Any longer than 12 hours, and you tend to get rice grains that start to dry out significantly – or rice that starts to take on a funny smell. Not nice.
Pro tip for keeping a small amount of rice warm: bunch the cooked grains together in the center of the rice cooker’s inner pot. If the rice is spread out, it will dry faster.
It’s important to note that cooked rice can quickly develop bacteria as it cools to room temperature. So eat it hot! And if your particular rice cooker doesn’t actively keep rice hot after the cooking cycle finishes, it should be refrigerated. Don’t let it cool down in the rice cooker.
We’ll talk more about refrigeration of leftover rice in a second.
Can I Cook Quinoa in a Rice Cooker?
Yes! Quinoa tastes glorious from the rice cooker. And it’s so easy.
Making protein and fiber packed quinoa in your rice cooker is very similar to the steps you’ll take to prepare rice. However the quinoa to water ratio is a little different.
Use 2 cups water (or stock) for each 1 cup of dry quinoa.
How to make quinoa in a rice cooker:
- Quickly rinse the dry quinoa in a fine mesh sieve or strainer under cold water.
- Add uncooked quinoa to the inner pot of your rice cooker with water or broth. 2 cups liquid to 1 cup quinoa.
- Toss in 1/2 teaspoon salt (optional).
- Cook on the quickest setting you have on your particular rice cooker. On many models, this will be the same setting you use for making white rice. There’s actually a ‘Quick’ setting on mine. But this works even if your model just has an on/off switch.
- Once cooking has finished, gently stir with a rice paddle and serve.
If you’re a visual learner (like me) check out this rice cooker quinoa salad recipe video I developed back in the day.
What Else Can I Cook?
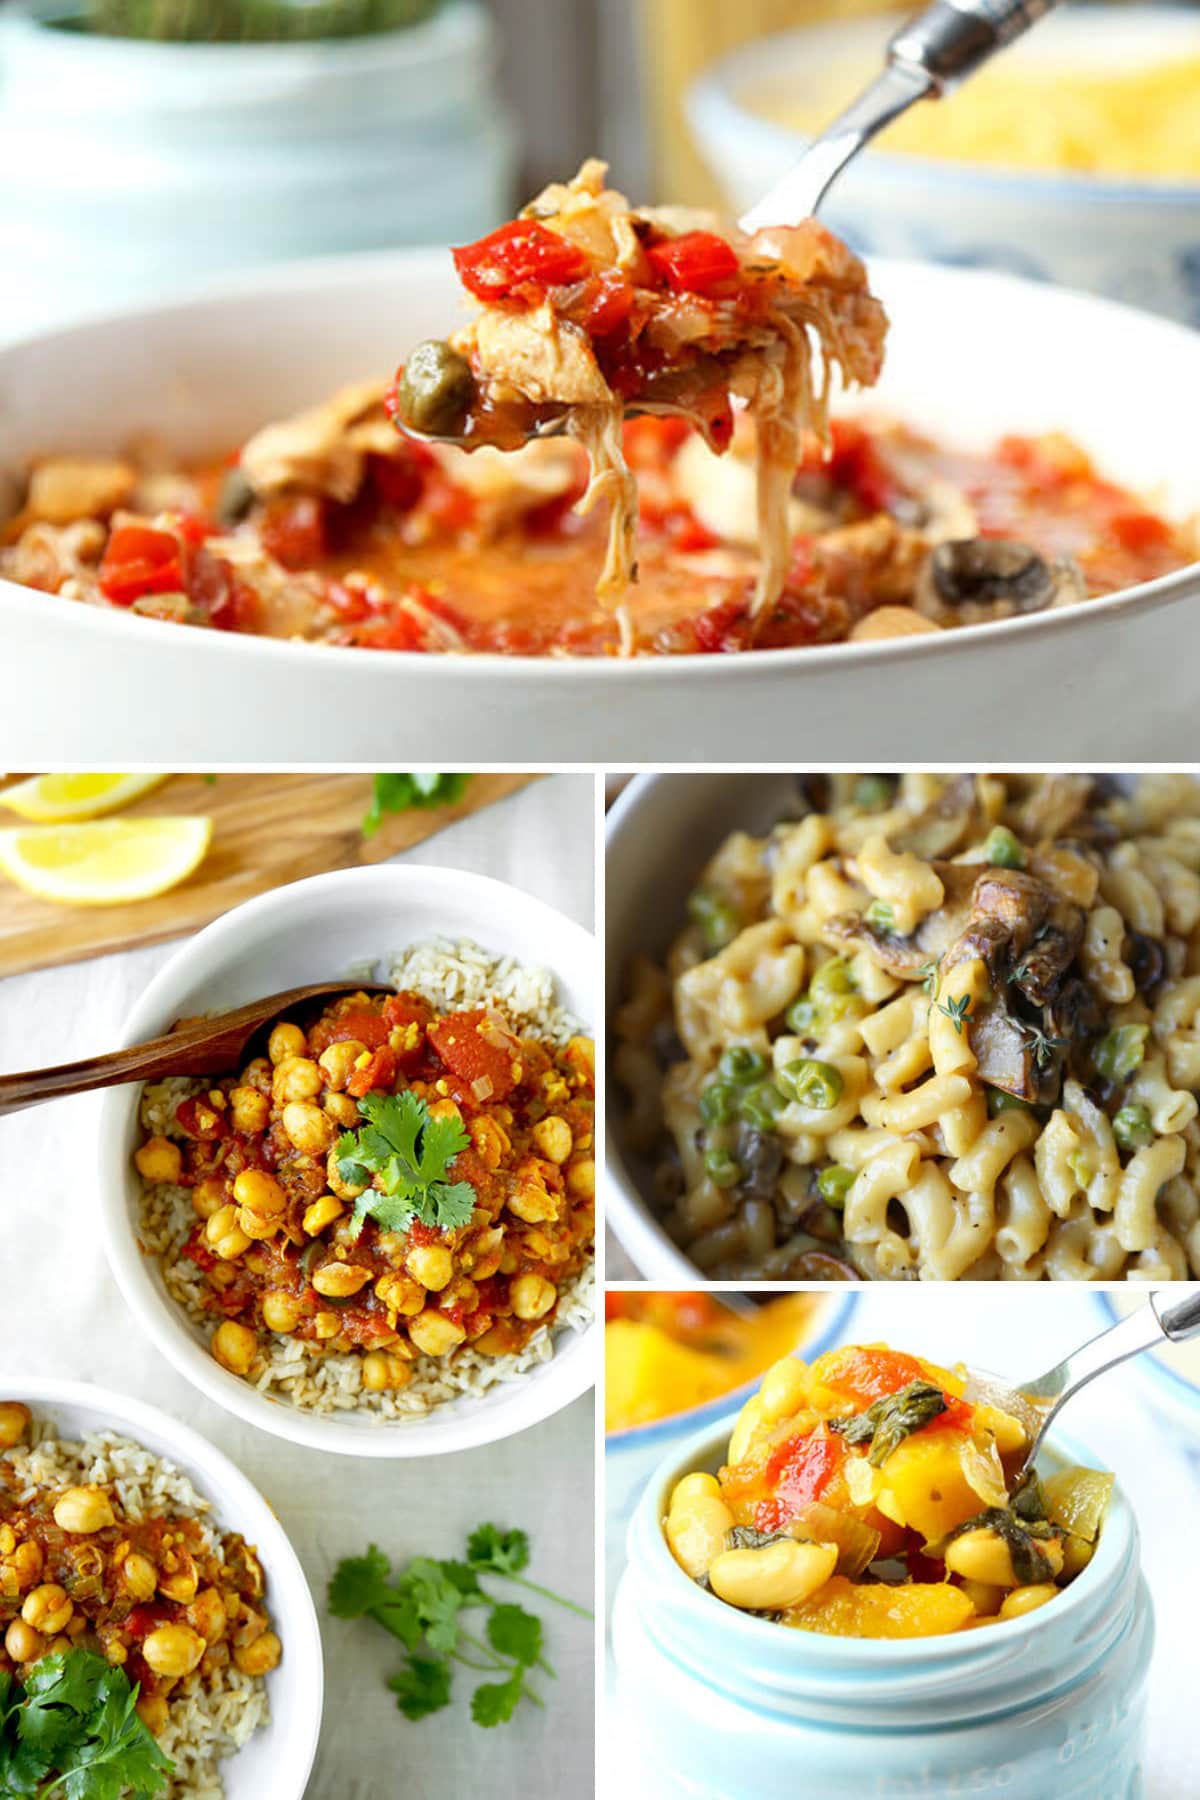
Aside from rice and quinoa, many rice cookers can be used in a similar way you’d use a slow cooker.
- In fact, I get a lot of hearty set-it-and-forget-it dinners and side dishes on the table while my (huge) slow cooker sits unplugged in a forgotten cabinet.
- The main difference is most rice cookers don’t really have a ‘low’ setting. The ones with ‘slow cook’ settings tend to cook at a higher temperature with a shorter cooking time than a traditional slow cooker.
- But it’s not just a good appliance alternative for slow cooker recipes. I’ve made everything from congee to steel cut oatmeal to bread and cakes in my rice cooker.
Need some step-by-step rice cooker recipes that are’t just rice? Here are a few reader favorites:
- Mac and Cheese
- Chicken Soup
- Chana Masala
- Vegan Lentil Soup
- Vegetable Soup
- Beef Stew
- Chicken Cacciatore
What’s your favorite recipe to make in your rice cooker? Tell me about it in the comments!

How To Store Cooked Rice
Place leftover cooked rice in shallow, sealable food storage containers and refrigerate or freeze. You should do this while the rice is still hot.
Like we briefly touched on, as rice cools to room temperature, it can harbor a bacteria called bacillus cereus. To avoid foodborne illnesses, the USDA recommends cooling leftover food rapidly to 40°F or below. You don’t need to let your rice cool to room temperature prior to putting it in the fridge.
How long is it good for?
- Properly refrigerated rice is good for up to 4 days.
- Be sure to reheat your leftover rice to 165°F or higher prior to serving.
Freezing Cooked Rice
You can also freeze your leftover cooked rice. Since you should only reheat rice one time, try storing it in single serving Tupperware containers or freezer bags so you can reheat the perfect amount for tonight’s dinner. A single serving is about 1/2 cup of rice.
I’ve found that short grain rice handles the freezer better than long grain and medium-grain rice.
How long is frozen rice good for?
- Frozen rice tastes best within a month or so – although it can be used until around the 3-4 month mark.
- Pro tip: sprinkle a couple drops of water on the frozen leftover rice immediately prior to reheating it in the microwave, covered. Again, serve piping hot.
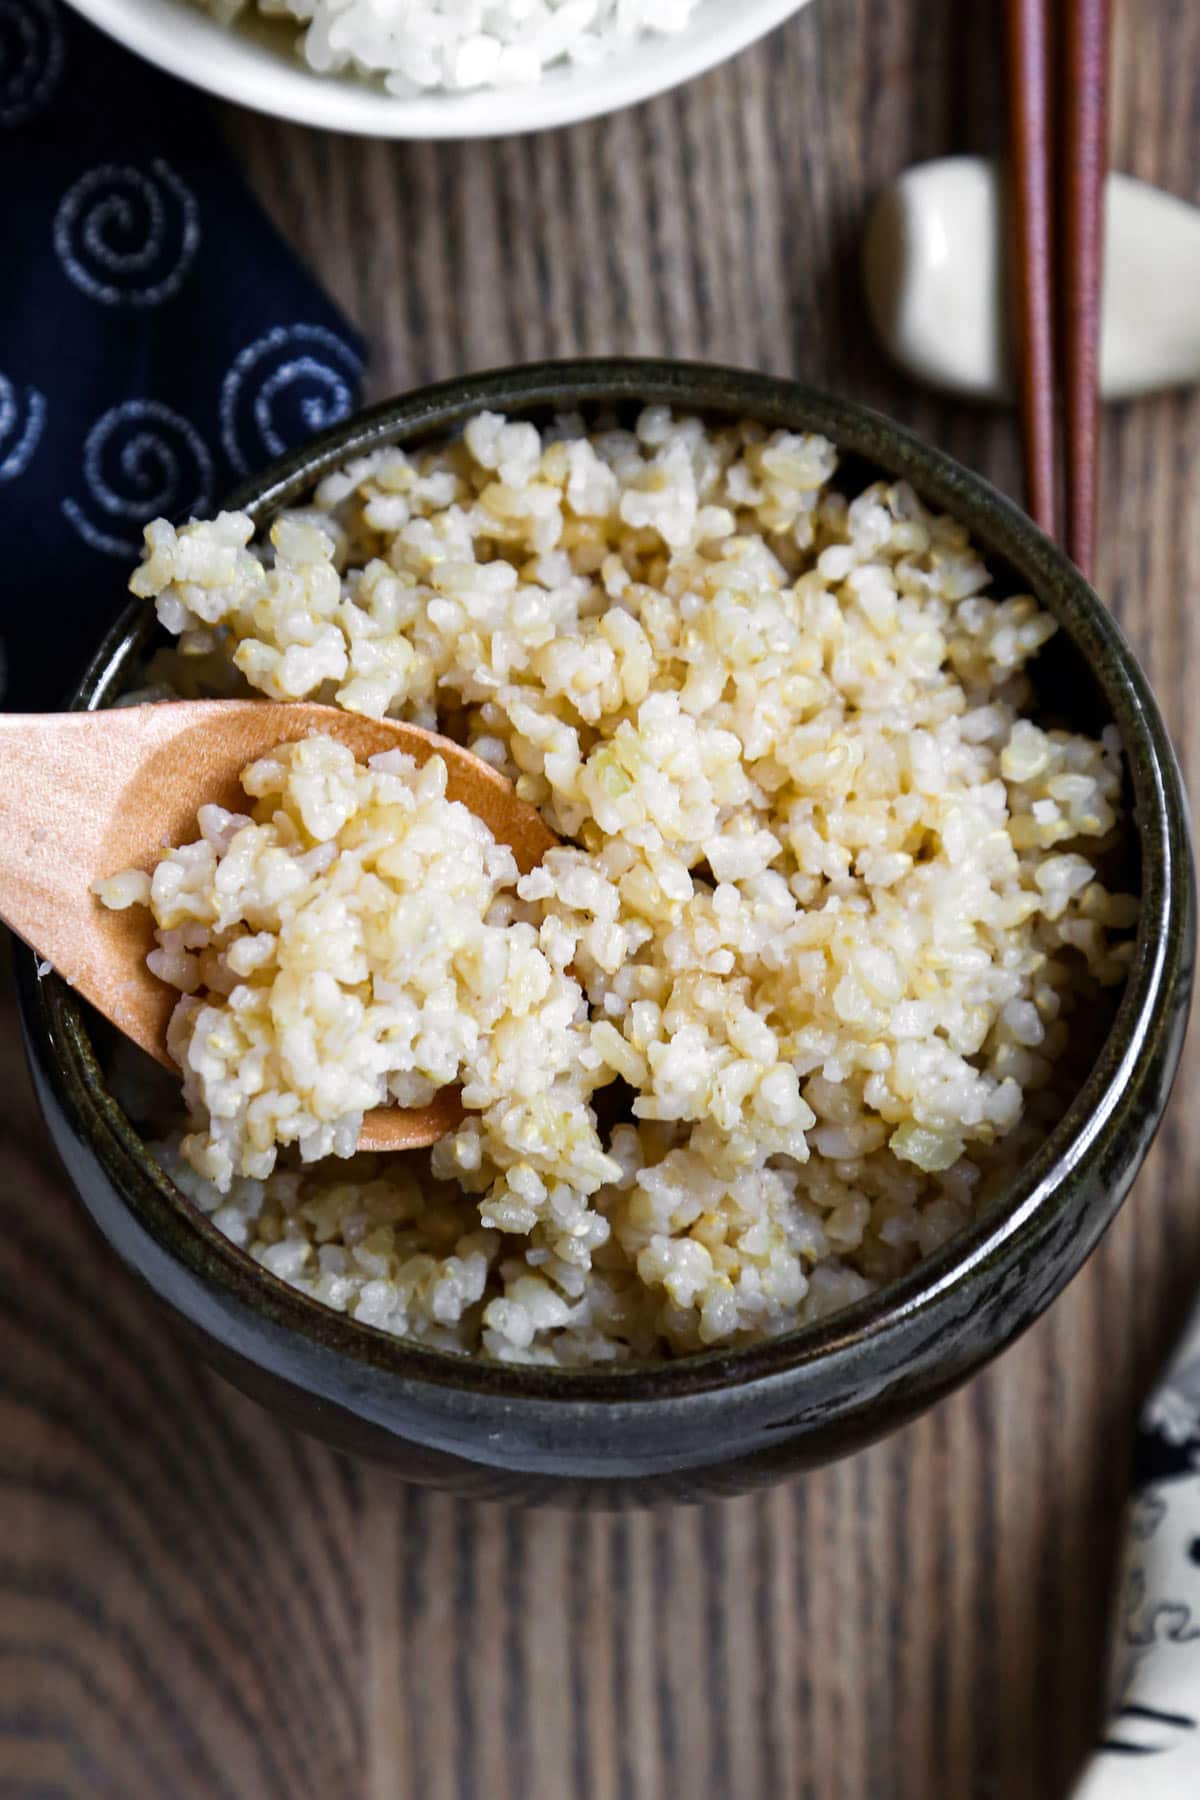
Did you like this post on how to cook rice in a rice cooker? Are there tips and ideas that you would like to share? Use the comments section below to share your expertise!
PrintHow To Cook White Rice and Brown Rice in a Rice Cooker
Press a button and enjoy perfect, fluffy rice every single time! Learn how to make white rice and brown rice with ease with this easy, step-by-step tutorial.
Ingredients
Rice Cooker White Rice
- 2 cups short grain or medium grain white rice
- 2 cups water – or enough water to reach the plain/white rice line inside the rice cooker inner pot
Rice Cooker Brown Rice
- 2 cups short grain or medium grain brown rice
- 3 1/4 to 3 1/2 cup water, or enough water to reach the brown rice line inside the rice cooker inner pot
Instructions
Rice Cooker White Rice
- Start by washing the rice under cold water to remove excess starch. The easiest way is to use a rice washing bowl. Gently swish the rice around until the water runs clear. Drain well and add the rice to the rice cooker inner pot. If you don’t have a rice washing bowl, use a regular bowl to wash the rice. Drain and repeat until the water is clear and add the rice to the inner pot.
- Add enough water to reach the plain/white rice line in the inner pot (or about 1 cup water per cup of dry rice).
- Close the lid and choose the quick, plain, or normal function. Press start.
- When the cooking is done, wait for 5 minutes before opening the lid.
- Use a rice paddle and gently fold the rice a few times (4 or 5 times is good). Don’t stir the rice as this will break the rice grains and give the rice a very sticky texture.
- Serve.
Rice Cooker Brown Rice
- Start by washing the rice under cold water to remove excess starch. The easiest way is to use a rice washing bowl. Gently swish the rice around until the water runs clear. Drain well and add the rice to the rice cooker inner pot. If you don’t have a rice washing bowl, use a regular bowl to wash the rice. Drain and repeat until the water is clear and add the rice to the inner pot.
- Add enough water to reach the brown rice line in the inner pot, or about 2 1/4 to 2 1/2 cups water.
- Close the lid and choose the brown rice function. If you don’t have a brown rice setting, set the timer to 50 minutes. Brown rice takes longer to cook than white rice. Press start.
- When the cooking is done, wait for 5 minutes before opening the lid.
- Use a rice paddle and gently fold the rice a few times (4 or 5 times is good). Don’t stir the rice as this will break the rice grains and give the rice a very sticky texture.
- Serve.
Notes
Place the leftover cooked rice in a storage container and refrigerate for up to 4 days.
Nutrition
- Serving Size: 1 cup cooked rice
- Calories: 218
- Sugar: 0g
- Sodium: 9.1mg
- Fat: 1.6g
- Saturated Fat: 0.3g
- Unsaturated Fat: 0.6g
- Trans Fat: 0g
- Carbohydrates: 45.8g
- Fiber: 3.5g
- Protein: 4.5g
- Cholesterol: 0mg

