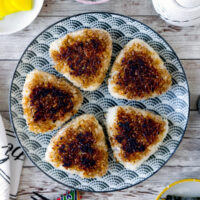
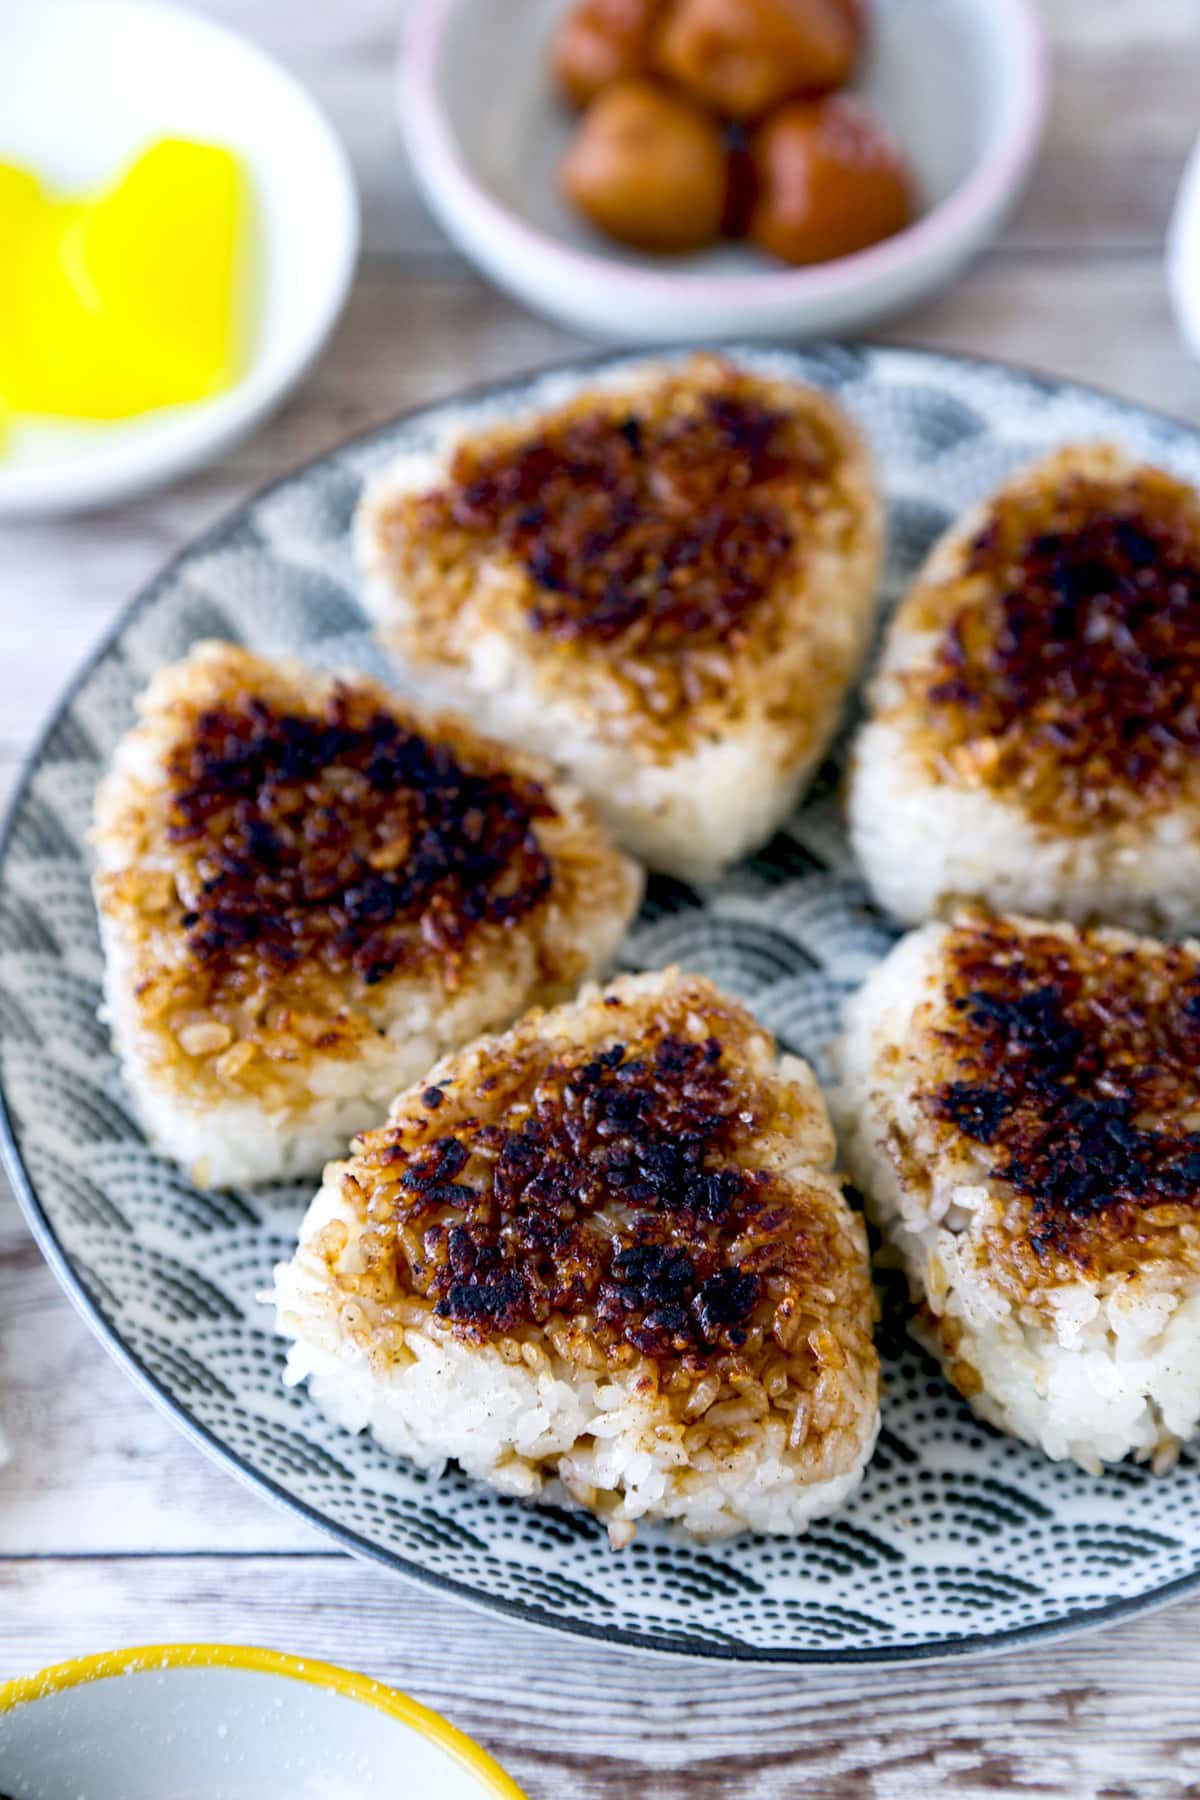
Did you know you can make yaki onigiri without the use of a charcoal grill? They can be cooked in a skillet and only take a few minutes to make. These grilled rice balls are such a delight to snack on, I’ve even stuffed a few with cheese!
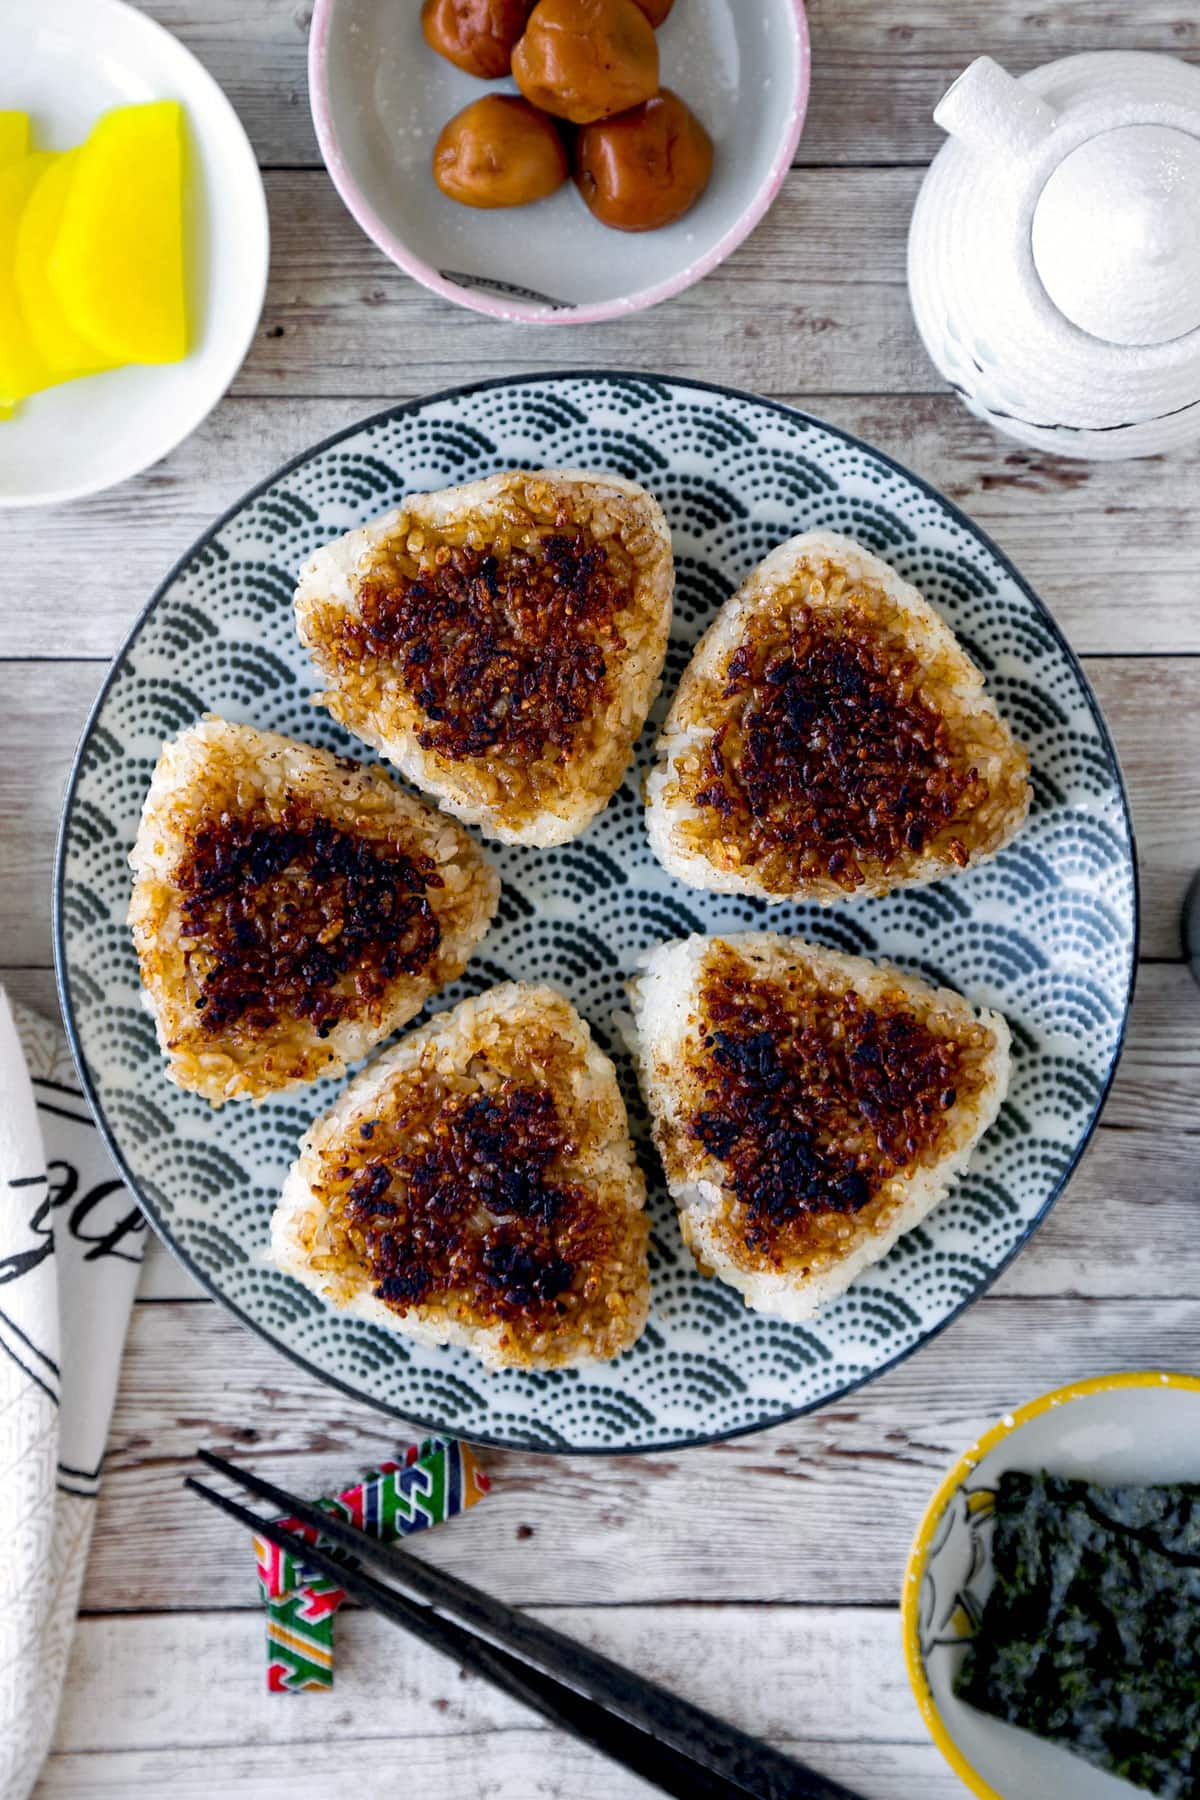
What is Yaki Onigiri?
Yaki onigiri (焼きおにぎり) is an extremely popular dish you can find all over Japan, especially in places like izakayas (Japanese style pub), yatais (street vendors), or yakitori shops (shops specializing in grilled chicken skewers). It’s a dish that many enjoy having with alcohol as part of a tapas style dinner.
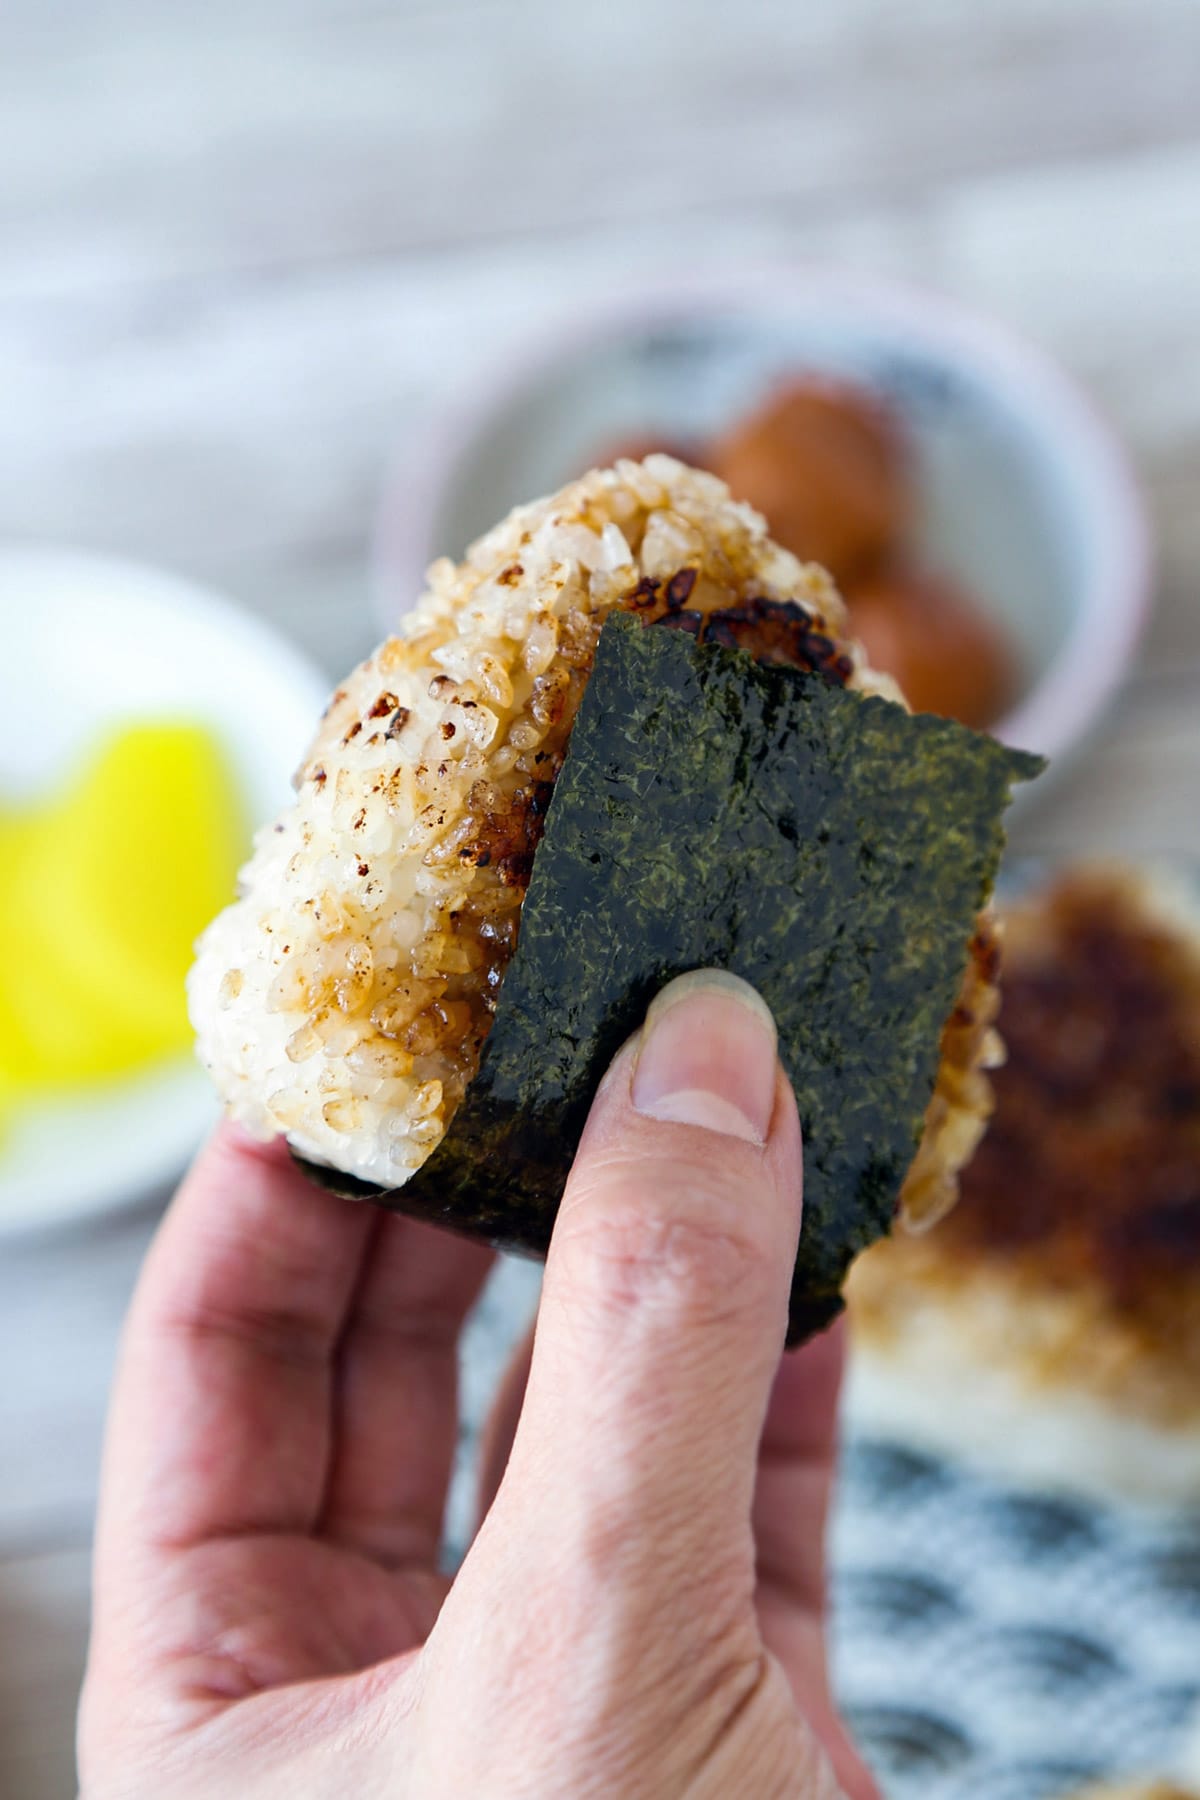
The dish itself is quite simple – it’s a Japanese rice ball that has been brushed with a mixture of soy sauce and mirin, and grilled over charcoal to give it a smoky taste. It’s usually served as a pair and comes with nori sheets that can be wrapped around the rice balls.
The term yaki onigiri literally means “grilled rice ball”.
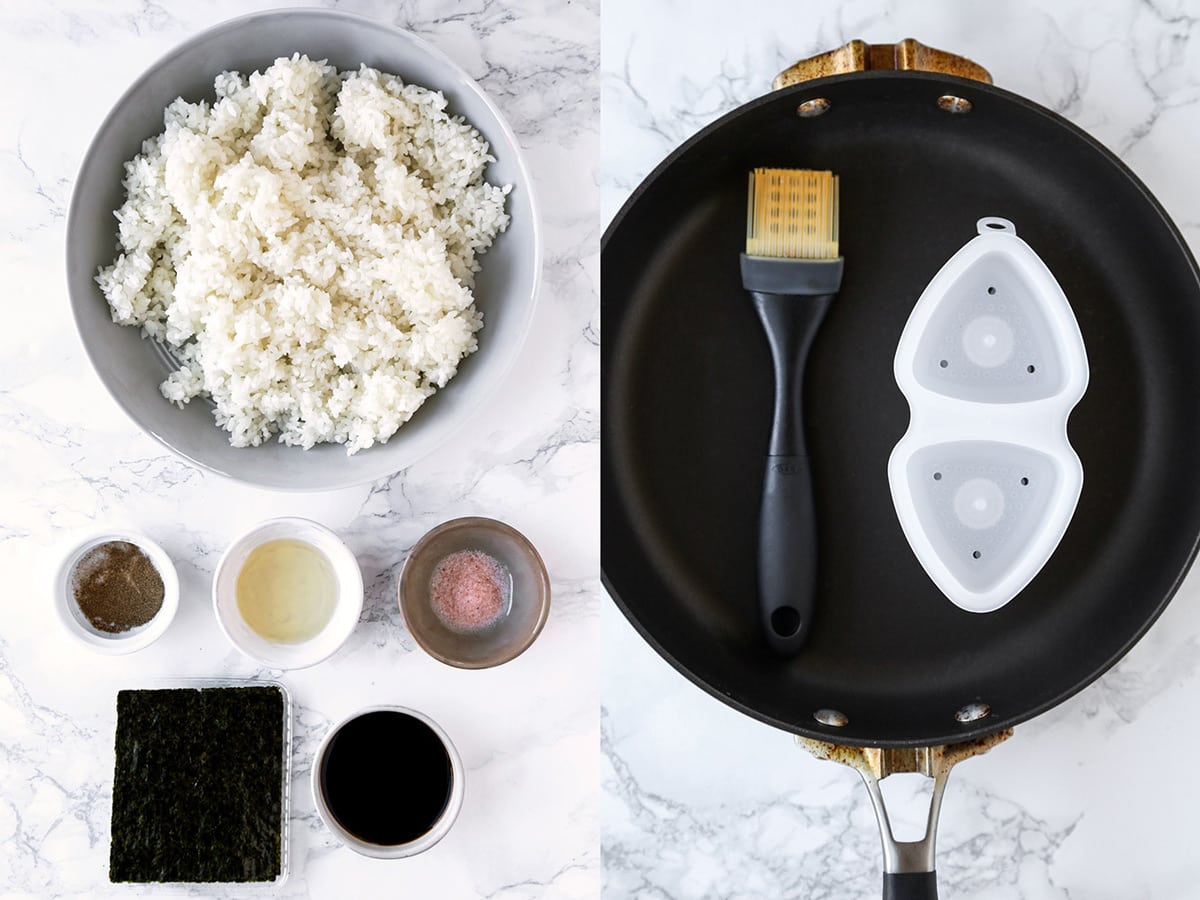
Ingredients to Make Yaki Onigiri
- Japanese short grain rice: You must use short grain white rice when making onigiri otherwise the rice grains may have a hard time sticking together. A lot of Japanese rice sold in the US is medium grain so make sure to check properly before buying. Look for the koshihikari type for a good high quality short grain Japanese rice.
- Soy sauce: You can use any type of soy sauce (regular, light, low sodium, gluten-free) to make yaki onigiri. The soy sauce imparts umami and saltiness.
- Mirin: Mirin adds sweetness and a sake-like taste to dishes. Unfortunately, the type of mirin commonly found here is quite different than the type found in Japan. In Japan, real mirin contains alcohol and gets its sugar content from the fermentation process, making the flavor deep and complex. The mirin we get here is alcohol-free and made with high fructose corn syrup. So it doesn’t have the same kind of depth of flavor. If you can get your hands on some real mirin (I haven’t been able to) please let me know where you were able to find it!
- Nori: This is optional but wrapping a sheet of nori, especially seasoned nori, around a grilled rice ball is absolutely delicious! The toasted flavor of nori pairs exquisitely well with the umami and savory flavor of the rice balls.
- Cheese: Cheese is optional but if you are going to stuff your rice balls with it, I suggest using a good quality pecorino romano or parmesan cheese.
Variations
For healthier yaki onigiri, use half short grain brown rice and half short grain white rice to make the rice balls. I really like the Tamanishiki brand for both brown rice and white rice.
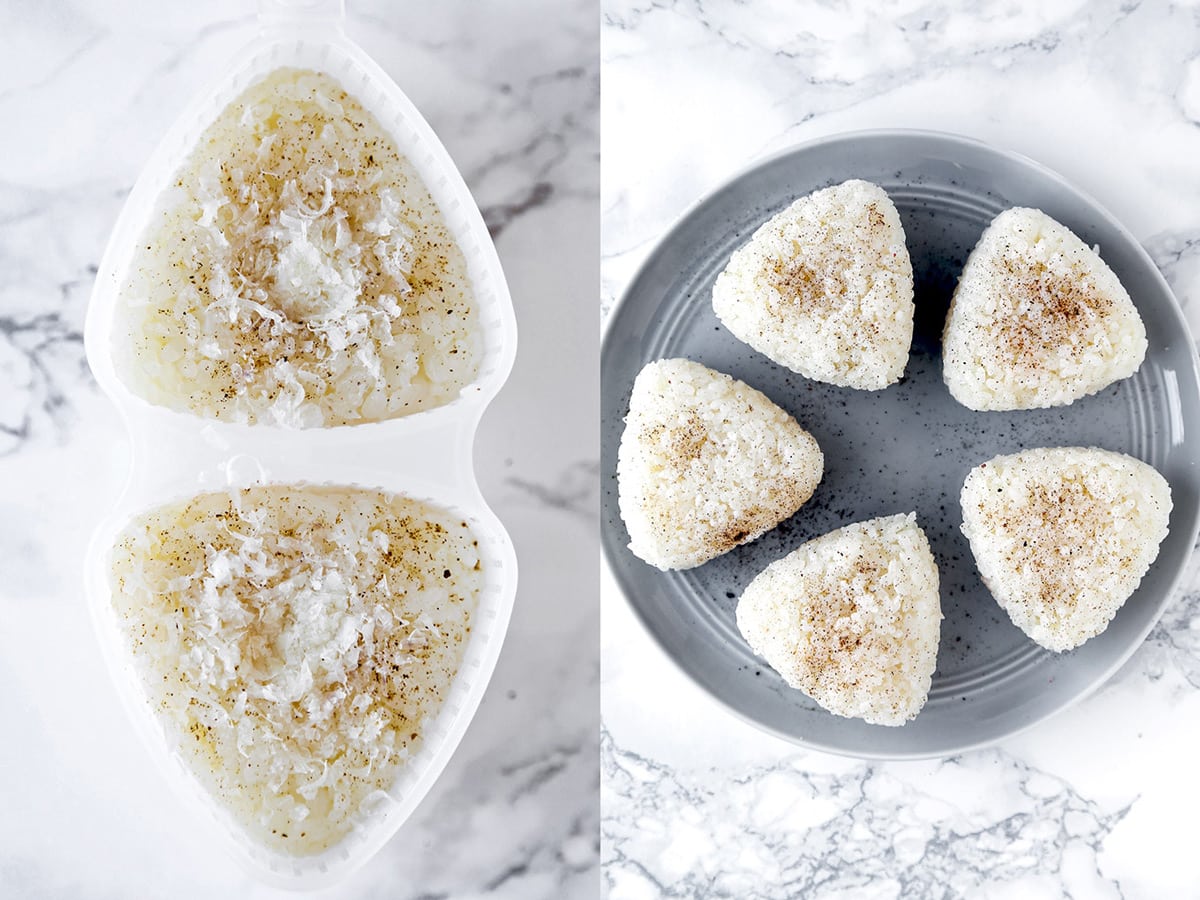
Kitchen Tools Needed
- Small mixing bowl
- Basting brush
- Onigiri mold which is optional since you can use your hands to shape the rice balls
- Non-stick skillet
- Serving plate
Onigiri Mold
Some people may consider using an onigiri mold to make traditional Japanese food as cheating, but I’m here to tell you that it’s not. I know plenty of Japanese people who use onigiri molds (it’s a Japanese invention after all) because it’s convenient and let’s face it – brilliant!
Ben always loved onigiri but never made it because he didn’t think he had the skills to make perfectly shaped triangles of rice. But since we got the onigiri mold he’s been making onigiri on a regular basis, because it’s so quick and easy.
I also have to admit to no longer using my hands to make onigiri since the mold does a much better job at it.
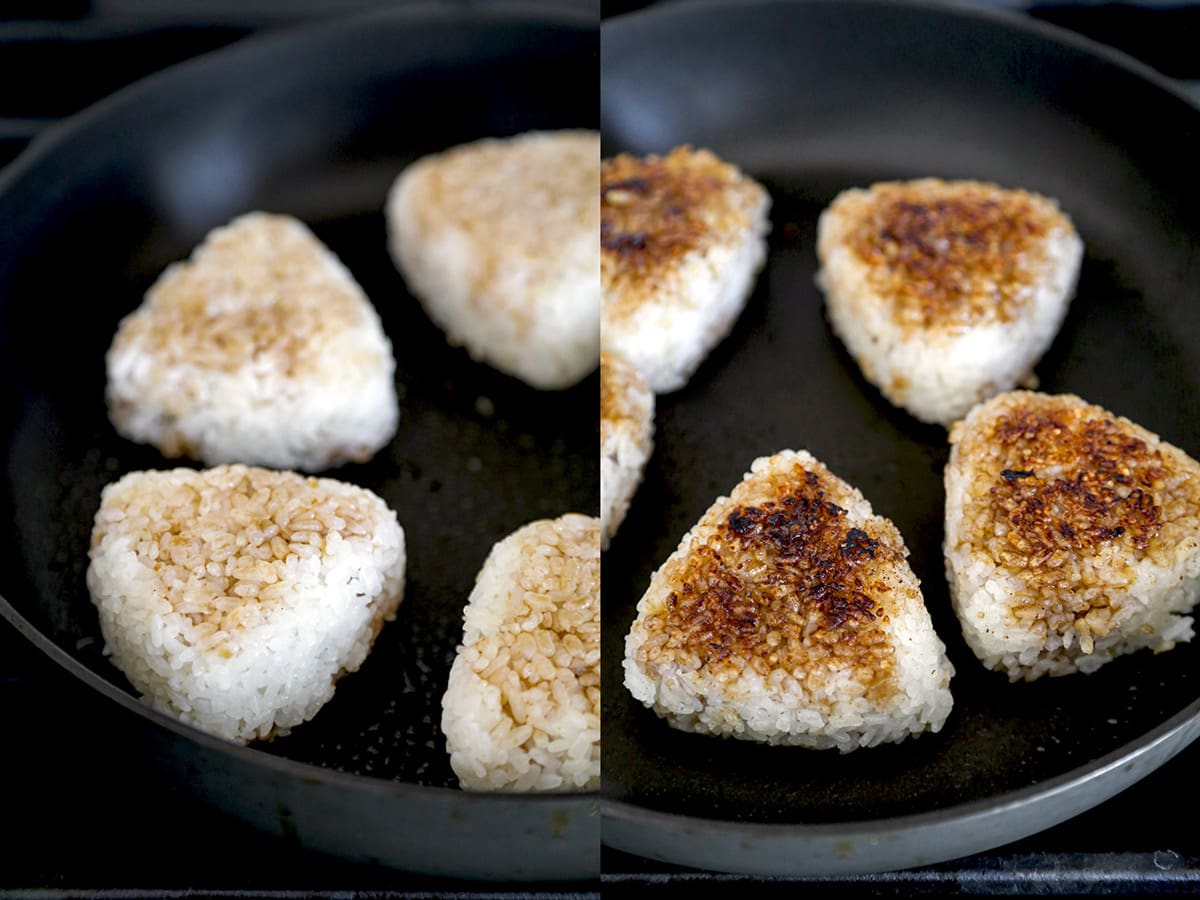
How to Make Yaki Onigiri
- Gather all of your kitchen tools and ingredients.
- Mix the soy sauce and mirin in a bowl and set it next to the stove top.
- If you are using an onigiri mold, use enough rice to fill the mold and use the other part to press and shape the onigiri. Lightly wet your hands and sprinkle a little salt on them. Take the onigiri out of the mold and gently press it against your hands so the rice absorbs some of the salt.
- Season with a little ground black pepper and transfer the rice ball to a plate. Repeat this process until all the rice has been used.
- If you are using your hands, lightly wet them and sprinkle a little salt on both palms. Take about 1/2 cup of rice and shape the rice into a triangle or a ball. Season with a little ground black pepper and transfer the rice ball to a plate. Repeat this process until all the rice has been used.
- Place a non-stick skillet over medium low heat and add a few onigiri, flat side facing down.
- Lightly brush the top part of each onigiri with the sauce and flip them over. I find it’s best to use chopsticks to lift the onigiri and then scoop it with a spatula to flip. This prevents them from breaking or splitting. Brush the top sides and leave for 3 minutes.
- Flip the onigiri over again and add a second layer of sauce by brushing the tops. Cook for 3 minutes and flip. Repeat this step for each side until both sides are golden brown, even a little charred is okay, and the rice looks crispy.
- Transfer the onigiri to a plate and serve with onigiri sheets.
Stuffed Onigiri
To make stuffed onigiri by hand:
- Scoop about ½ cup of cooked Japanese rice and shape the rice into a ball.
- Press in the center to create a dent and add a little cheese, not much, about ½ tablespoon.
- Cover the cheese with rice and shape into a triangle.
Using an onigiri mold:
- Fill the mold with rice and place the indentation piece on the other mold.
- Press the rice to create an indentation in the center of the triangle. If the indentation looks shallow, make it a little deeper by pressing your thumb in it until you can stuff enough cheese.
- Cover the cheese with a little rice, remove the indentation piece and press to shape the onigiri one more time.

How to Store Yaki Onigiri
Yaki onigiri are best when they are fresh because of their crispy exterior, but if you happen to have some leftovers, here is the best way to store them.
Firstly, you will have to refrigerate them because rice is extremely vulnerable to mold. It’s best to keep them cold until you are ready to eat them.
Keep the grilled rice ball wrapped individually in plastic wrap and placed in a storage container. They will keep for up to 6-7 days.
Before eating, take the onigiri out of the storage container but don’t unwrap them. Microwave on a plate for 30-40 seconds and enjoy!
What to Serve with Yaki Onigiri
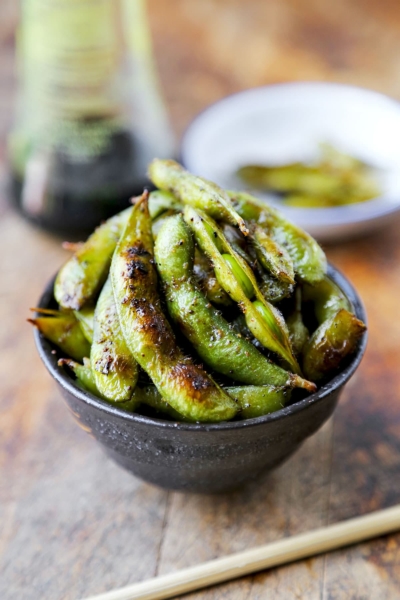
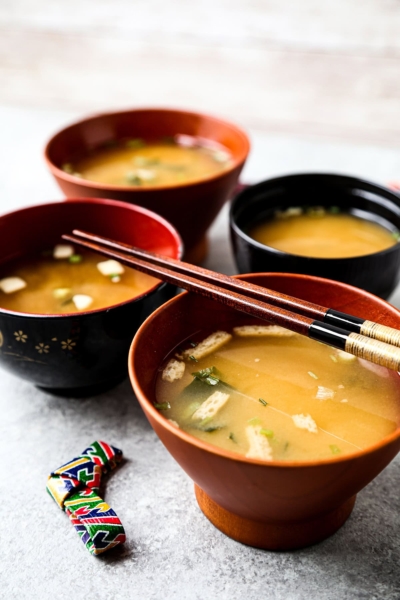
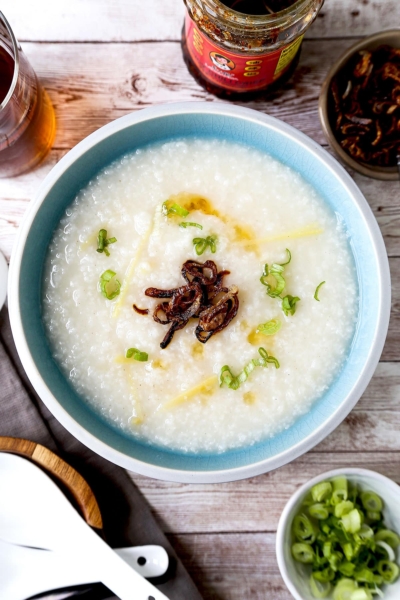
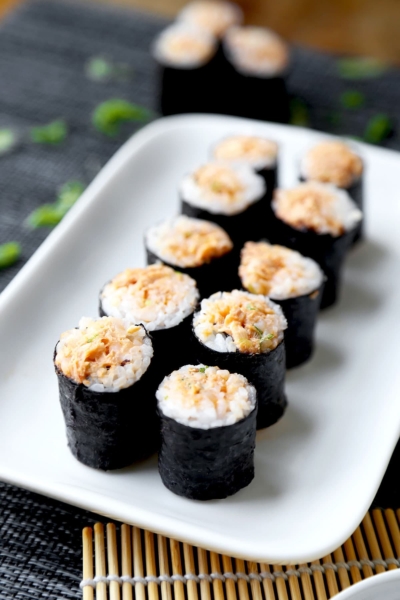
Since yaki onigiri is a popular side dish served in Japanese style pubs, I like to stick to classic izakaya dishes to make an all Japanese dinner. Some of my favorites are:
Did you like this Yaki Onigiri Recipe? Are there changes you made that you would like to share? Share your tips and recommendations in the comments section below!
PrintYaki Onigiri (Grill Rice Balls)
These grilled rice balls are such a delight to snack on and only take a few minutes to make.
- Prep Time: 10 minutes
- Cook Time: 20 minutes
- Total Time: 30 minutes
- Yield: 6–8 yaki onigiri 1x
- Category: Rice
- Method: Pan frying
- Cuisine: Japanese
- Diet: Vegan
Ingredients
- 4 cups cooked Japanese short grain rice
- Salt
- 1/4 cup soy sauce
- 1 1/2 tablespoon mirin
- Ground black pepper (optional)
- Nori (optional)
- 1/2 cup grated cheddar, parmesan, or pecorino romano
Instructions
- Place a small bowl of tepid water next to your work station.
- Mix the soy sauce and mirin in a bowl and place it next to the oven or stove top.
- Lightly wet your hands and sprinkle a little salt in both of your palms.
- Scoop about ½ cup of cooked Japanese rice and shape the rice into a triangular shape. Put a good amount of pressure on the rice but not so much that it squishes the rice. Season with a little ground black pepper on both sides.
- If using an onigiri mold: Place the rice in the mold and shape it. Wet your hands and sprinkle your palms with some salt. Take the onigiri out or the mold and lightly press it between your palms, just so it can absorb some the salt. Place the onigiri on a plate and repeat this step for all the rice. Season with a little ground black pepper on both sides.
- Place the non-stick skillet over medium-low heat and place a few onigiri, flat side down.
- Lightly brush the top side of each onigiri with the soy sauce mixture and flip them over. I find it’s best to use chopsticks to lift the onigiri and then scoop it with a spatula to flip. This prevents them from breaking or splitting.
- Lightly brush the other side and cook for 3 minutes. Flip the onigiri, brush the top side of each onigiri and leave for 3 minutes. Repeat this step until both sides are golden brown – even a little charred is okay – and crispy (about 20 minutes).
- Serve the onigiri on a plate with some nori sheets on the side. You can also let a little butter melt over the yaki onigiri to make it more decadent.
For Cheesy Yaki Onigiri
By hand
- Scoop about ½ cup of cooked Japanese rice and shape the rice into a ball.
- Press in the center to create a dent and add a little cheese, not much, about ½ tablespoon.
- Cover the cheese with rice and shape into a triangle.
With an onigiri mold
- Fill the mold with rice and place the indentation piece on the other mold.
- Press the rice to create an indentation in the center of the triangle. If the indentation looks shallow, make it a little deeper by pressing your thumb in it until you can stuff enough cheese.
- Cover the cheese with a little rice, remove the indentation piece and press to shape the onigiri one more time.
Notes
Tools needed:
- Onigiri mold (optional)
- Basting brush
- Oven or nonstick skillet
- Cooking sheet (optional)
Nutrition
- Serving Size: 1 yaki onigiri
- Calories: 213
- Sugar: 1.4g
- Sodium: 175mg
- Fat: 1.5g
- Saturated Fat: 0.3g
- Unsaturated Fat: 0.7g
- Trans Fat: 0g
- Carbohydrates: 44.9g
- Fiber: 6.4g
- Protein: 8.4g
- Cholesterol: 0mg
