A refreshing and cleansing dongchimi recipe I could eat all day long! Make this Korean radish water kimchi in your own kitchen with just 10 ingredients. And if you happen to be a pickle juice lover, rejoice as this dish comes with plenty of salty brine to sip on!
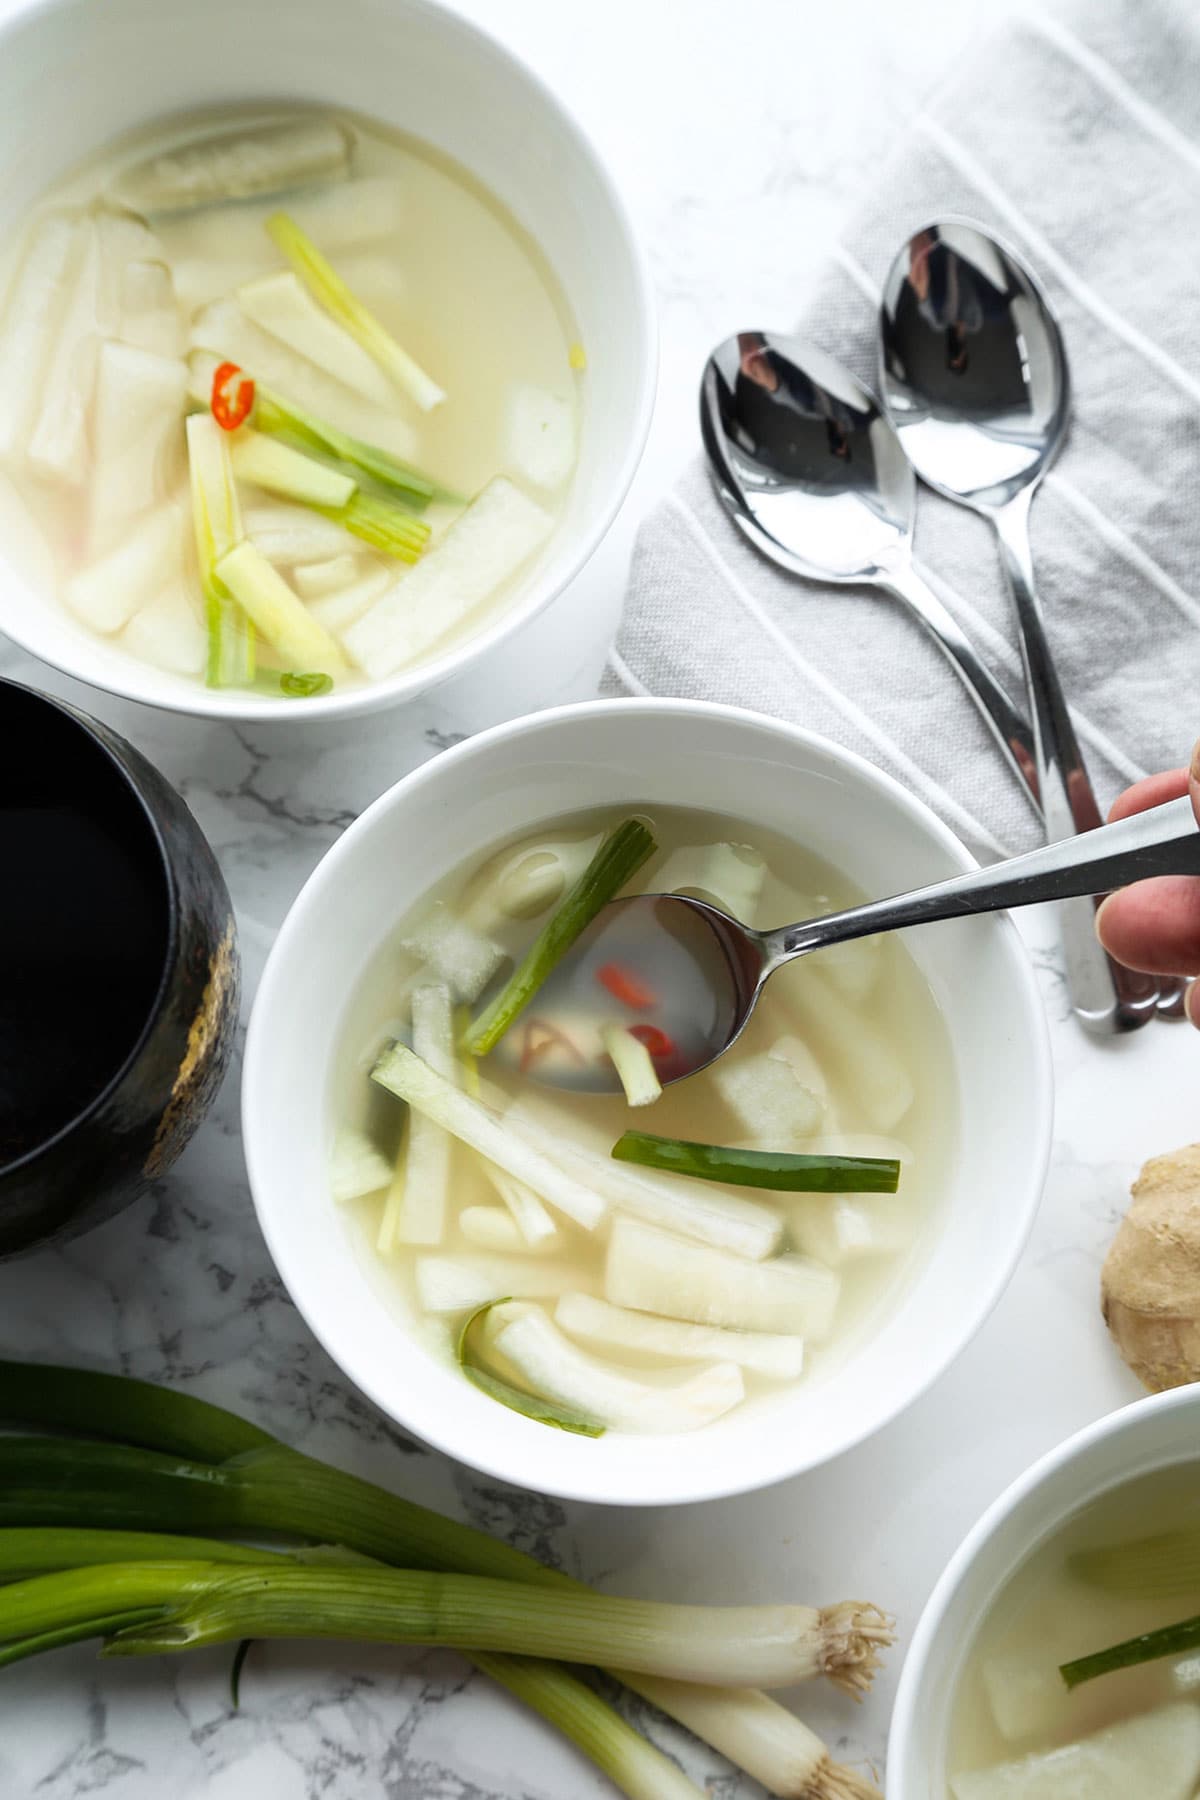
When it comes to Korean food, most of us picture bowls of bright red stews and pickles packed with enough heat to numb the tastebuds. Today I have a Korean dish that’s the exact opposite of that – it’s not spicy and is served with a white brine made from a combination of fruits and basic kitchen seasonings.
The dish is called dongchimi which means winter kimchi in Korean and is served as a side dish. It’s very easy to make and really delicious.
Table of contents
What is Dongchimi (동치미)?
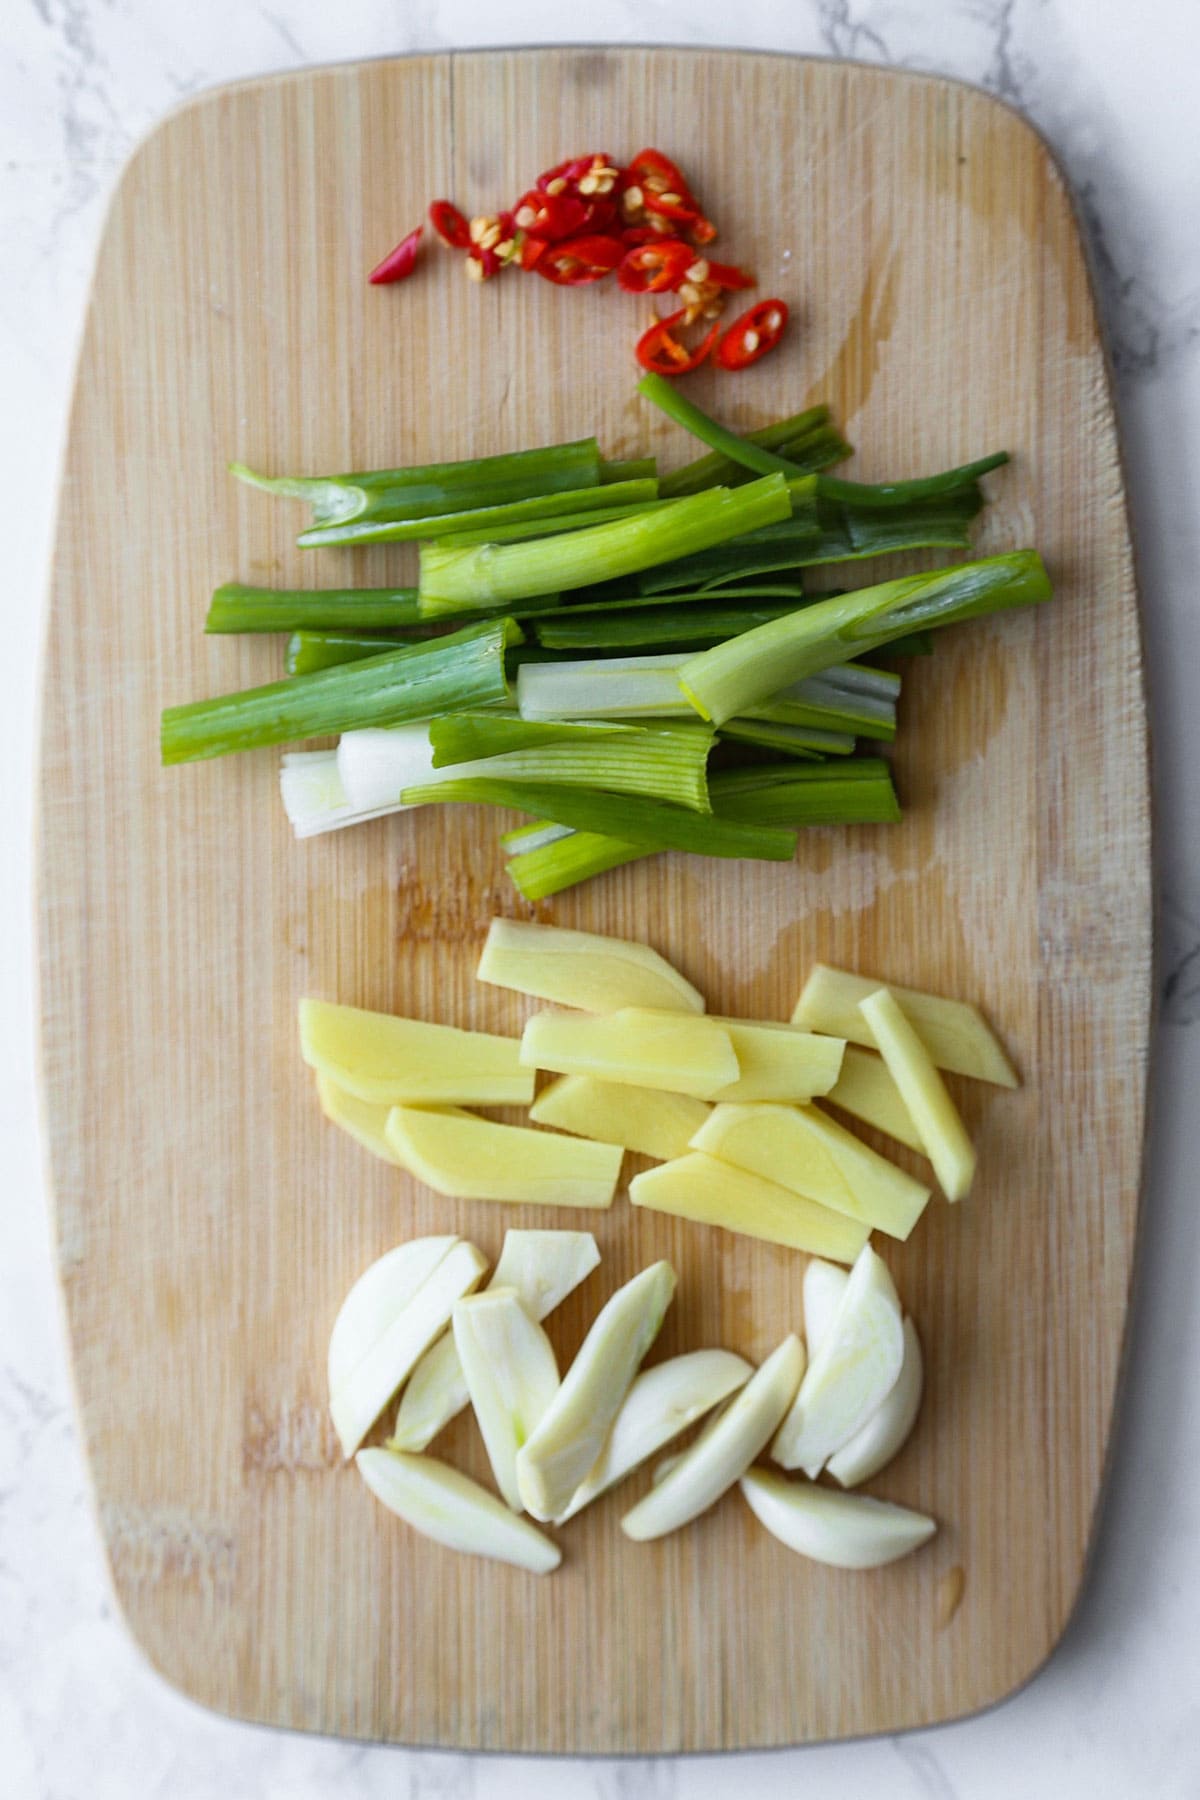
Dongchimi is a popular Korean dish mainly made of daikon radish but also include other ingredients such as napa cabbage, ginger, scallions, and chilis. These ingredients are submerged in a mixture of garlic, Asian pear, apple, salt, water, and sugar, and left for two to three days to ferment. The pickles and brine are served in bowls, just like a soup, in the winter alongside stews and other hearty dishes.
The brine is also used for other dishes such as naengmyeon (냉면) and dongchimi guksu (동치미 국수).
What is Daikon (大根)?
Daikon, which literally means”big root” in Japanese, is a long white winter radish with a green leafy top that’s mild flavored. It originates from Southeast or continental East Asia and is used across most of Asia in soups, stews or as a pickling ingredient.
Other generic terms such as winter radish, white radish, Oriental radish, or long white radish, are also used.
Is Korean radish (무- Mu) the Same as Daikon (大根)?
Although Korean radish and Japanese daikon are similar enough to be interchangeable, there are a few differences worth mentioning. Korean radish is shorter and rounder than Japanese daikon which is shaped more like a carrot. The top of a Korean radish is also green (sometimes as much as half of the radish can be green) while its Japanese counterpart is mostly white.
Korean radish is also stronger in taste and has a thicker texture than daikon.
Ingredients for Dongchimi
- Korean radish: Daikon can also be used for this dish. You will need two pounds to make this recipe. Don’t worry if you have a little more or less, the recipe will still work.
- Salt: You will need three tablespoons of salt to soften the daikon and then flavor the brine.
- Sugar: Two tablespoons of granulated sugar to balance the saltiness of the brine.
- Water: 4 cups is how much water you will need to make the brine. There should be enough brine to submerge the vegetables.
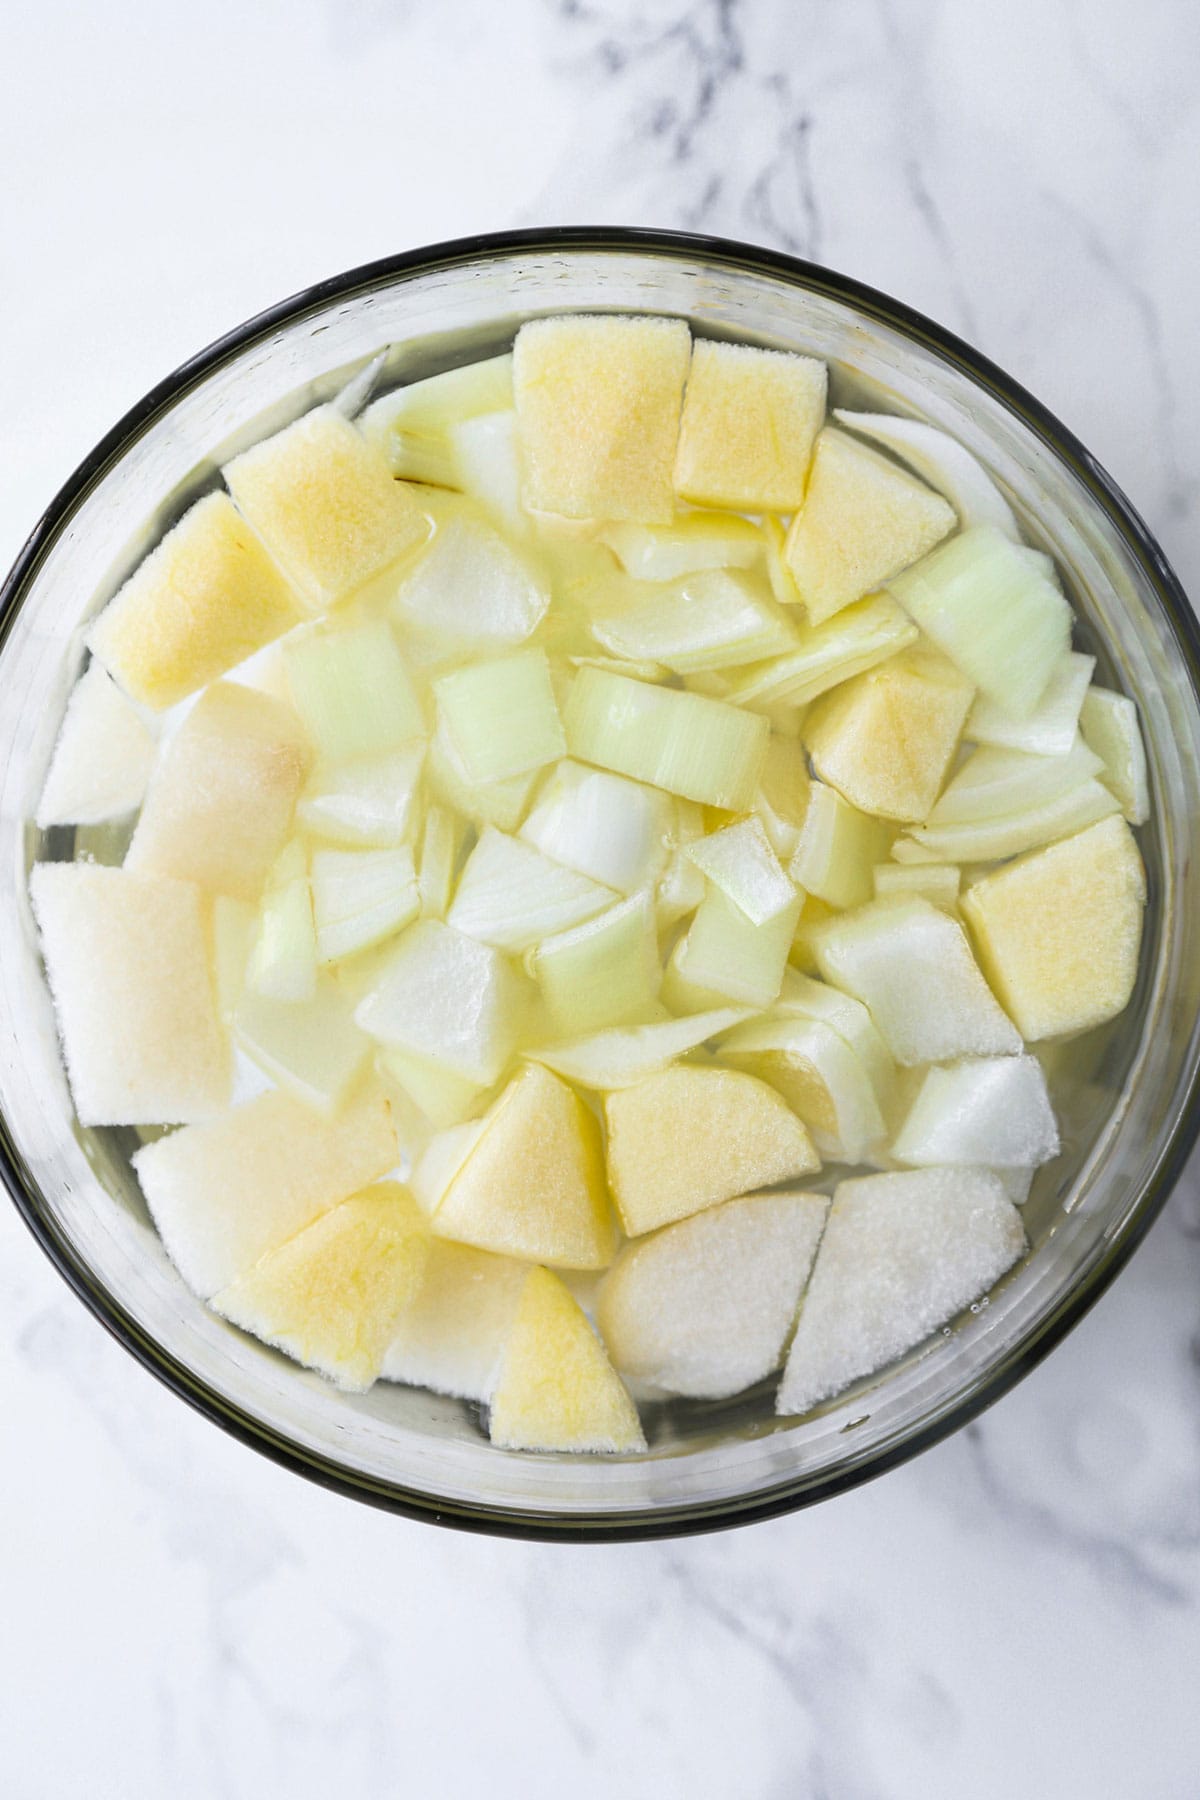
- Onion: 3/4 cup which comes to about half an onion.
- Asian Pear: Half an Asian pear to add sweetness to the brine. The pieces will be discarded once the dongchimi is ready as the texture will no longer be pleasant.
- Apple: Half an apple to add sweetness to the brine. The pieces will be discarded once the dongchimi is ready as the texture will no longer be pleasant.
- Scallions: I’m using three stalks but you are welcome to use more if you love scallions.
- Garlic: No kimchi recipe would be complete without the use of garlic! I’m using 6 cloves to add a good amount of pungency to the brine.
- Ginger: About a thumb size is good to add a little zing to the brine and a nice crunch.
- Chili Pepper: This step is optional. Only add chili peppers if you like heat otherwise omit entirely.

How To Make Dongchimi
- Slice the radish into 2-inch long sticks and sprinkle 1 tablespoon of salt. Massage the salt into the radish sticks and leave them aside for 20-30 minutes.
- Once the radish sticks have softened, rinse off the salt under cold water and gently squeeze out excess water.
- Make your brine by combining the water, salt, and sugar in a pot and turn the heat on to low. Keep stirring until the salt and sugar have dissolved and transfer the brine into a bowl. Let it cool to room temperature.
- Using a kimchi container or pickling jar, place the onion, Asian pear, apple, scallions, garlic cloves, ginger, and chili pepper at the bottom and top with the daikon sticks.
- Pour the dongchimi brine into the container, making sure all the vegetables are submerged, and close with a lid.
- Leave the kimchi container or jar to ferment at room temperature for 2-3 days. Look for bubbles to make sure the fermenting process is working.
- Taste the dongchimi after 48 hours – if you are happy with the taste, you can go ahead and eat it. If not, leave it for an additional 24 hours.
- Before serving, discard of the Asian pear and apple slices. Taste the onion and discard of the pieces if you find the taste to be too powerful.
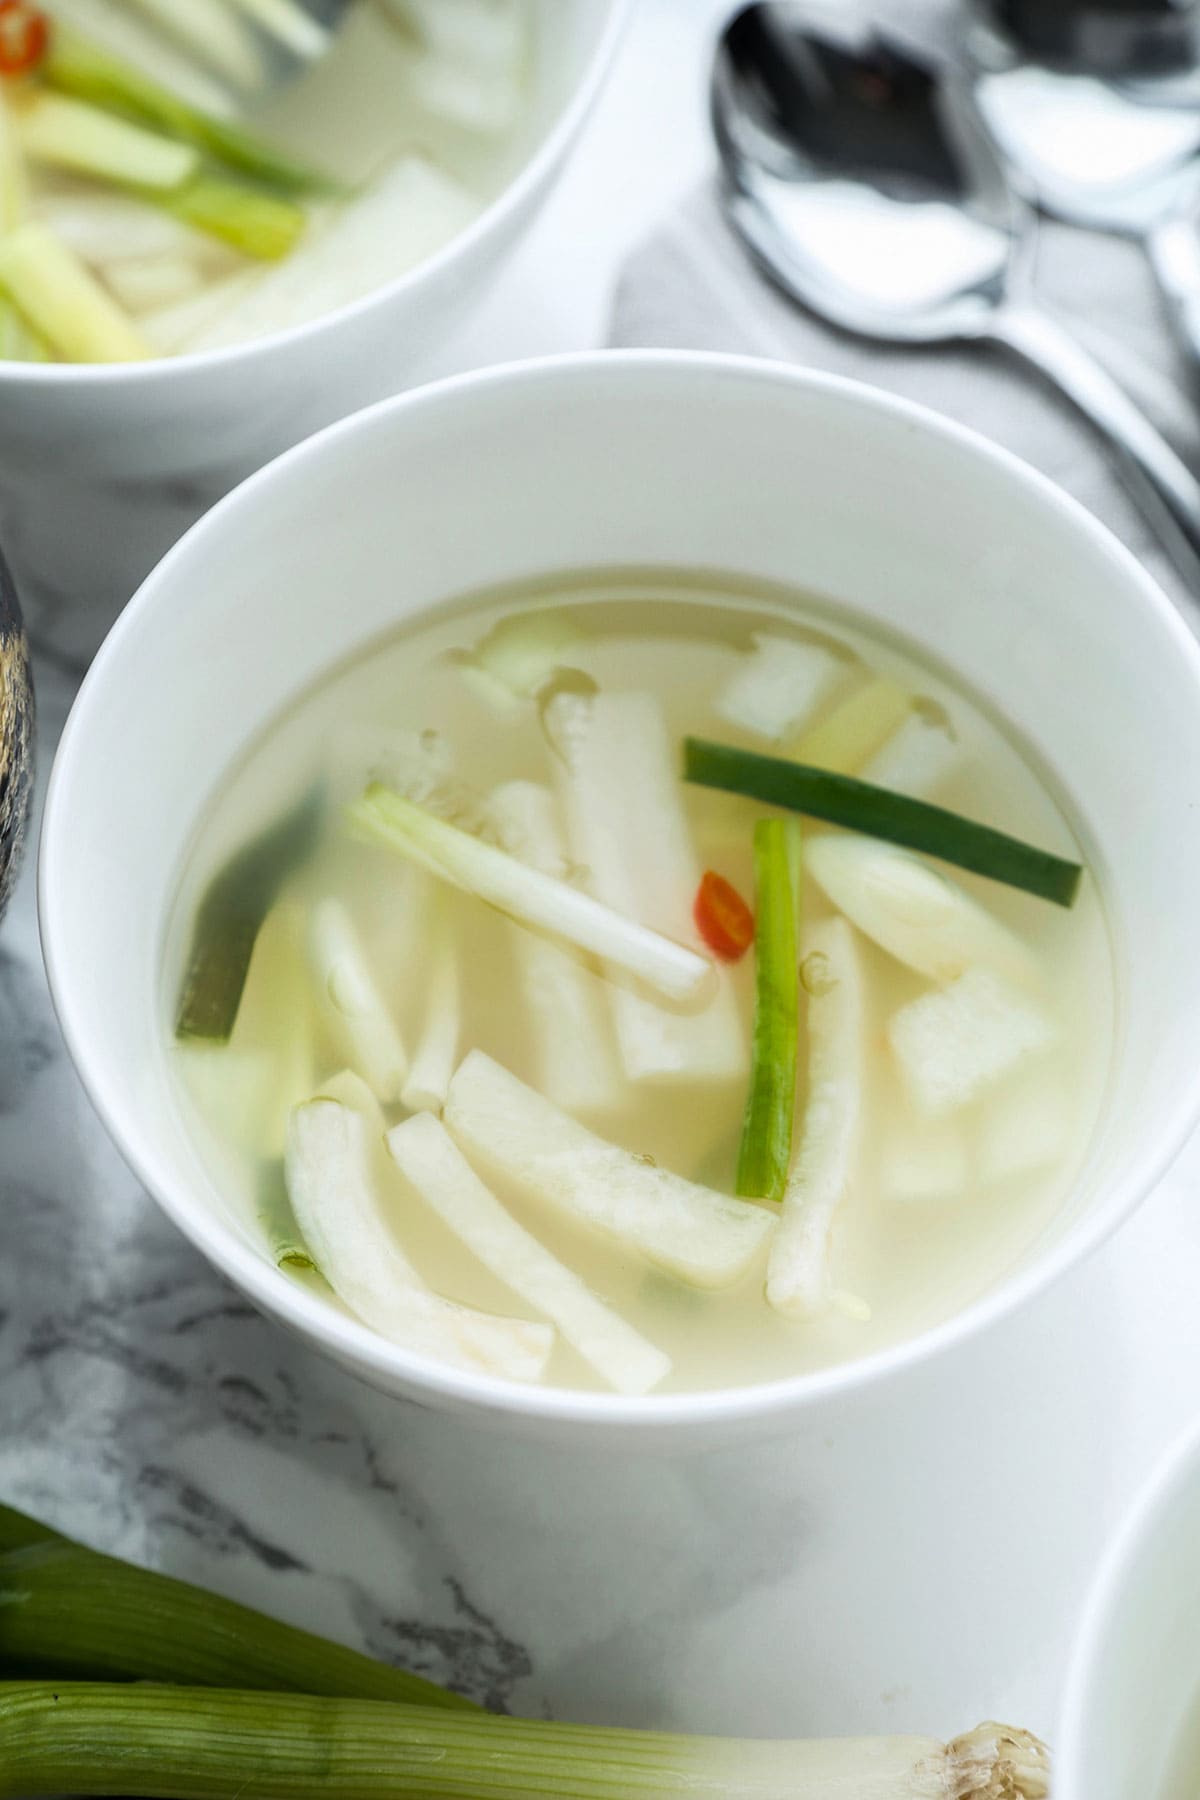
- Serve about a ladle full of dongchimi pickles in a bowl and pour a generous amount of brine. Enjoy!

How Long Does Kimchi Last?
Homemade kimchi can last several weeks in the fridge when kept in an airtight kimchi container or pickling jar. Personally, I don’t keep homemade pickles for any longer than four weeks because I find that the taste spoils after that. I do love pungent foods but too much of it doesn’t suit my palate.
Keep in mind that kimchi keeps on fermenting so the best way to decide whether you want to keep your batch or throw it out is by tasting it.
Can I Freeze Kimchi?
Yes!
The best way to freeze kimchi is to divide it per serving size into airtight, freezer-safe container. DO NOT freeze it in a glass jar as it will shatter while the kimchi freezes.
To thaw the kimchi, simply put it in the fridge and leave it overnight.
Is Dongchimi Vegetarian?
Dongchimi is vegetarian and vegan for that matter. It’s also gluten-free which makes it the perfect side dish to serve at family or friend gatherings to accommodate those with food allergies or dietary restrictions.

What to Serve with Dongchimi
There are so many fantastic dishes you can serve with this tangy pickle soup! Since it’s both sour and salty, I recommend pairing it with dishes that are sweet and a little spicy. Some of my favorites are:
- Korean steamed egg (gyeran jjim)
- Tteokbokki (dukbokki)
- Kimich fried rice (kimchi bokkeum bap)
- Vegetarian bibimbap
- Japchae (Korean glass noodles)
Did you like this Dongchimi (Korean Radish Water Kimchi) Recipe? Are there changes you made that you would like to share?
PrintDongchimi (Korean Radish Water Kimchi)
Pickled daikon radishes served in its own salty and acidic brine. This is a popular Korean dish often served as a side.
- Prep Time: 10 minutes
- Cook Time: 48-72 hours passive
- Total Time: 72 hours
- Yield: 2 liters 1x
- Category: Pickles
- Method: Brining
- Cuisine: Korean
- Diet: Vegan
Ingredients
- 2 pounds Korean radish or daikon radish
- 3 tablespoons coarse sea salt
- 2 tablespoons sugar
- 4 cups water
- 3/4 cup onion, chopped
- 1/2 Asian pear (also called apple pear), peeled, cored, and chopped
- 1/2 red apple such as honey crisp or Fuji, peeled, cored, and chopped
- 3 scallions, cut into 2-inch long pieces
- 6 garlic cloves, peeled and sliced
- 1 large, thumb size fresh ginger, peeled and sliced into sticks
- 1 Korean chili pepper or jalapeño, thinly sliced (optional, to add heat)
Instructions
- Peel the radish and slice into 2-inch long sticks. Place the sticks in a bowl and sprinkle 1 tablespoon salt on top. Toss the sticks using your fingers to evenly cover them with salt and let sit for 20-30 minutes, until the daikon has soften.
- Meanwhile, pour the water into a pot and add the sugar and remaining 2 tablespoons of salt. Turn the heat to low and stir until the sugar and salt have dissolved. Turn the heat off and let the liquid cool to room temperature.
- Rinse the daikon sticks under running water to remove the excess salt, until the sticks feel squeaky clean. Drain and gently squeeze the pieces to remove excess water.
- Place the onion, Asian pear, apple, scallions, garlic cloves, ginger, and chili pepper at the bottom of a kimchi container or jar, and place the daikon sticks on top. Pour the salt and sugar water into the container and close with a lid. Make sure that all the vegetables are submerge under water by pressing them down.
- Leave it to ferment at room temperature for 48-72 hours.
- Do a taste test after a day to see that the broth is developing sweet and tangy flavors. Also look for bubbles as it means it’s fermenting properly.
- When the dongchimi is ready – basically when you are happy with the taste – discard of the Asian pear and apple slices.
How to eat dongchimi
Scoop a ladle full of vegetable and put them in a small bowl. Pour a generous amount of broth, the same amount you would serve yourself for a soup, and serve cold.
Notes
Store dongchimi in a jar or other storage container, and refrigerate for up to 1 month.
Nutrition
- Serving Size: 1 serving
- Calories: 48
- Sugar: 5.6g
- Sodium: 2300mg
- Fat: 0.2g
- Saturated Fat: 0.1g
- Unsaturated Fat: 0g
- Trans Fat: 0g
- Carbohydrates: 11g
- Fiber: 2.5g
- Protein: 1.7g
- Cholesterol: 0mg



Hi, I didn’t start my fermentation process in a dark space, I have just avoided direct sunlight. Would that have affected the process badly?
Hi Defne! It should be fine as long as it’s not in direct sunlight 🙂
Regarding: “yield: 2 LITERS”
Cute ! I changed my copy of your recipe to: “~ 2 Quarts”.
After living in the U.S. for 80 years… “liters” are so ‘foreign’.
I’m anxious to give your recipe a whirl as I love ‘naengmyeon’
(The brine is also used for other dishes such as naengmyeon (냉면))
I’ve enjoyed a lot of your recipes.
Pls. continue sharing them.
Haha good point! I still cannot get used to quarts and fahrenheit, even after being in the US for 15 years ! I hope you enjoy this recipe Doug! 🙂