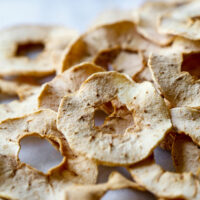
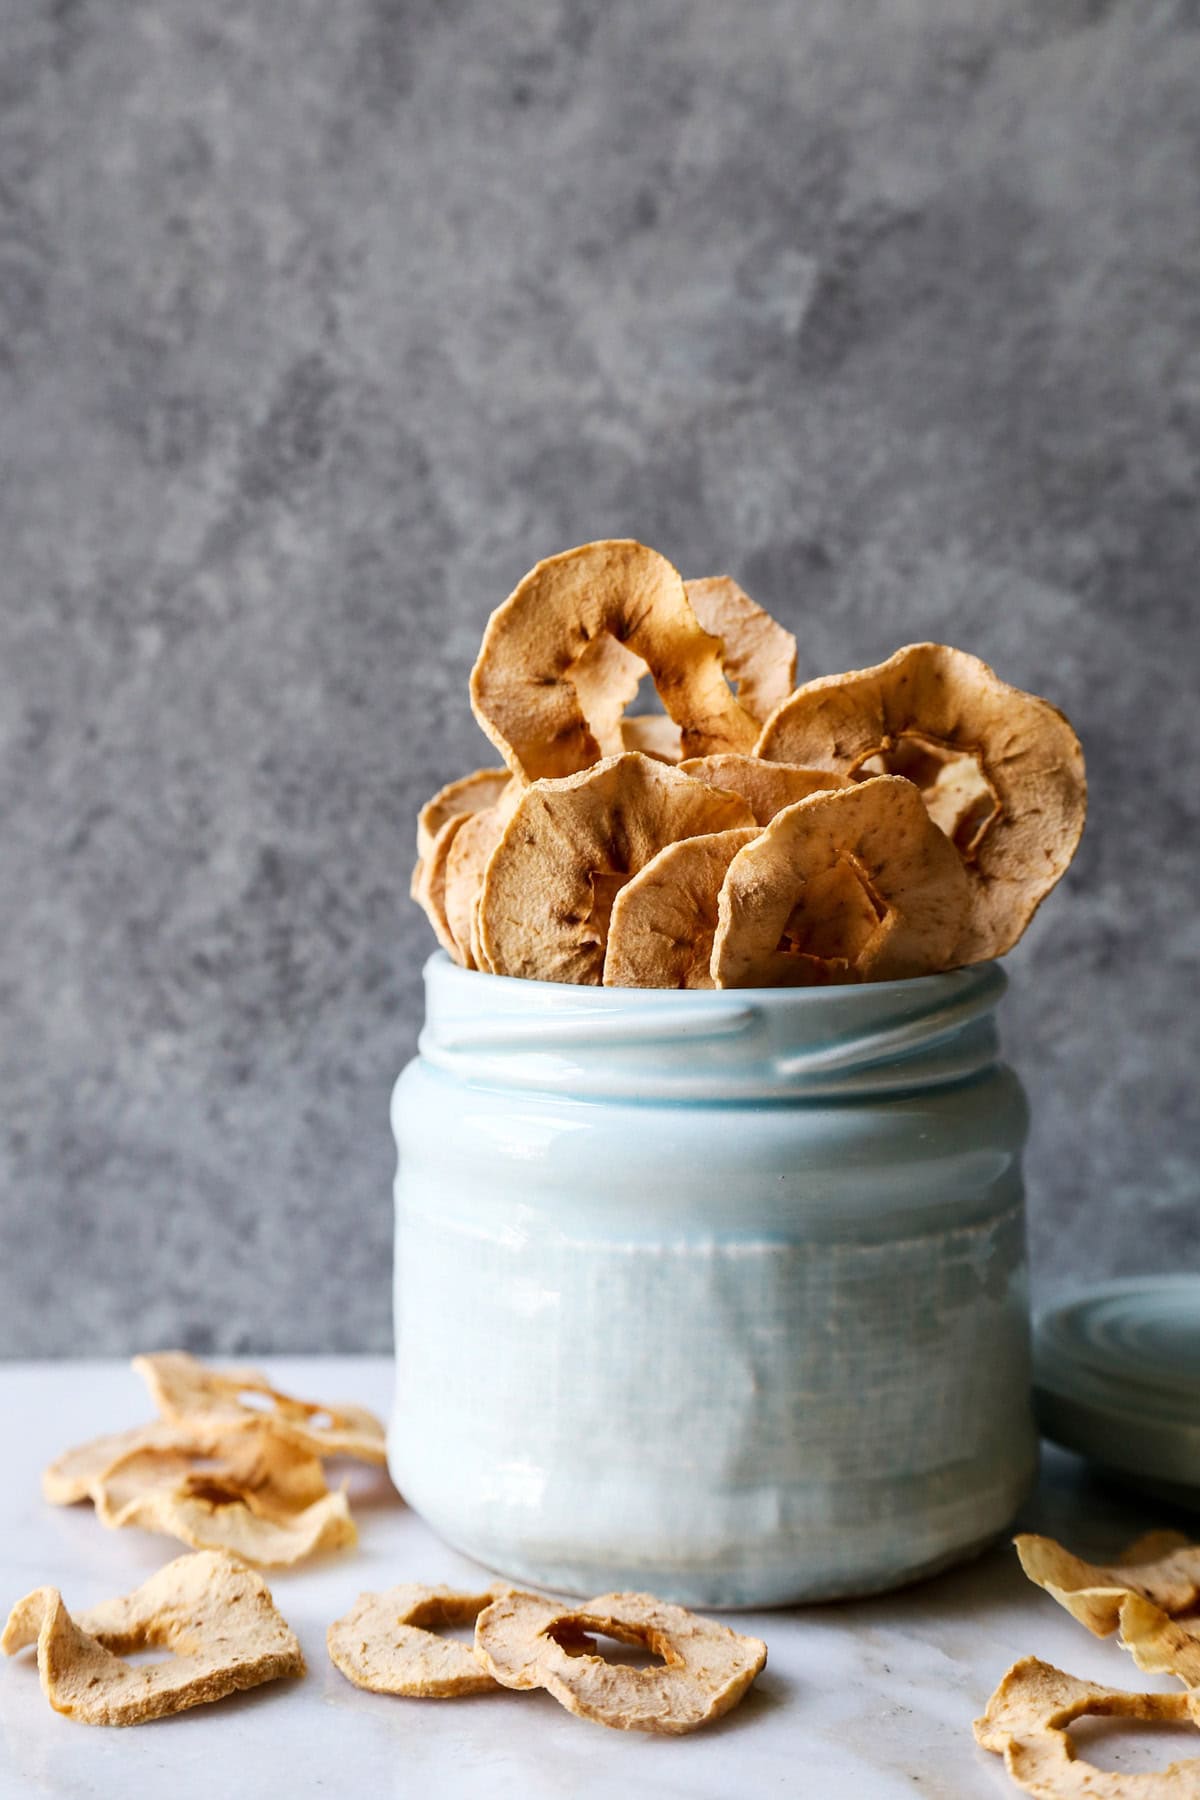
Crispy and fruity, homemade apple chips are an all natural healthy snack kids and adults love to eat! Only 2 apples are needed for this delicious treat that is both low in calories and fat.
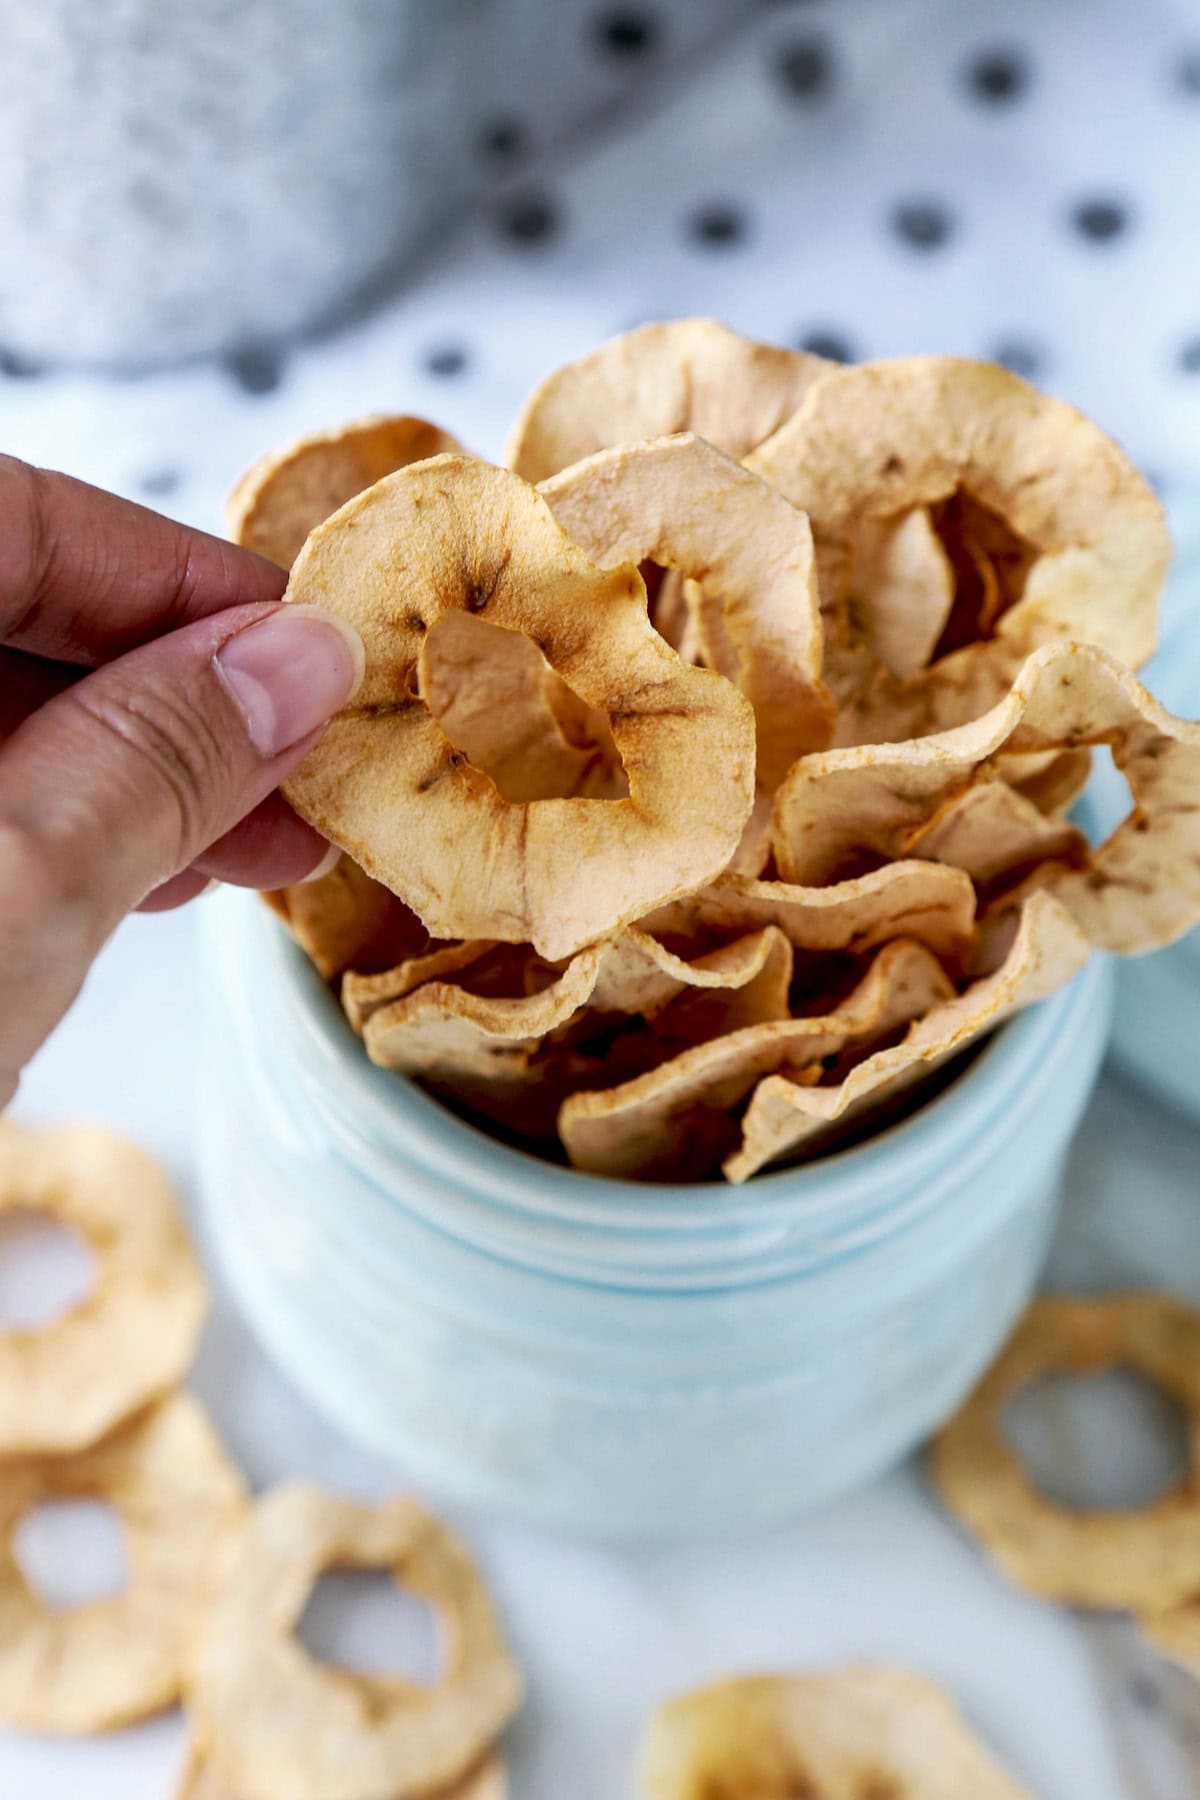
Table of contents
There are so many delicious things that can be made with apples – from apple pies to crumbles and delicious apple sauce – it feels like I’m learning something new every year.
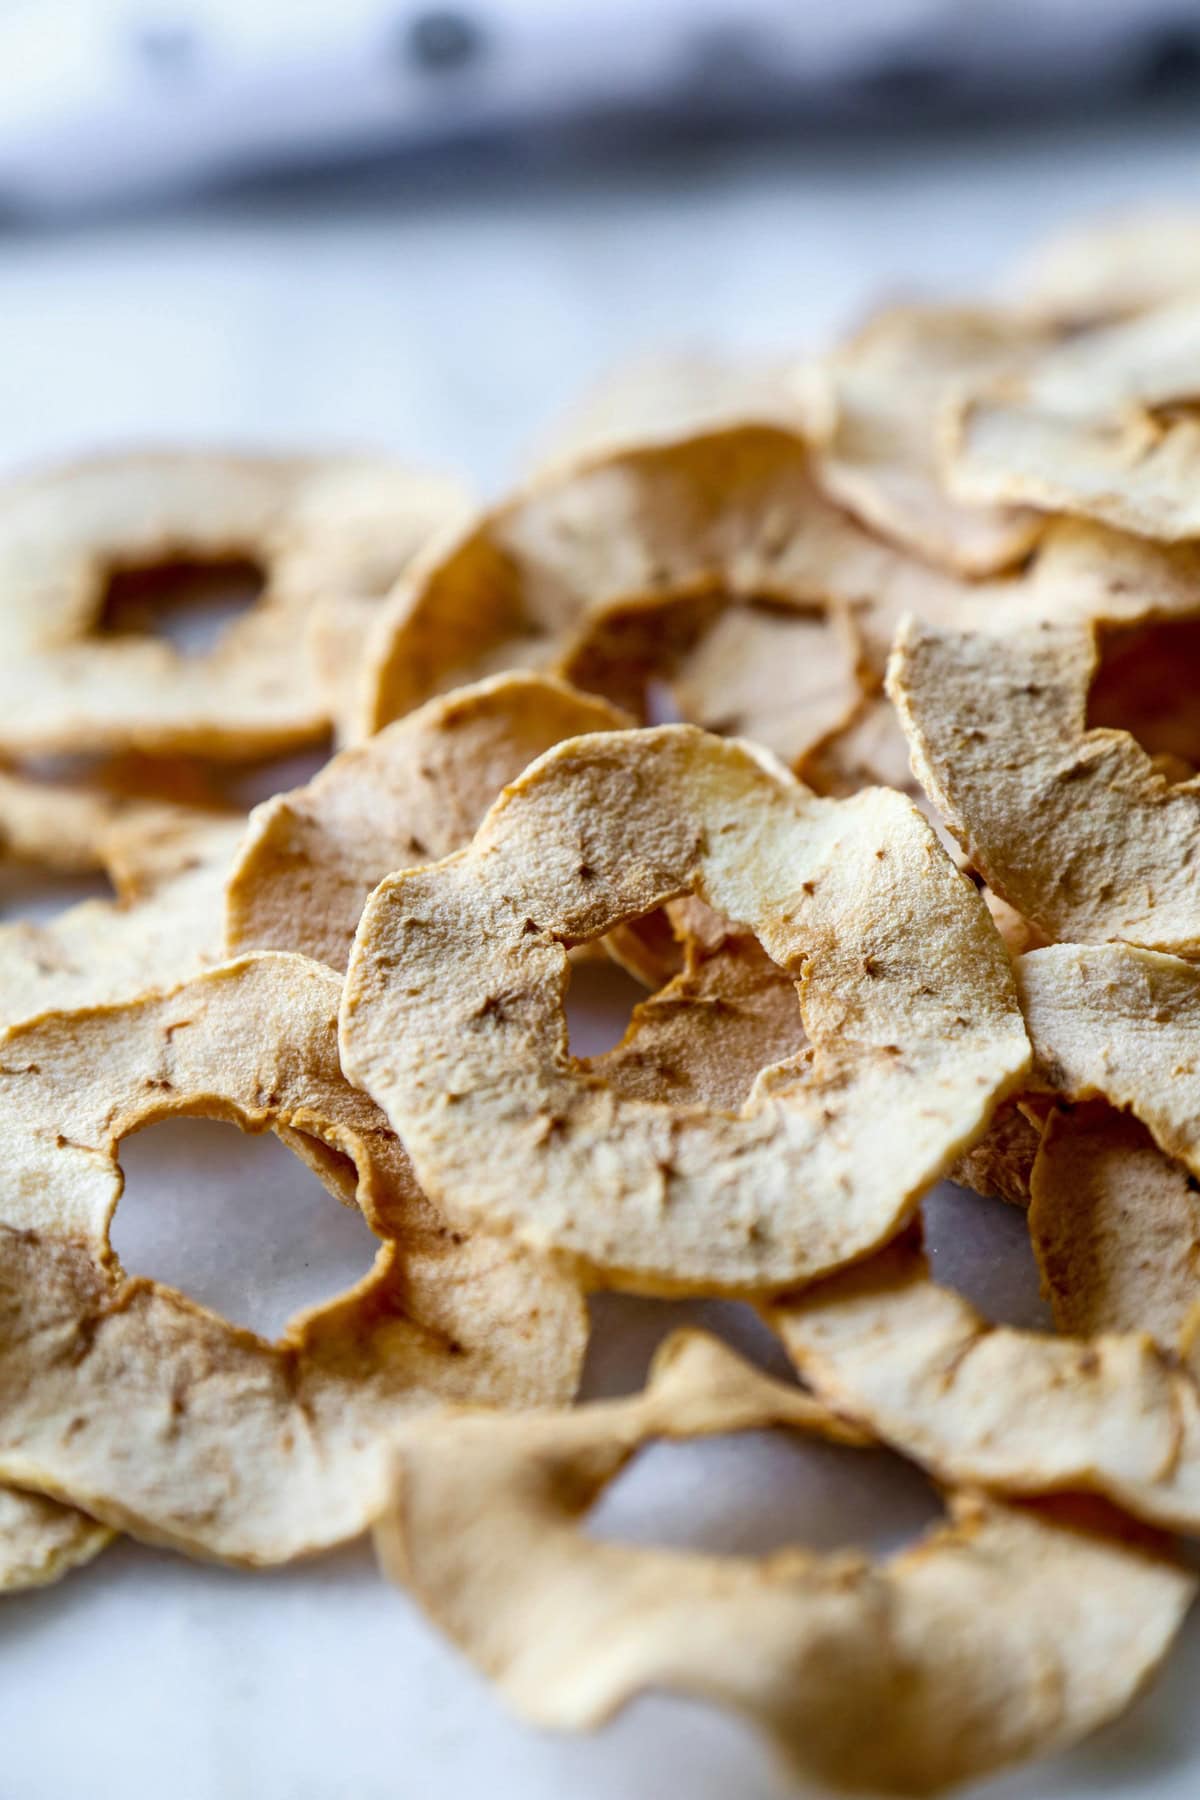
And just recently I made my first batch of apple chips that turned out to be so good and so much better than store bought apple chips! I used honeycrisp apples and a great way to get the perfect texture peeled the skin off to avoid the tough and chewy edges.
This made a huge difference on a textural level and made the experience of eating apple chips, more pleasurable as a whole. Honeycrisp apples are so full of flavor, light, and juicy, that no additional seasoning is needed.
Since then I haven’t bought a single bag of apple chips. It’s hard not to love delicious, crunchy snacks but especially ones this good—and I’m going to show you how easy they are to make!
Apple Chips Ingredients
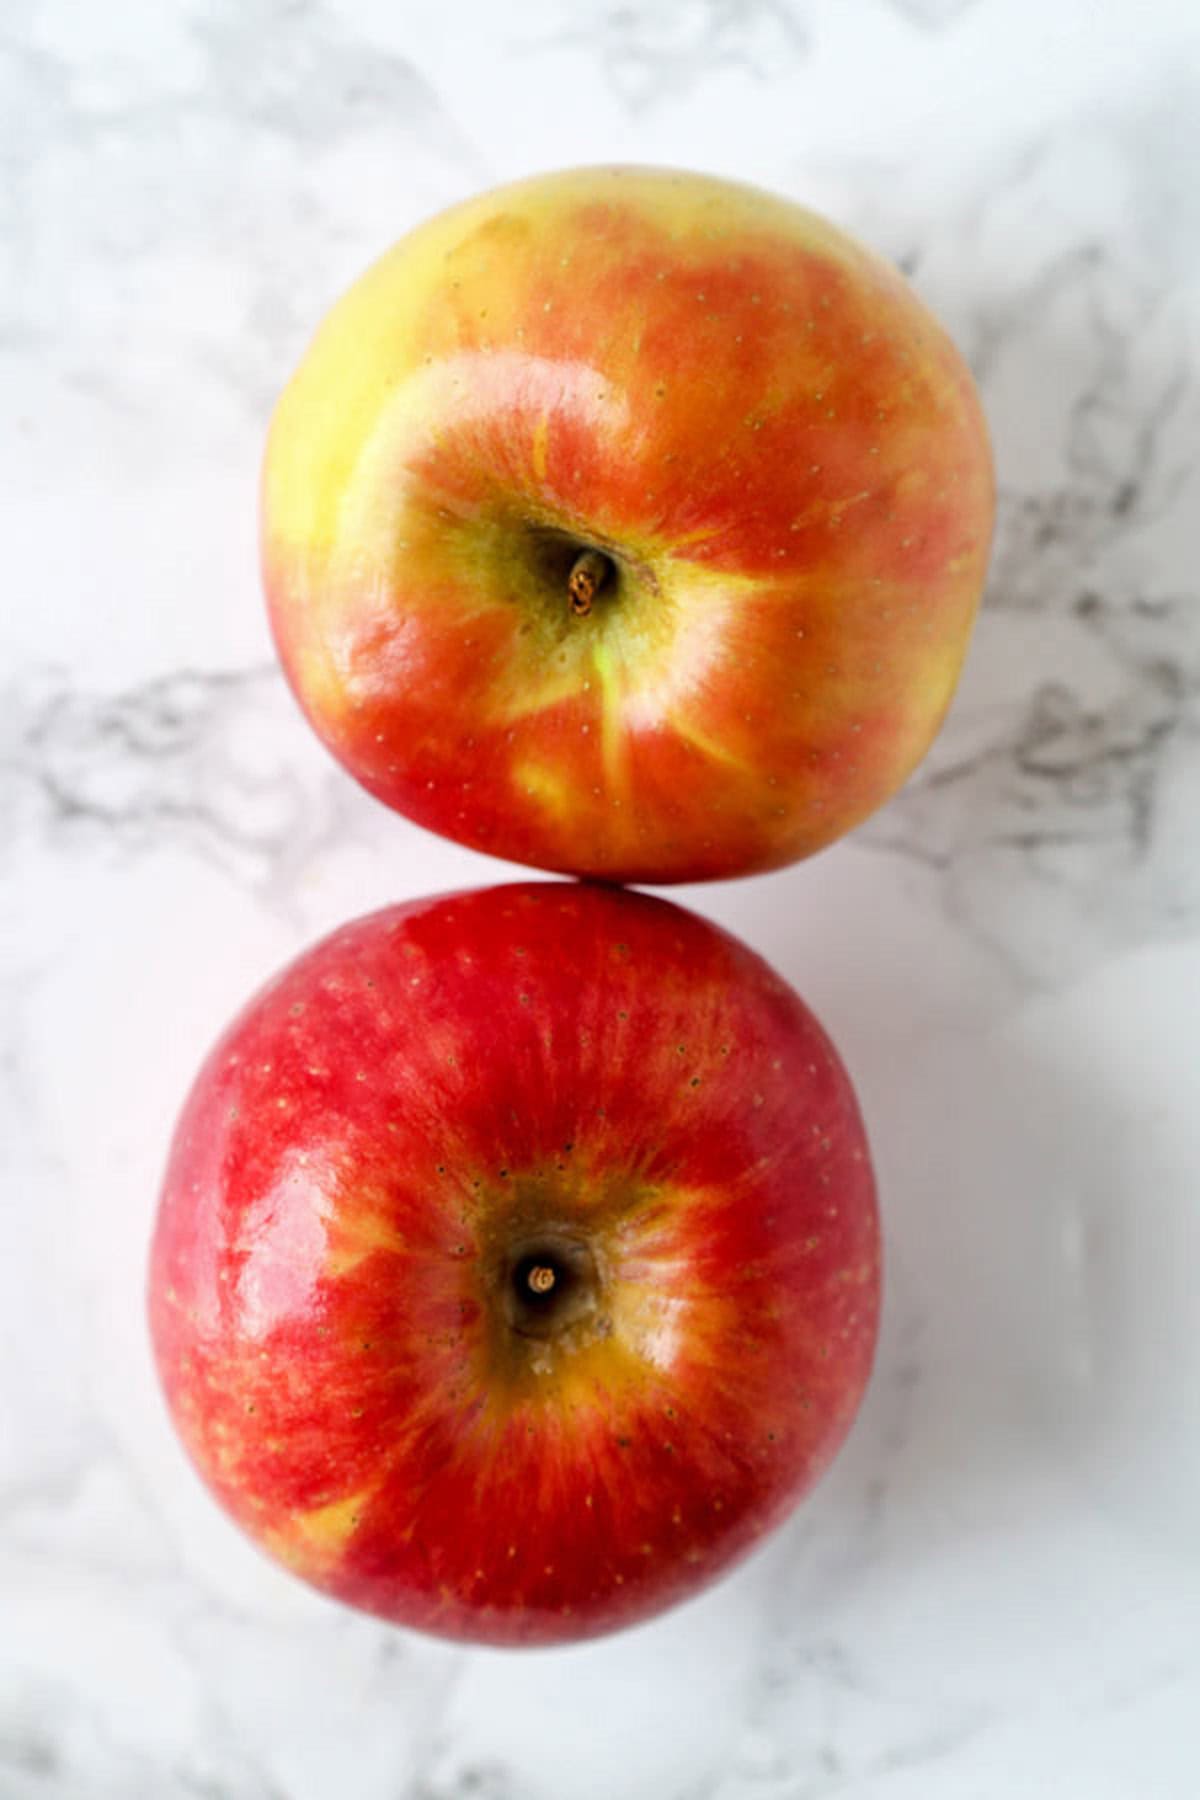
- Apples: 2 large apples is all you need to make this recipe! As I previously mentioned, I am using honeycrisp apples because they are my favorite, but feel free to use granny smith, pink lady, fuji, or any other type of apple you like.
You will also need:
- Paring knife or chef’s knife
- Parchment paper or aluminum foil
- Baking pans
- Oven
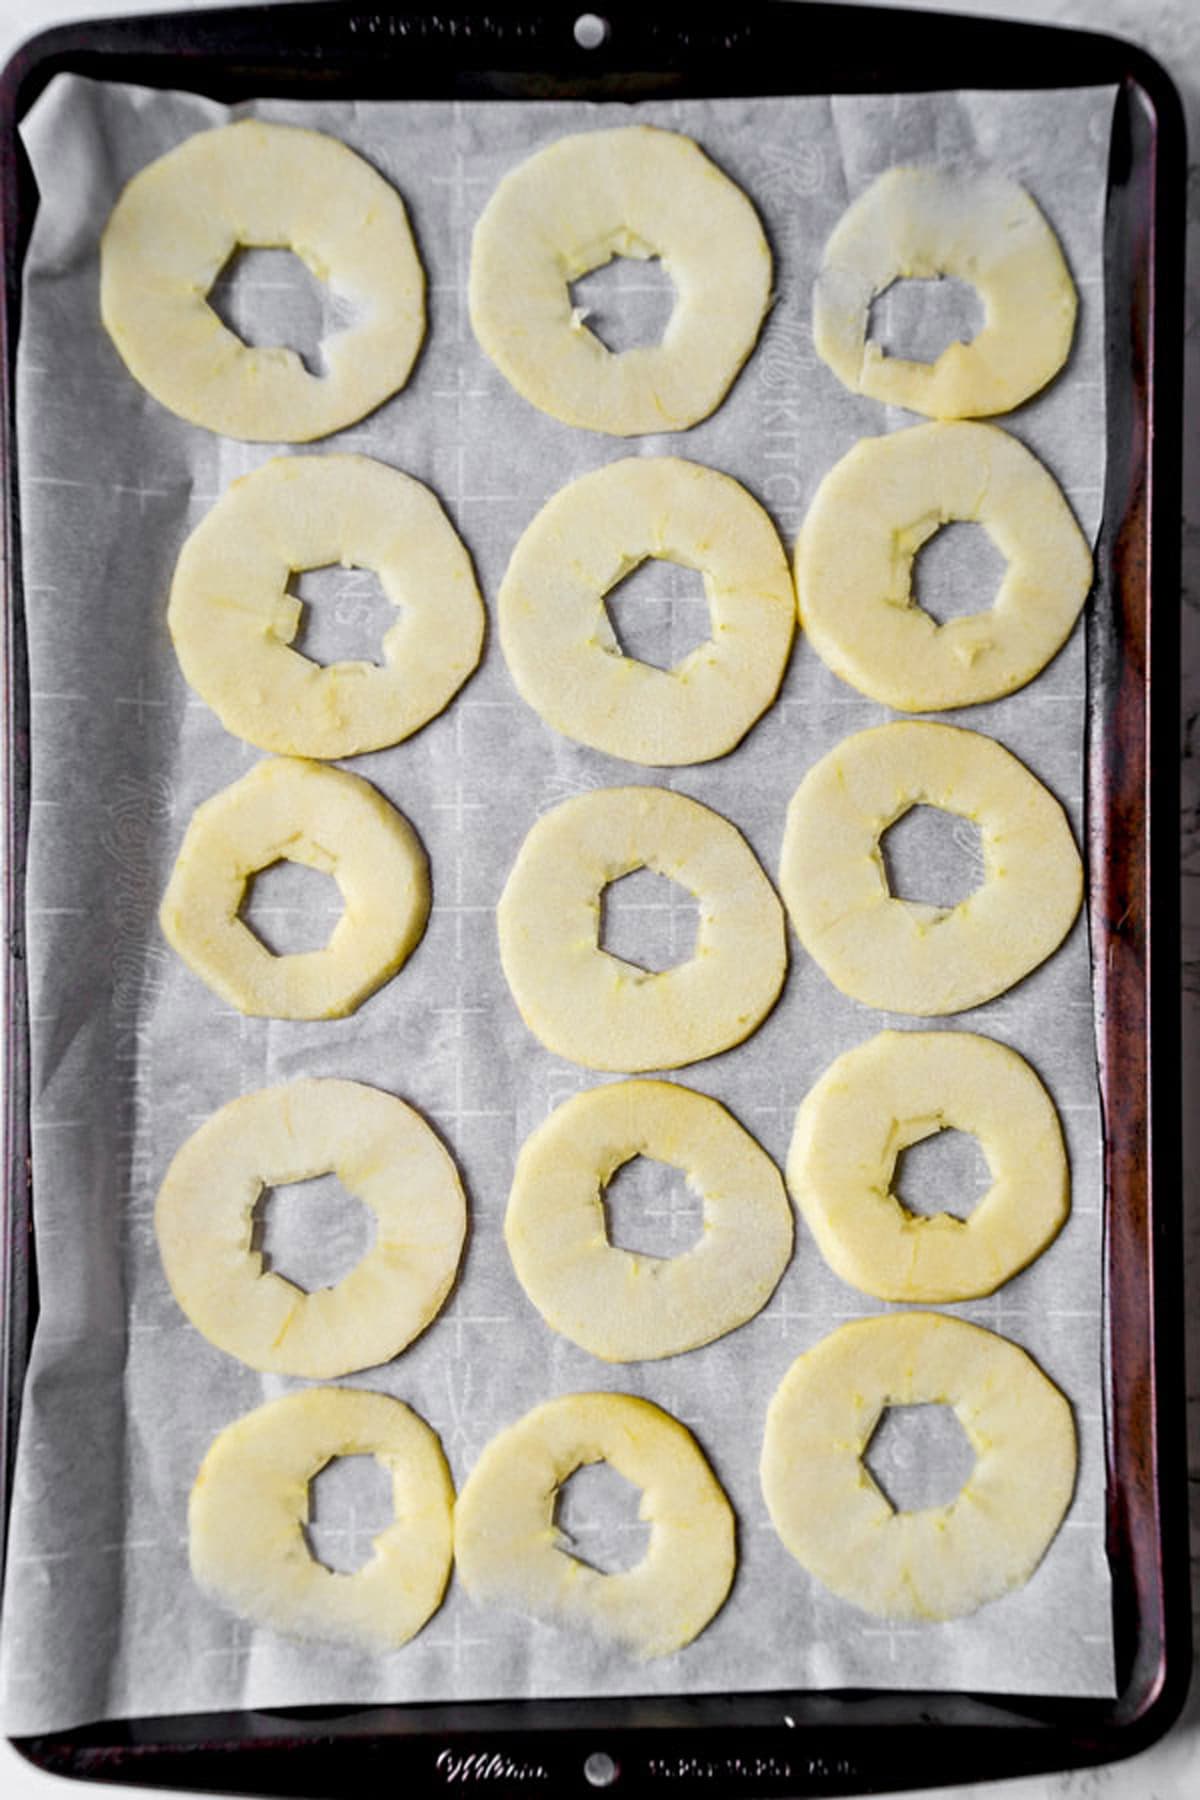
How To Make Apple Chips
Scroll all the way down to the recipe card for the full recipe.
- Gather all of your kitchen tools and ingredients.
- Start by preheating the oven to 200ºF.
- Peel the skin off each apply by using a vegetable peeler or a knife.
- Cut out the center using an apple corer, or read the instructions below on other ways to core an apple.
- Line a sheet pan with parchment paper or nonstick foil and lay the apple slices on top in one layer.
- Bake in the oven for 1 hour and flip over each slice. Bake for an additional 50 to 60 minutes and before you know it, you’ll have a delicious snack ready to go. Easy peasy, right?!
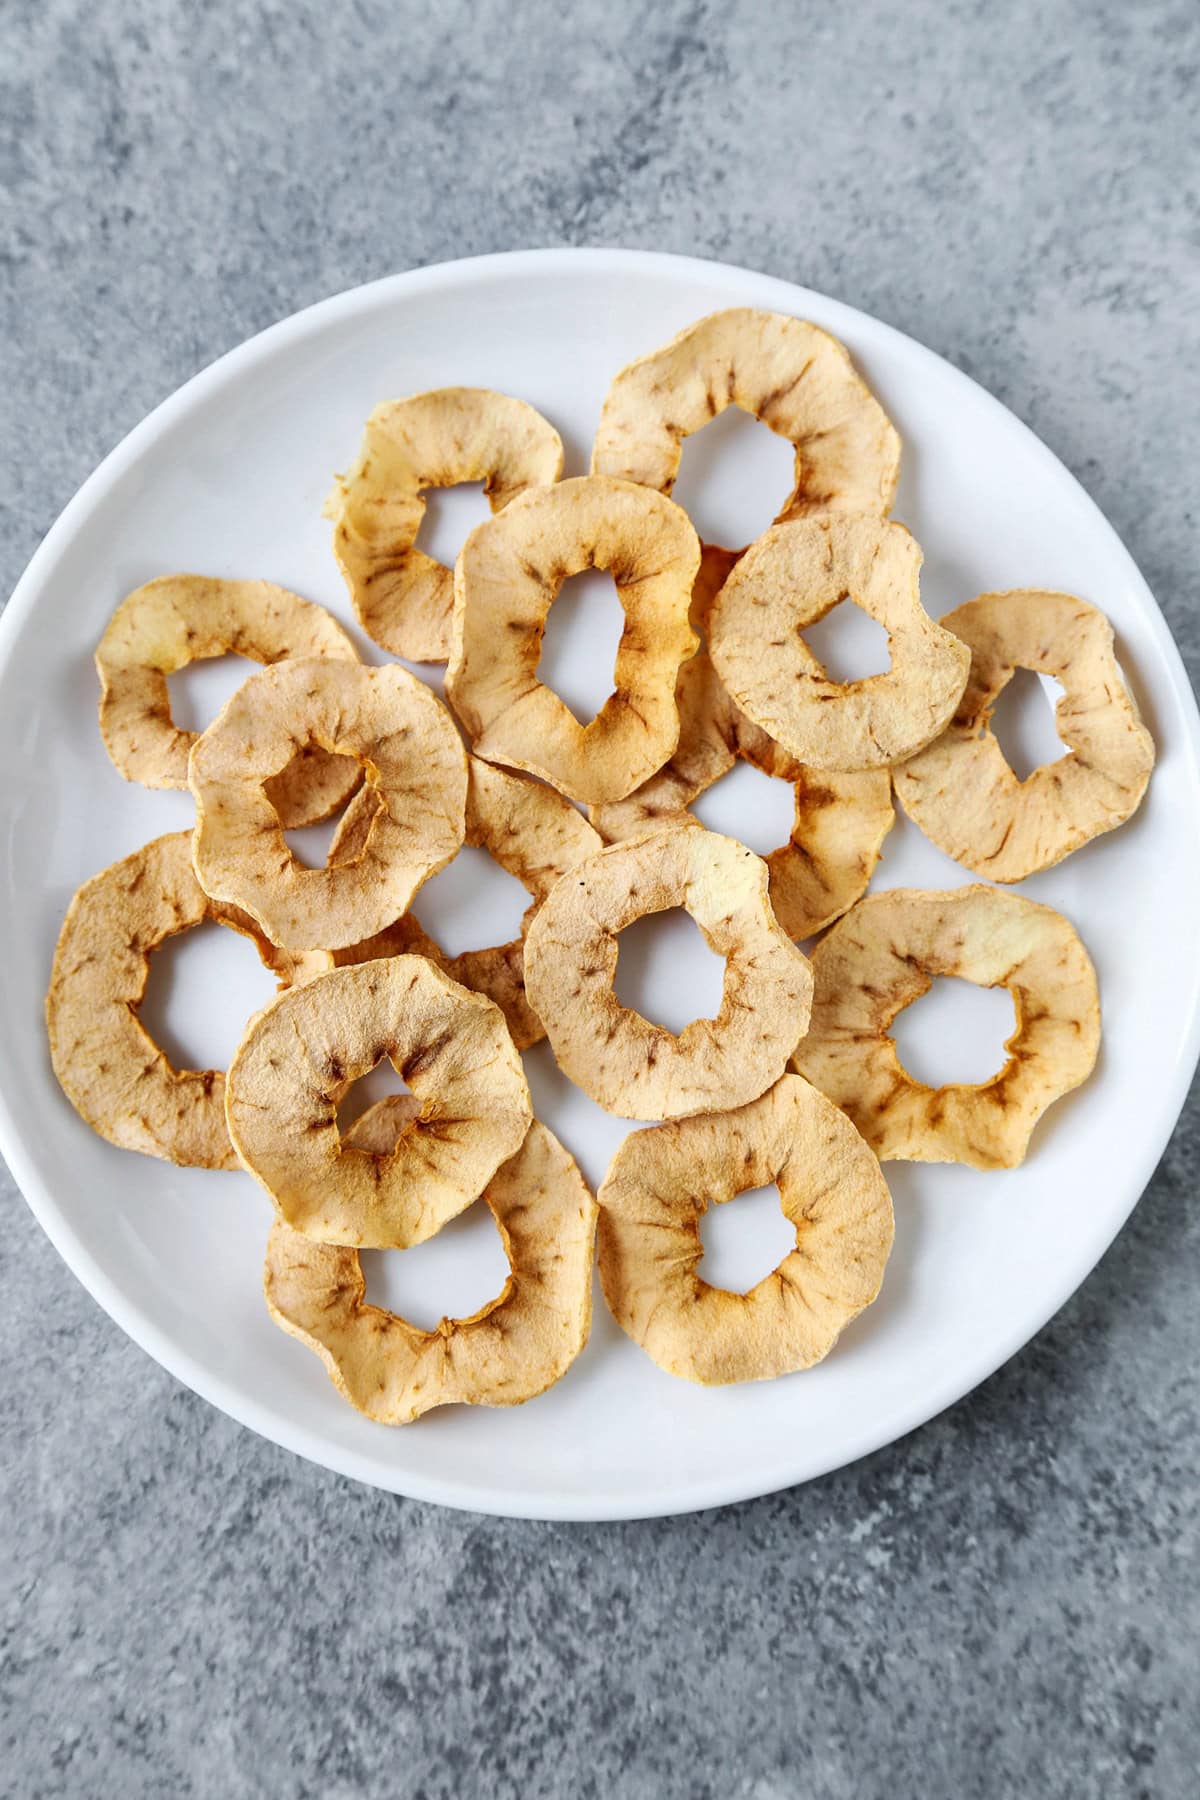
How to Core An Apple
There are several ways to do this:
- You can use an apple corer which is by far the easiest method.
- You can slice the apple in half, widthwise, and use a melon baller to scoop out the center part. Here is an easy tutorial.
- Grab a paring knife and set the apple on a cutting board so the stem is facing up. Gently insert the blade around the center of the apple and push it all the way down, until you can feel the cutting board. Very carefully remove the knife and repeat this step three more times until you’ve created a square. Re-insert the knife in one of the cuts and slowly move the knife around to connect all the incisions. The goal is to be able to move the knife around in a circle. Put the knife down and push out the core with your thumbs until it pops out on the other end.
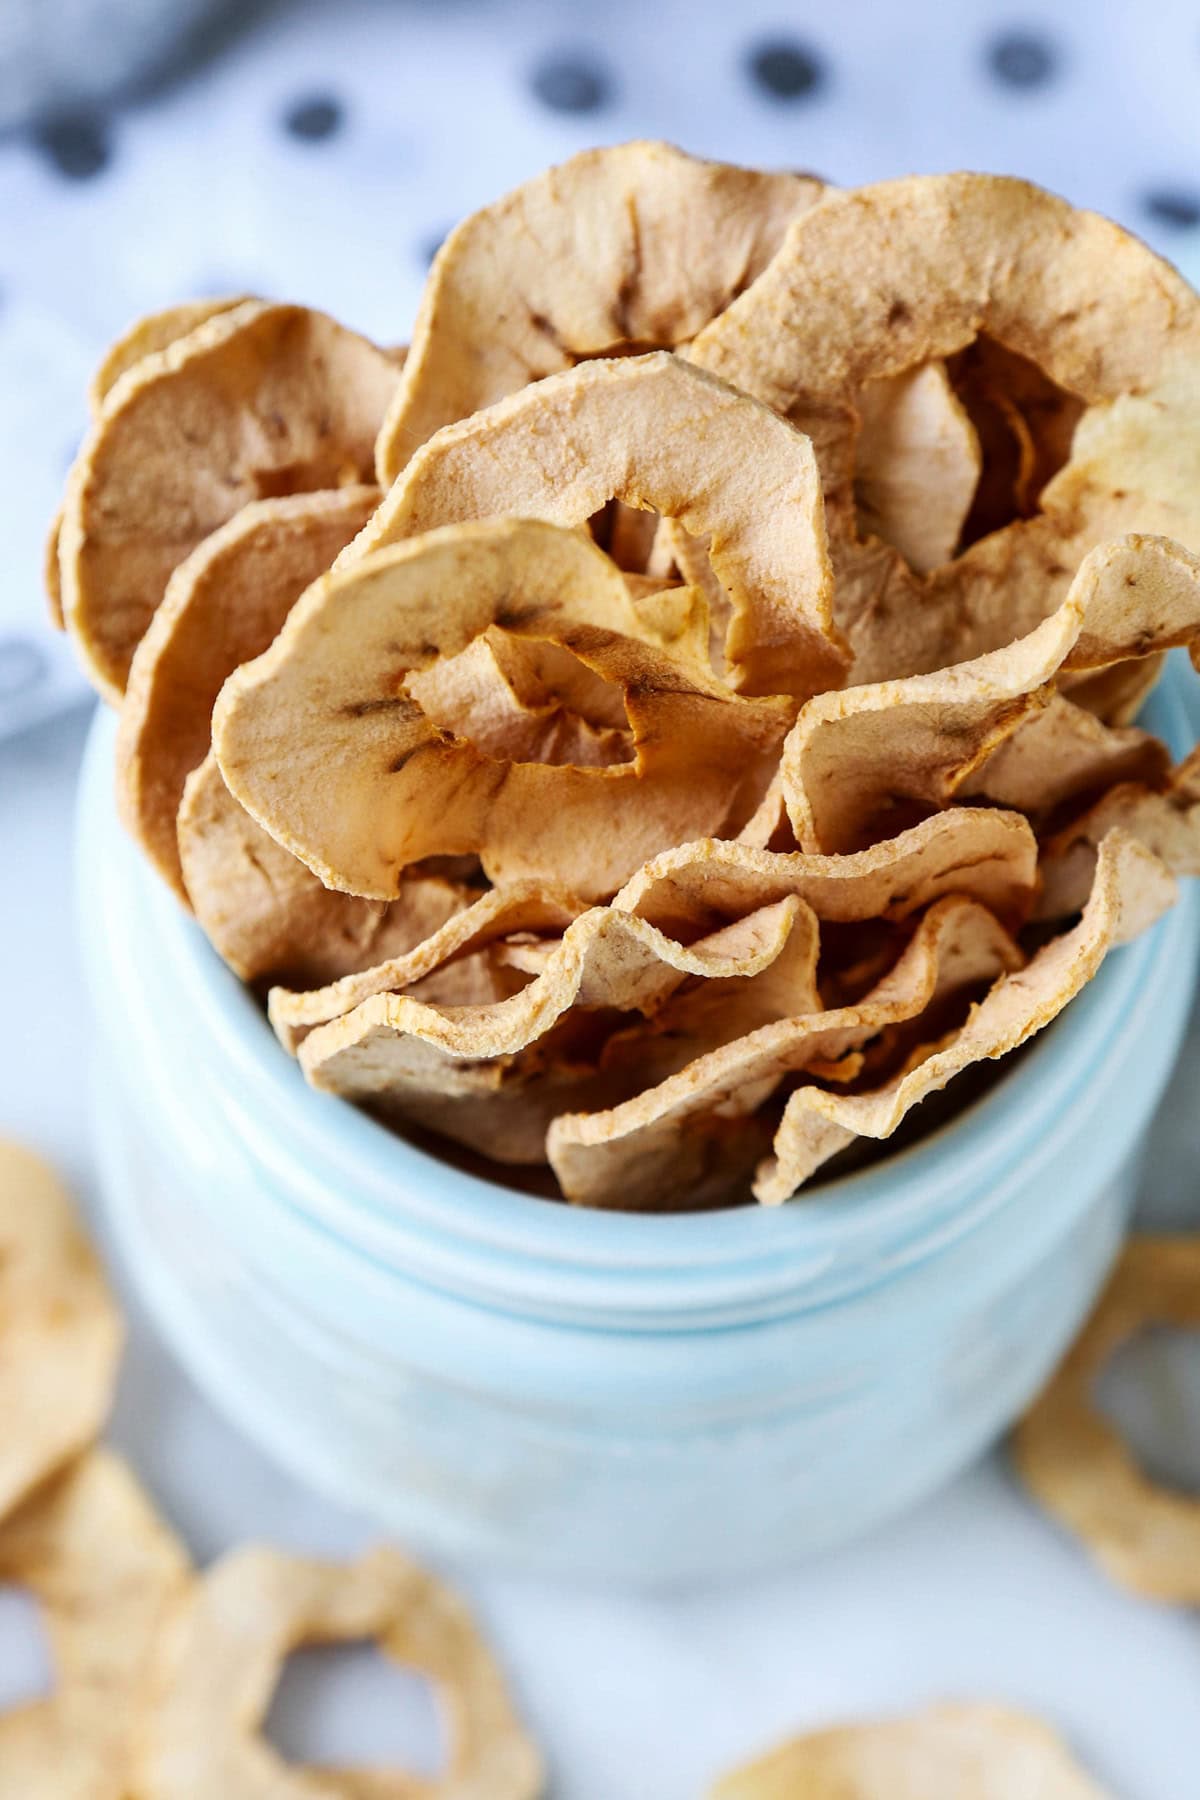
How to Season Baked Apple Chips
Personally, I prefer my apple chips naked. Meaning that their natural taste is so good they don’t need anything else.
But for those looking for more sweetness or a little spice, here are some easy ways to dress up your apple chips:
- A sprinkle of cinnamon powder
- A sprinkle of cayenne pepper or ground black pepper for a little heat
- A sprinkle of salt if you like sweet and fruity
- Drizzled with a little honey
- Drizzled with a little chocolate
- Drizzled with a little caramel
Dehydrating Apples – Oven vs a Dehydrator
Dehydration is the process of removing water from food by using heat. You can do this by dehydrating food outside under the heat from the sun, using an electric dehydrator or using an oven.
I don’t recommend using the sun-drying method since temperatures and climates vary and can cause food to spoil.
On the other hand both a food dehydrator and an oven can dehydrate food well and in similar ways.
Unless you regularly dehydrate food, sticking to an oven will be just fine. The biggest difference between the two is the amount of energy one appliance uses versus the other. A food dehydrator is much more energy efficient than an oven because it’s a lot smaller and heats at a lower temperature.
Another thing to keep in mind is that an electric dehydrator‘s temperature and air flow are always stable. This will produce food that’s been dried evenly and perfectly every time. An oven, however, can be tricky because it’s harder maintain constant temperature and airflow. One batch of dried goods may be better than another and the drying process may be uneven.
Is This Snack Vegan Friendly?
Yes, this all natural snack is 100% vegan. The beauty of using whole foods like fresh apples is that they are more often than not always vegan and good for you as well! They are a fun way to use apples before they go bad and they make for the best snacks!
How to Store Baked Apple Chips
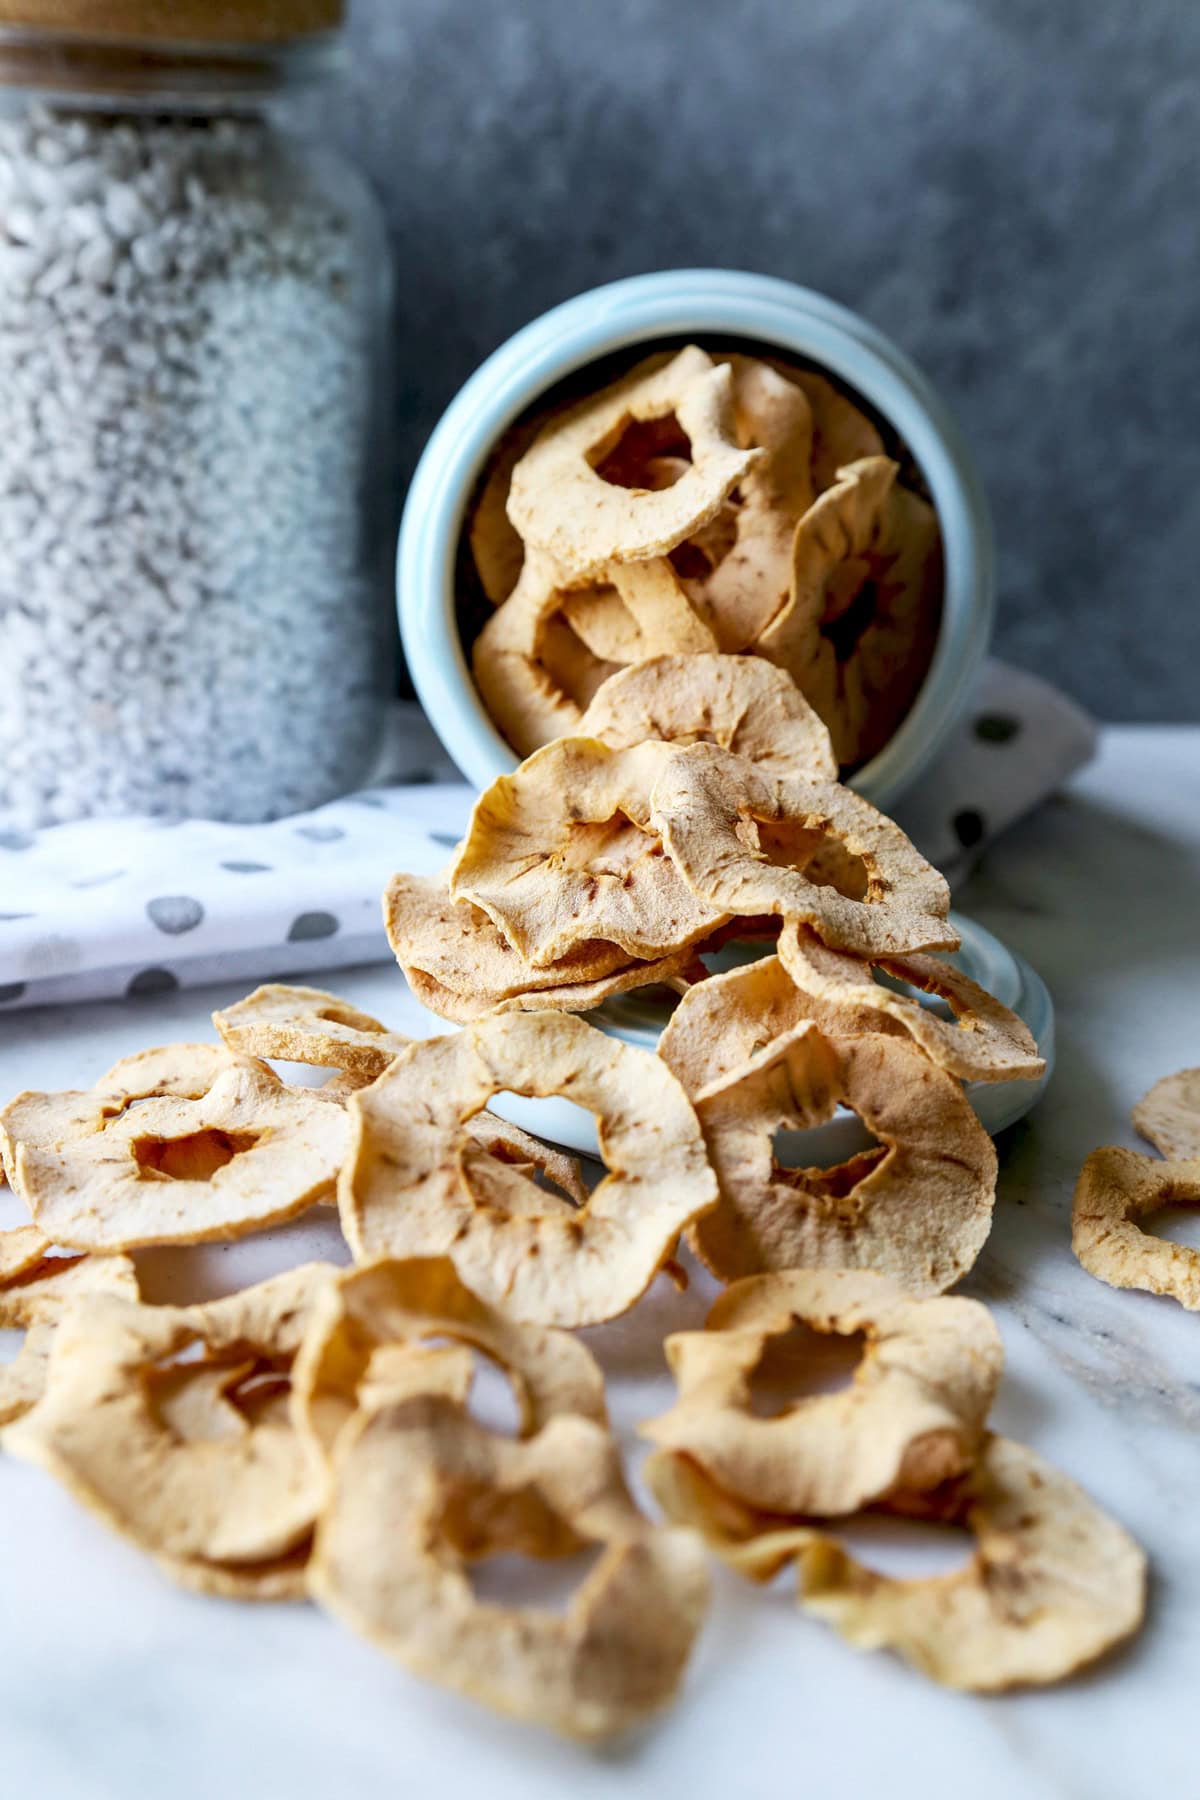
Just like regular chips, baked apple chips can turn stale if not properly stored. Keeping them in a dry space (I keep mine in the fridge) and in an airtight container, or Ziploc bag will ensure they stay crispy for 3-5 days.
Looking for more easy recipes that are good for you and great for kids? Here some Pickled Plum favorite that will appeal to your whole family:
Other Apple Recipes You Might Like
- Peanut butter protein balls
- Homemade granola bars
- Pumpkin oatmeal cookies
- Sweet-tart strawberry apple compote
- Healthy rice crispy treats
Did you like this baked apple chips? What do you think about these delicious apple chips? Are there changes you made that you would like to share?
PrintBaked Apple Chips
A healthy snack that’s 100% natural.
- Prep Time: 10 minutes
- Cook Time: 120 minutes
- Total Time: 130 minutes
- Yield: 2 people 1x
- Category: Vegan
- Method: Baking
- Cuisine: American
Ingredients
- 2 large sweet apples such as Honey Crisp, Pink Lady or Fuji apples
Instructions
- Preheat oven to 200ºF.
- Peel, core and thinly slice the apples into 1/8 inch thick slices. Read the post for instructions on how to core an apple.
- Cover a large baking pan with parchment paper and place the slices on top in one layer. You may need to use more than one sheet pan to accommodate all the slices.
- Put in the oven for 1 hours and turn the apple slices over. Bake for another 50-60 minutes. The longer you bake them, the crispier the slices will become.
Notes
Keep these baked apples in a storage container or sealable plastic bag. Refrigerate for up to 5 days.
Nutrition
- Serving Size: 1 serving
- Calories: 95
- Sugar: 18.9g
- Sodium: 1.8mg
- Fat: 0.3g
- Saturated Fat: 0.1g
- Unsaturated Fat: 0.1g
- Trans Fat: 0g
- Carbohydrates: 25.1g
- Fiber: 4.4g
- Protein: 0.5g
- Cholesterol: 0mg
