If you love cooking as much as I do my guess is you have thought, at one point or another, about starting a food blog.
I think that’s great!
Because I found such great success with it (last year I made $221,232.28!), I believe that anyone can.
Anybody can start a blog and you know the best part? Food bloggers are super nice and incredibly helpful!

When I first started, I made lots of mistakes such as blogging on a free platform – trust me, that’s not the way to go if you want to been seen as a professional! I also didn’t pay attention to social media (e.g., missed out on getting a ton of easy Likes on Facebook) and published too randomly.
Luckily, there’s a lot of free help out there and I found some amazing food bloggers who helped me figure out how to set up a successful blog and find my voice as a blogger.
It took patience and discipline and little by little I started to get featured on big sites like Bon Appetit, The Cooking Channel, Self, Woman’s Day and Buzzfeed. Then I received offers to work with food companies, got better at affiliate marketing and eventually began making a few hundred dollars regularly!
So now it’s my turn to pay it forward.
If you have the desire to start a food blog but feel overwhelmed by too much information, I’m here to help you!
Here you will find the tools that brought me success and what helped me create a solid, successful and profitable food blog.
Disclosure: There are some affiliate links below or products I highly recommend. I won’t put anything on this page that I haven’t verified and/or personally used.
Find a domain name and hosting company
Before you can start sharing your first recipe, you will need to find a domain name and a hosting company. If you already have one, good! You can scroll down a skip this step. If you don’t, I have a step by step tutorial on how to start a WordPress blog on Bluehost.
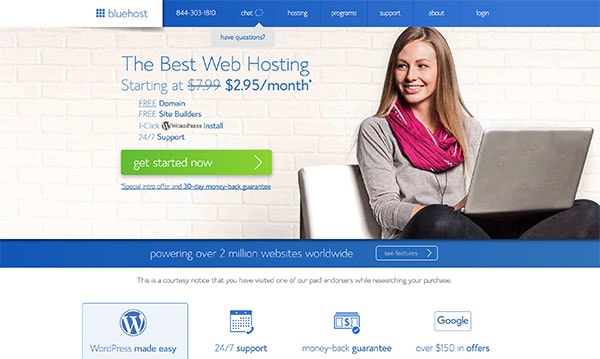
The reason I recommend Bluehost for beginners is because they have the best prices (my blog also offers a special Bluehost discount only available through this link and are one of the most established and well-known hosting brands on the internet. They host over 2 million WordPress sites and are excellent for beginners and starting websites because they use a process that automatically installs WordPress at sign-up.
This means you can start writing your first post minutes after joining!

Find A WordPress Theme
Once you have found a domain name and signed up for hosting, you will have to choose a theme.
I suggest you pick something simple at first and with a white background. That’s because you want your posts to be easy to read. You will find that in the food blogging world there are a lot of older people especially who browse for recipes. I find that absolutely charming! But you have to help them by making your blog easy to navigate.
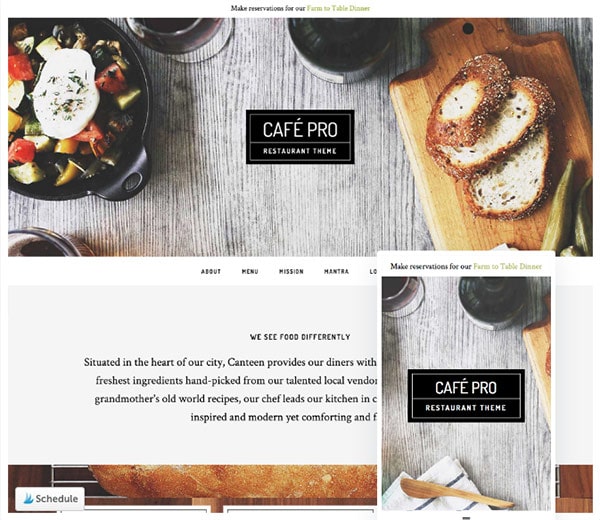
You don’t have to spend money on a theme, WordPress has plenty to choose from (the Genesis theme is extremely popular). Just remember to stick to a white background with black writing.
However, if you would like to have more flexibility with your theme, you can buy premium ones at a reasonable price. Here are some of the most popular premium themes used by food bloggers:
- Brunch Pro Theme (that’s the one I’m using)
- Foodie Pro Theme
- Cook’d Pro Theme
- Divine Theme
- Cafe Pro Theme
- Wellness Pro Theme
Familiarize Yourself With The WordPress Dashboard
This is very important because this is where you will be spending most of your time (aside from the kitchen) working. Exploring doesn’t take long but it’s good to know where to go to make edits to the menu, plugins, header, footer, etc..
You can do a guided tour with this Wp101 video. They do an excellent job at clearly explaining the functions of each icon.

Create a Logo
Creating a logo is something you don’t need to stress about until your blog begins to take off. Plus, you may decide that you want to change the name of your blog or change the design. Expect a lot of transitions to happen in the first few months so don’t commit to anything long term or spend a lot money.
I didn’t have a logo for the first 3 years and did just fine.
So for now, I suggest using Canva to create something quick or to find a font you would like to use for the name of your blog. Canva is free, easy to use and incredibly useful to create graphics or pins (for Pinterest). I couldn’t live without it.
 Notebooks
Get plenty of notebooks!!
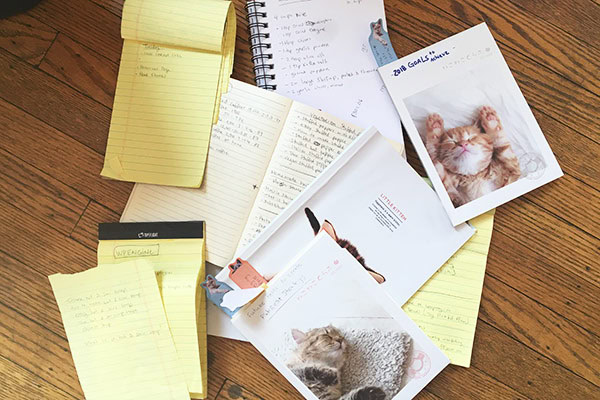
I always have 3-6 notebooks lying around and each one has a different purpose. One is for recipes, one for keyword searches, another one for creative ideas that I might want to try in the future, one for tasks, etc…
Here’s the thing about food blogging:
You will have to wear many different hats so it’s a good idea to keep track of the important stuff you are doing. You could do it on your computer or phone but I prefer to do it by hand because I don’t want to spend one more minute in front of a screen if I can help it.
Get a mix of notepads and notebooks. I use notepads to write down my to-do list for the day. I use notebooks for all the important stuff I may want to revisit later.

Create Your First Post
As a guideline for food blogs, it’s a good idea to mix images with text. Since we eat with our eyes, the more visual you have, the better.
Your images should be shot vertically to take more space on the page and to also share on Pinterest. You can get a lot of traffic through Pinterest (it’s my second biggest source of traffic next to Google search engine) and the pins that perform best are the vertical ones.
When you write your post, don’t write in blocks.
What I mean is avoid writing long paragraphs and instead focus on only putting a few sentences together. This makes it easier to read quickly because we unfortunately live in a world where patience is not king.
Look at how I’ve been writing this post and now imagine how frustrating it would have been to read it, if I had put all the sentences in one big block. Chances are you would have left this page to find something easier to read.

Find A Recipe Plugin
Finding a good recipe plugin can be as confusing and frustrating as finding a good hosting company. With so many to choose from, they all tend to blur together and seem to have the same functions.
As someone who has been food blogging for 8 years and who has gone through several recipe plugins, more than I care to remember, I must say it was worth spending a chunk of my time to find the best one.
WP Tasty is the only recipe plugin I recommend because it was built by food bloggers. The plugin is so well optimized that my organic traffic (from Google searches) DOUBLED in just 4 months!! That’s unheard of guys, I’m not kidding.
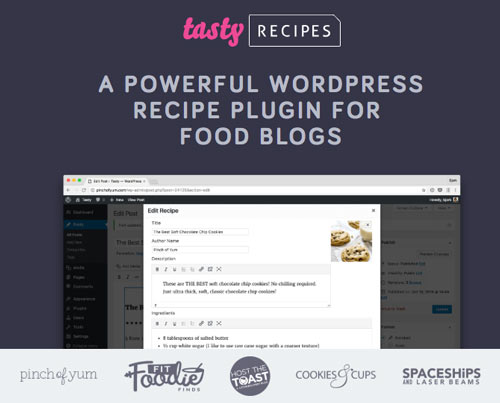
WP Tasty Recipes uses JSON-LD structured data to provide an in-depth view of your recipe to search engines, including both Pinterest and Google.
This is a powerful plugin I recommend for anyone looking to turn their hobby recipe blog into a full time job.
Basic Photography Equipment
You will need to spend a few dollars if you want to dabble in food photography, there is no way around it.
And even though cell phones have come a long way in terms of photography, they still don’t beat a DSLR.
For beginners, I would suggest starting with a point and shoot camera and later move on to a DSLR.
The Best Affordable Starter Camera
Food photography is all about making food look incredibly appetizing. One way to do this is to zoom in close enough that you can capture elements like the pulp of an orange, butter melting, or droplets of chili oil in a soup. So getting a camera with a good zoom is a must for food photography.
Look for a point and shoot camera that has a low f/number.
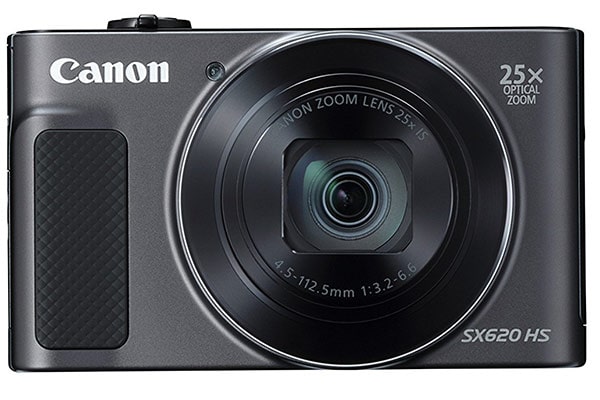
The one I recommend is the Canon PowerShot SX620 because the zoom is excellent – it goes all the way down to f/3.2 and only costs around $280. This means you can zoom in quite close and have a beautiful blur effect in the background. It’s also very high in megapixels which is one of the factors that help determine the quality of a camera. This is a very powerful camera that has a lot to offer.
What’s in my camera bag
I currently have a Canon 6D camera that I use with these three lenses: Canon 24-105mm f/4L, Canon 50mm f/1.8L and Canon TS-E 90mm f/2.8L Macro Tilt Shift.
Lighting
Natural light is by far the best type of light for food photography, I take 90% of my photos au naturel, next to my favorite kitchen window.
Test the light by taking a picture of a dish you cooked next to a window. Do this with every window in your house and I guarantee you will find one that stands out in no time. You may also need to find out what times are the best to shoot food as the light changes constantly. I have to shoot in the morning during the winter while in the summer the light is at its most beautiful in the middle of the afternoon.
But if you have a full time job and can only shoot in the evening, you can still do a great job!
You will just need to get some lights.
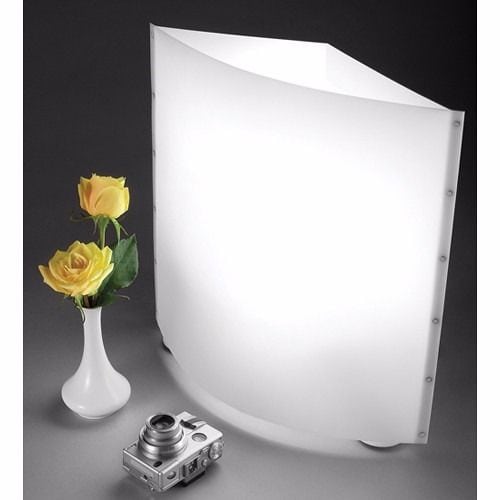
The Lowel EGO light is the most popular light use among food bloggers (I have two). That’s because it’s cheap and easy to set up. It’s a simple tabletop fluorescent soft light that adds just enough light to enhance the food you are shooting. Put one on each side of your dish an you will be good to go!
Reflector
I may rarely use lighting but I couldn’t do my job without a reflector!
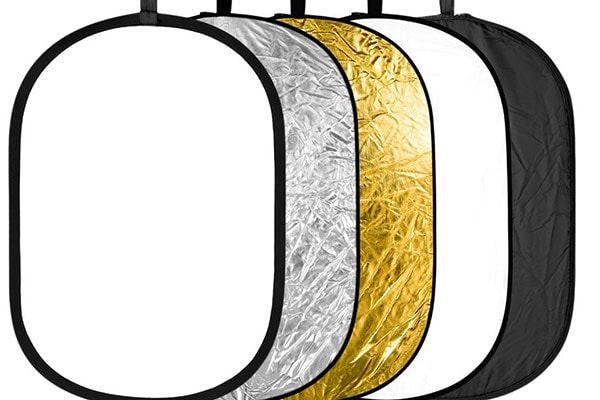
A reflector can bounce as much light as a soft light box can. If you shoot food by a window it means that there will be one side darker than the other. Adding a reflector to the darker side is a quick fix. You can get something good and cheap like this one or make your own. Really, all a reflector is is a white board that bounces off light. You can use white bed sheets, white cardboard, or even a mirror to create that effect.

Photo Editing
I have been using Photoshop and Lightroom since I started my food blog as I was familiar with both programs. However you don’t need to learn a complex photo editing program since there are much simpler and easier options out there.

As I previously mentioned, Canva may just be the easiest and best program to use in the world of blogging – and it’s free! You can do a lot in canva – fix lighting, color, add filters, create photos formatted for Facebook, Pinterest or Instagram, and the list goes on.
Pic Monkey is another easy online design program that has photo effects, retouching, frames and overlays. You can also add text using one of their thousands of fonts available. There is a 30-day free trial period – once the trial is up you will be charged $4.99/month.

Join Affiliate Networks
Promoting affiliate networks is how most food bloggers earn money – myself included.
To put it simply, affiliate marketing is all about selling other people’s stuff. Every time you make a sale you get a cut from it. There are 100s, if not 1000’s of affiliate programs out there and I recommend joining at least 10-20 in the beginning.
Make sure to read each company’s guidelines before promoting their product(s). For example, some may be okay with you shortening their links while others won’t allow it (Amazon doesn’t). You never know what a company is okay and not okay with.


Also, in order to be successful at selling, only pick products and services that are in line with the theme of your blog. It’s easy to get sidetracked by numbers – if you see an insurance company offering 50% commission, you may be tempted to promote them.
But trying to sell insurance on a food blog won’t work.
You can check out my list of favorite affiliate program in this post I wrote to start your own list of merchants.

Last But Not Least, Sell Your Own Products.
Selling your own product(s) can become a great way to make money!
While some bloggers find success selling third party affiliate products, others make a fortune creating ebooks, classes, diet programs, meal prep menus and printables.
The only thing I would say about creating your own product is to prep as much as you can before starting a project. Write down your ideas, do some research and have a clear plan on how you are going to execute it.
Two questions to ask yourself:
- Does the product go hand in hand with my brand?
- How will this product help my readers?
Once your product is created, you will have to promote it.
But that’s another blog post 😉
